How to Capture Construction Sites at Higher Altitudes
How to Capture Construction Sites at Higher Altitudes with Avata: What Actually Matters in the Field
META: A practical Avata workflow for construction site capture at higher altitudes, using lessons from a DroneDeploy case where 15 minutes and 66 images produced fast, precise site intelligence.
Construction site imaging gets messy the moment people confuse cinematic flying with usable field data.
I say that as a photographer who loves beautiful footage, but on active sites, aesthetics come second. What matters first is repeatability, clarity, and whether the images answer real project questions. Are the berms built to plan? Is tank placement progressing on schedule? Can the team compare this week’s condition with last week’s without guessing?
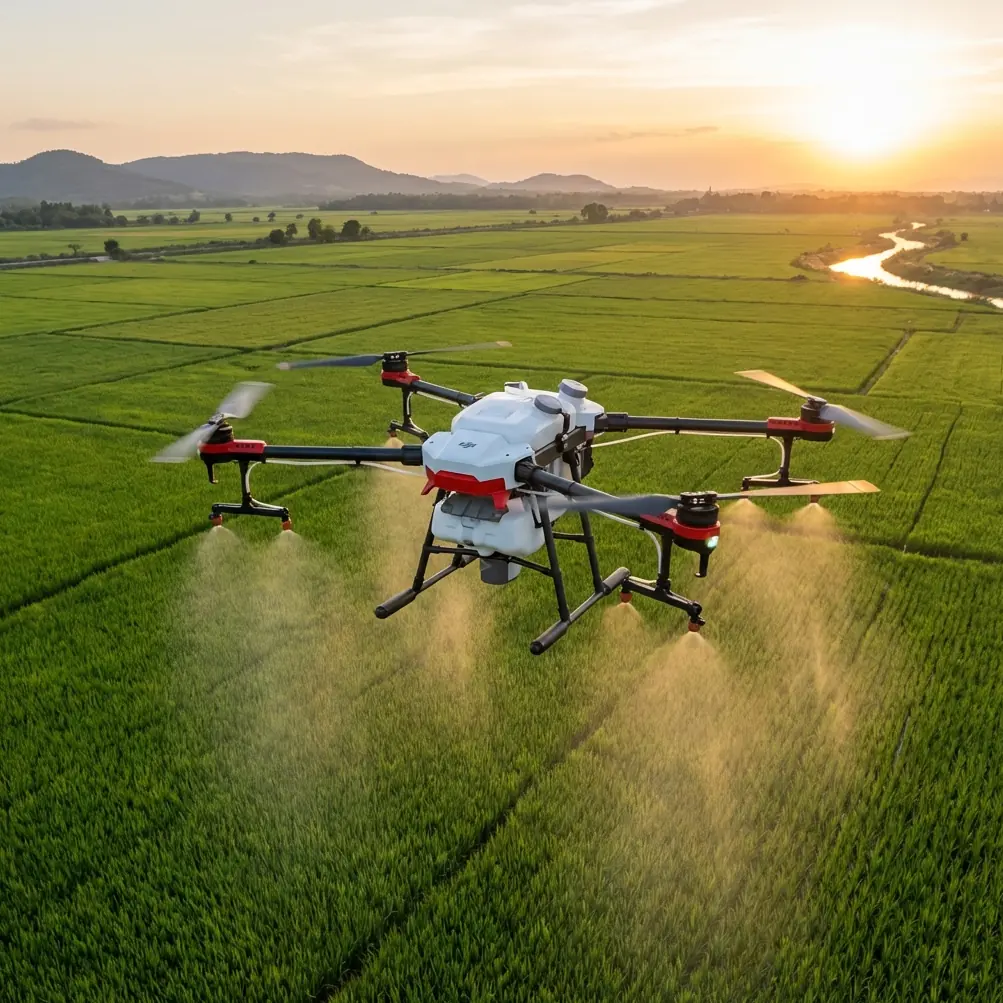
That’s why one older field example still deserves attention when talking about Avata today. In a DroneDeploy environmental surveying case, Hover Visions used a DJI Inspire 1 on a construction project in Cushing, Oklahoma, flying at roughly 100 meters for 15 minutes and collecting 66 images. Those images were processed in about one hour through DroneDeploy’s mapping engine. The result, according to the case, delivered more complete and accurate data than several hours of crewed helicopter work.
Even though that example centers on the Inspire 1 rather than Avata, the operational lesson is highly relevant: construction capture succeeds when flight height, path consistency, and downstream processing are designed around decision-making, not around “getting some aerials.”
If your goal is capturing construction sites with Avata at higher altitude, that is the mindset to borrow.
Start with the mission, not the drone
The project in the reference case involved a 73,000-square-meter construction site and four storage tanks. Progress reports had to be precise. That detail matters because it explains why ordinary flyovers were not enough. The team wasn’t just documenting structures. They also had to track earthworks and compliance-related site features such as protective soil fire berms, which had to be completed before the tanks could be put into service.
This is exactly the kind of operational distinction many site teams miss.
A construction site has multiple visual layers:
- structural progress
- earthwork shaping
- access routes
- material staging
- drainage or berm formation
- relationship between built and unbuilt zones
When you fly Avata, especially in a higher-altitude overview role, your altitude choice determines which of those layers remains readable.
Too low, and you get dramatic movement but weak context.
Too high, and you get context but lose the site details that make the flight useful.
The sweet spot depends on the decision you need to support.
What “high altitude” should mean for Avata on a construction site
Let’s clear up one thing. Avata is not a substitute for a dedicated large-area mapping platform in every job. It is a compact FPV-oriented aircraft with strengths in agile movement, close inspection-style visuals, and immersive perspective. But with discipline, it can still be very effective for higher overview passes on construction sites, especially when the goal is progress documentation, stakeholder communication, and visual comparison over time.
For this scenario, “high altitude” should not mean “as high as possible.” It should mean:
- high enough to read site relationships clearly
- low enough to preserve useful detail
- stable enough to repeat on future visits
- compliant with local flight rules and site constraints
The DroneDeploy example used about 100 meters above the worksite. That number is useful not because you should copy it blindly, but because it shows how a moderate altitude can balance area coverage and image utility. On a broad site, that kind of height helps show tank locations, berm outlines, vehicle routes, and grading patterns in one frame. It also reduces the need for constant pitch corrections that often creep into lower manual flights.
With Avata, I’d treat your higher-altitude construction pass as a “site context layer.” In practical terms, that means flying a clean overview line or orbit at a consistent height that gives managers a readable whole-site perspective. Then, if needed, follow with lower passes for specific assets or work zones.
The best altitude is the one you can repeat precisely
This is where many otherwise capable pilots undermine their own data.
In the reference case, automation mattered just as much as the drone. The operator pre-planned the route in the DroneDeploy Android app, then flew the route and captured a fixed image set. That consistency is what made the processed result useful. A one-off heroic flight is less valuable than a repeatable capture method that can be run every week.
With Avata, you may not be using it in the exact same way as a traditional mapping aircraft, but the principle still holds: define a repeatable altitude band and camera behavior.
For higher-altitude construction capture, I recommend thinking in three layers:
1. Overview altitude
Use this for whole-site readability. The goal is to show relationships between major work areas, access roads, tanks, foundations, berms, or stockpiles.
2. Progress altitude
A bit lower, used for tracking visible changes in active sections of the site.
3. Detail altitude
Used only for specific visual questions, such as edge conditions, structural sequencing, or localized earthwork progress.
If you jump randomly between these without a plan, the imagery becomes harder to compare across time. If you define them and stick to them, your Avata footage becomes a working project record.
Why the 15-minute number matters
That 15-minute flight in the case study is not just a nice statistic. It tells you something fundamental about site efficiency.
On active construction projects, field windows are short. Equipment moves. Light shifts. Supervisors are busy. The best capture workflow is the one that gets in, gets the right data, and gets out without disrupting operations.
A short, disciplined Avata mission can outperform a long, unfocused one. If you know your path, your target altitude, and your deliverables before takeoff, you avoid the common FPV trap of chasing interesting visuals and coming back with footage that looks exciting but answers nothing.
The more constrained your flight plan, the more valuable the result usually becomes.
That’s one reason the DroneDeploy case remains instructive. The operator captured 66 images in a short flight and moved quickly into processing and sharing. In other words, collection was only one step in a larger workflow. Construction clients care about that workflow far more than they care about how fun the flight felt.
How I’d set up an Avata construction capture session
If I were using Avata to document a large construction site with a high-altitude emphasis, I would build the session like this.
Define the key question first
Not “what should I film?”
Instead ask:
- What changed since the last visit?
- Which zones matter this week?
- Does the client need a broad progress view or specific verification images?
- Are there earthworks or safety-related features that must be visible?
Remember the Oklahoma tank-site example. The fire berms were operationally significant, not just visually interesting. That’s the kind of feature you need to deliberately include.
Choose one primary overview altitude
Pick a single height for your repeatable context pass. The case study’s roughly 100-meter flight illustrates the usefulness of a broad, readable perspective on a large site. Your own chosen altitude should be driven by local rules, airspace, site footprint, and how much detail the camera can hold cleanly.
Then keep it consistent across future sessions.
Build a route with predictable geometry
Straight passes and controlled arcs beat improvised wandering. Even with Avata’s agile handling, the most useful construction visuals come from clean lines, stable horizons, and deliberate overlap between shots.
Lock in camera consistency
This is where photographer habits help.
For comparison work:
- keep color settings consistent
- avoid constantly changing field of view logic mid-flight
- use D-Log when you need grading latitude, especially under harsh daylight
- keep exposure stable enough that grading doesn’t alter perceived surface conditions
D-Log matters more on construction sites than many pilots realize. Grading flexibility helps preserve highlight detail in pale concrete, exposed soil, reflective roofing, or tank surfaces. If your footage clips badly, site edges and material boundaries become less legible.
Capture both stills and motion with purpose
The reference case relied on images for processing. That should remind every Avata operator of a simple fact: video is not automatically the best format for site intelligence.
Use motion footage for:
- stakeholder updates
- progress presentations
- contextual flyovers
Use stills or extracted frames for:
- side-by-side comparison
- documentation archives
- condition review
Where obstacle avoidance and subject tools fit — and where they don’t
Construction sites are cluttered environments. Cranes, cables, temporary structures, materials, and dust all complicate flying. So yes, obstacle awareness matters. It helps reduce risk during lower or transitional movements, especially when repositioning near partially built structures.
But don’t let feature lists dictate your method.
Obstacle avoidance is support, not strategy.
Subject tracking and ActiveTrack-style thinking can help when you want to maintain attention on a moving machine or a specific structure in a communication piece, but they are not substitutes for a planned documentation pass. For reporting-grade capture, manual discipline usually matters more than automation gimmicks.
The same applies to QuickShots and Hyperlapse. They can be useful, but only in the right layer of the deliverable.
- QuickShots can add a simple executive-view sequence for project updates.
- Hyperlapse can illustrate broader site change or activity rhythm over time.
Neither should replace the consistent, repeatable overview material that gives the site team hard visual reference points.
Processing speed is part of the job
One of the strongest details in the source material is that the imagery was processed in about an hour and shared through a browser workflow. That matters because the value of construction aerial capture drops when results sit on a card for days.
Fast turnaround changes the role of the drone from “marketing accessory” to “operational input.”
If your Avata workflow supports same-day review, site managers can use the imagery for:
- progress meetings
- contractor coordination
- dispute reduction
- sequencing checks
- documentation of completed earthworks or structural milestones
That’s the real benchmark. Not whether the flight was smooth. Whether the result arrived while it was still actionable.
If you need help planning a repeatable site-capture workflow around your aircraft and deliverables, you can message a drone workflow specialist here.
A practical altitude rule for Avata on larger sites
Here’s the simplest field rule I use:
Your overview altitude is correct when one frame clearly shows the relationship between the primary structure and the supporting site features that affect schedule or compliance.
That might mean tanks and berms.
It might mean foundation pads and haul routes.
It might mean roof progress and material staging.
If the shot only flatters the site, it’s too cinematic.
If it only proves the drone can go high, it’s too distant.
If it lets a project manager understand what changed, it’s right.
The DroneDeploy case proves the point. The operator did not win by flying longer or louder. He won by capturing a complete, accurate set quickly enough to replace a slower crewed approach and cheaply enough to make repeat use practical.
That operational logic translates cleanly to Avata.
The real role of Avata in construction capture
Avata shines when you use it as part of a layered documentation system rather than forcing it into a one-drone-does-everything role.
On a construction site, that means:
- one repeatable high overview pass
- one or two lower explanatory passes
- controlled camera settings
- quick turnaround
- a clear understanding of what the site team needs to see
The photographer in me likes elegant motion. The field operator in me cares more about whether the client can trust the images next Tuesday as much as they trusted them today.
That is the standard worth aiming for.
And if you remember only one number from the source material, make it this: 15 minutes. That’s enough time, with the right altitude and the right plan, to produce site imagery that supports real decisions. The drone matters. The route matters more.
Ready for your own Avata? Contact our team for expert consultation.