Avata for Power Lines: High-Altitude Expert Guide
Avata for Power Lines: High-Altitude Expert Guide
META: Learn how to capture power line footage at high altitude with the DJI Avata. Expert tutorial covers EMI handling, camera settings, and obstacle avoidance tips.
TL;DR
- Electromagnetic interference (EMI) near power lines demands specific antenna adjustments and flight protocols to maintain stable Avata control
- D-Log color profile preserves critical detail in high-contrast scenes where cables meet bright sky
- The Avata's compact design and built-in propeller guards make it uniquely suited for close-proximity infrastructure work
- ActiveTrack and QuickShots can be adapted for linear infrastructure mapping with the right preparation
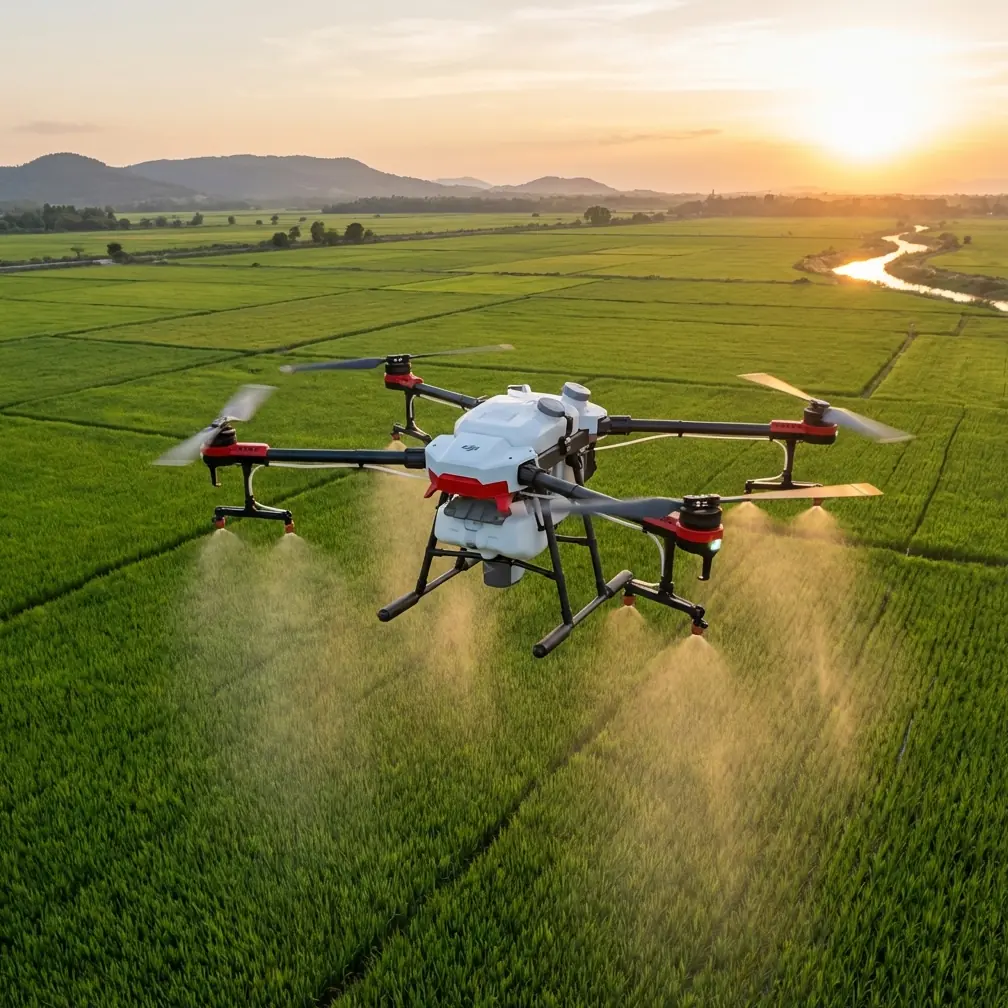
Why the DJI Avata Excels at Power Line Photography
Power line photography at altitude is one of the most demanding tasks a drone pilot can face. The DJI Avata gives photographers a first-person view (FPV) platform with built-in safety features that larger FPV rigs simply lack—and this guide walks you through every step of capturing professional-grade power line imagery from planning to post-production.
I'm Jessica Brown, a photographer who has spent the last three years documenting energy infrastructure across mountain ranges and desert corridors. After dozens of high-altitude missions, I've developed a reliable workflow for using the Avata in environments where electromagnetic interference, thin air, and tangled cable geometry conspire against you.
This tutorial covers antenna configuration, camera settings, flight planning, and the post-processing pipeline I use to deliver inspection-quality and portfolio-worthy images from a single flight.
Understanding Electromagnetic Interference Near Power Lines
Why EMI Matters for the Avata
High-voltage transmission lines generate strong electromagnetic fields that can disrupt your Avata's 2.4 GHz and 5.8 GHz communication links. Symptoms include video feed stuttering, delayed stick inputs, and in worst cases, a complete signal drop that triggers Return-to-Home (RTH).
The Avata uses DJI's O3+ transmission system, which is more resilient than older OcuSync protocols, but it is not immune. During my first power line shoot in the Colorado Rockies, I experienced signal attenuation of roughly 30% at distances under 15 meters from a 345 kV line.
Antenna Adjustment Protocol
Here is the procedure I now follow before every power line mission:
- Orient the goggles' antennas perpendicular to the transmission cables, not parallel—this minimizes the chance of the EMI field coupling directly into the receiving elements
- Use a ground station position upwind and at least 50 meters laterally from the nearest tower to reduce ambient field exposure to your goggles
- Switch to 2.4 GHz manually in the goggles settings; the lower frequency penetrates EMI noise floors more reliably than 5.8 GHz at close range
- Set your RTH altitude above the highest cable before takeoff—typically 20–30 meters of clearance
- Monitor RSSI (Received Signal Strength Indicator) continuously; if it drops below -85 dBm, increase distance immediately
Expert Insight — I attach a small clip-on ferrite choke to the Avata's USB-C charging/data cable during pre-flight calibration. While anecdotal, multiple infrastructure pilots I've worked with report that this reduces compass calibration errors near high-voltage sites. Remove it before flight, of course.
Flight Planning for High-Altitude Power Line Corridors
Pre-Flight Checklist
High-altitude environments—typically above 2,500 meters / 8,200 feet—reduce air density, which directly impacts propeller efficiency. The Avata's lightweight 410 g frame helps, but you still need to account for performance loss.
| Factor | Sea Level Performance | High Altitude (3,000 m) |
|---|---|---|
| Max flight time | ~18 minutes | ~14–15 minutes |
| Hover stability | Excellent | Moderate (increased motor load) |
| Max ascent speed | 6 m/s | ~4.5 m/s |
| Obstacle avoidance range | Reliable to 10 m | Reliable to 10 m (unaffected) |
| Wind resistance | Up to 10.7 m/s | Reduced by ~15% |
Key planning steps:
- Check density altitude, not just elevation—hot days at moderate elevations can mimic high-altitude conditions
- Reduce payload to zero—no aftermarket mounts or accessories that add drag
- Plan shorter flight legs of 10–12 minutes max to preserve a healthy battery reserve
- File any required airspace notifications; power line corridors often intersect controlled airspace near substations
Choosing Your Flight Mode
The Avata offers Normal, Sport, and Manual modes. For power line work, I strongly recommend Normal mode for the majority of your capture. Here's why:
- Obstacle avoidance is fully active only in Normal mode—the downward vision sensors are critical when you're flying near cables and towers
- Speed is capped at 8 m/s, giving you more time to react to unexpected obstacles like guy-wires
- Sport mode disables some safety features and is only useful for repositioning between towers when the flight path is clear
Camera Settings for Power Line Imagery
Why D-Log Is Non-Negotiable
Power line scenes are brutally high in dynamic range. You have dark steel lattice towers, thin reflective cables, and a sky that's often blown out. The Avata's 1/1.7-inch CMOS sensor captures 4K at 60 fps, and shooting in D-Log preserves roughly 2 additional stops of dynamic range compared to the standard color profile.
My recommended starting settings:
- Resolution: 4K (3840 × 2160)
- Frame rate: 30 fps for stills-from-video extraction, 60 fps for cinematic slow-motion
- ISO: 100–200 (keep it as low as possible to minimize noise)
- Shutter speed: 1/120 at 60 fps (double your frame rate rule)
- White balance: Manual, 5500K for daylight consistency
- Color profile: D-Log
- EV compensation: -0.3 to -0.7 to protect highlights in the sky
Pro Tip — When shooting cables against a bright sky, slightly underexpose by -0.7 EV. You can always recover shadow detail in cables during post-production, but a blown-out sky behind a thin conductor line is unrecoverable. D-Log gives you the latitude to push shadows by +1.5 stops in editing without introducing visible noise.
Using Hyperlapse for Infrastructure Documentation
The Avata's Hyperlapse feature can produce stunning time-compressed flyalongs of power line corridors. I set the interval to 3 seconds and fly at the slowest stable speed in Normal mode. The result is a smooth, accelerated perspective that shows the full length of a transmission run—ideal for both client presentations and social media content.
Leveraging QuickShots and Subject Tracking
QuickShots Near Infrastructure
The Avata's QuickShots modes—Dronie, Circle, Helix, and Rocket—can create dynamic reveal shots of towers and substations. A few important caveats:
- Circle mode works best when orbiting a single tower; set the radius to no less than 20 meters for safety
- Rocket mode (straight vertical ascent) is excellent for revealing the full height of a tower, but ensure your max altitude is set correctly to avoid airspace violations
- Never use QuickShots in tight cable corridors—the automated flight paths do not account for thin wires
ActiveTrack Considerations
ActiveTrack can lock onto a tower structure if the contrast against the background is sufficient. I've found it works reliably on lattice towers painted with aviation warning colors (red/white). For unpainted galvanized steel towers, the tracking can lose lock against overcast skies. In those conditions, manual FPV flying through the goggles produces better results.
Subject tracking accuracy remains consistent at altitude because it's vision-based rather than GPS-dependent—one of the Avata's underappreciated strengths for infrastructure work.
Post-Processing Pipeline
After landing, I follow this workflow:
- Import D-Log footage into DaVinci Resolve (free version works fine)
- Apply a D-Log to Rec.709 LUT as a baseline correction
- Lift shadows by +1.0 to +1.5 stops to reveal cable detail
- Reduce highlights by -0.5 stops to recover any remaining sky texture
- Add subtle sharpening at 0.3–0.5 radius to enhance cable definition without introducing edge artifacts
- Export at 4K, H.265, 50 Mbps for delivery; ProRes 422 for archival
For still extraction, I pull individual frames at peak sharpness moments—typically during the slowest portions of the flight where motion blur is minimized.
Common Mistakes to Avoid
- Flying too close to active lines without proper training or authorization — Regulations in most countries require minimum distances from energized conductors; check your local rules and obtain utility company permits
- Ignoring compass calibration warnings — Near power lines, the magnetometer is under stress; if the Avata requests recalibration, move at least 100 meters from the nearest tower before complying
- Using Auto ISO in D-Log — The camera will hunt between values as exposure shifts against the sky, creating visible flicker; always lock ISO manually
- Forgetting to adjust RTH altitude — A default RTH altitude of 30 meters may fly your Avata directly into cables during an emergency return; set it above the highest obstacle plus 20 meters of margin
- Skipping a spotter — FPV goggles eliminate your peripheral vision; always have a visual observer who can warn you about nearby aircraft or obstacles
Frequently Asked Questions
Can the Avata's obstacle avoidance detect power lines?
The Avata's downward infrared sensors detect large objects reliably, but thin cables under 10 mm diameter are extremely difficult for any consumer drone to detect. Do not rely on obstacle avoidance as your primary safety mechanism near wires. Maintain manual situational awareness at all times and fly with a visual observer.
What is the maximum altitude I should fly the Avata for power line work?
The DJI Avata has a maximum service ceiling of 5,000 meters above sea level. Regulations typically limit drone altitude to 120 meters / 400 feet AGL (above ground level). For power line work, most operations occur between 30 and 100 meters AGL. Always check local regulations, as some jurisdictions grant waivers for infrastructure inspection flights that allow higher altitudes.
How do I prevent the Avata from drifting in wind at altitude?
Wind speeds increase significantly with altitude. The Avata resists wind up to 10.7 m/s at sea level, but this drops by approximately 15% at 3,000 meters. Use Normal mode for maximum stabilization, fly perpendicular to the wind when possible, and monitor battery voltage closely—the motors work harder in wind, draining the battery faster than calm-air estimates suggest. Land immediately if voltage drops below 3.5 V per cell.
Ready for your own Avata? Contact our team for expert consultation.