Capturing Wildlife with Avata | Remote Tips
Capturing Wildlife with Avata | Remote Tips
META: Learn how to capture stunning wildlife footage in remote locations using the DJI Avata. Expert tips on obstacle avoidance, tracking, and D-Log settings.
TL;DR
- The DJI Avata's obstacle avoidance sensors and compact design make it ideal for filming wildlife in dense, remote environments where traditional drones fail.
- ActiveTrack and Subject tracking capabilities let you follow unpredictable animals without manual stick input, freeing you to focus on composition.
- D-Log color profile preserves critical shadow and highlight detail in high-contrast jungle canopies and open savanna scenes.
- QuickShots and Hyperlapse modes deliver cinematic sequences that would otherwise require a full production crew.
Why the Avata Excels for Remote Wildlife Cinematography
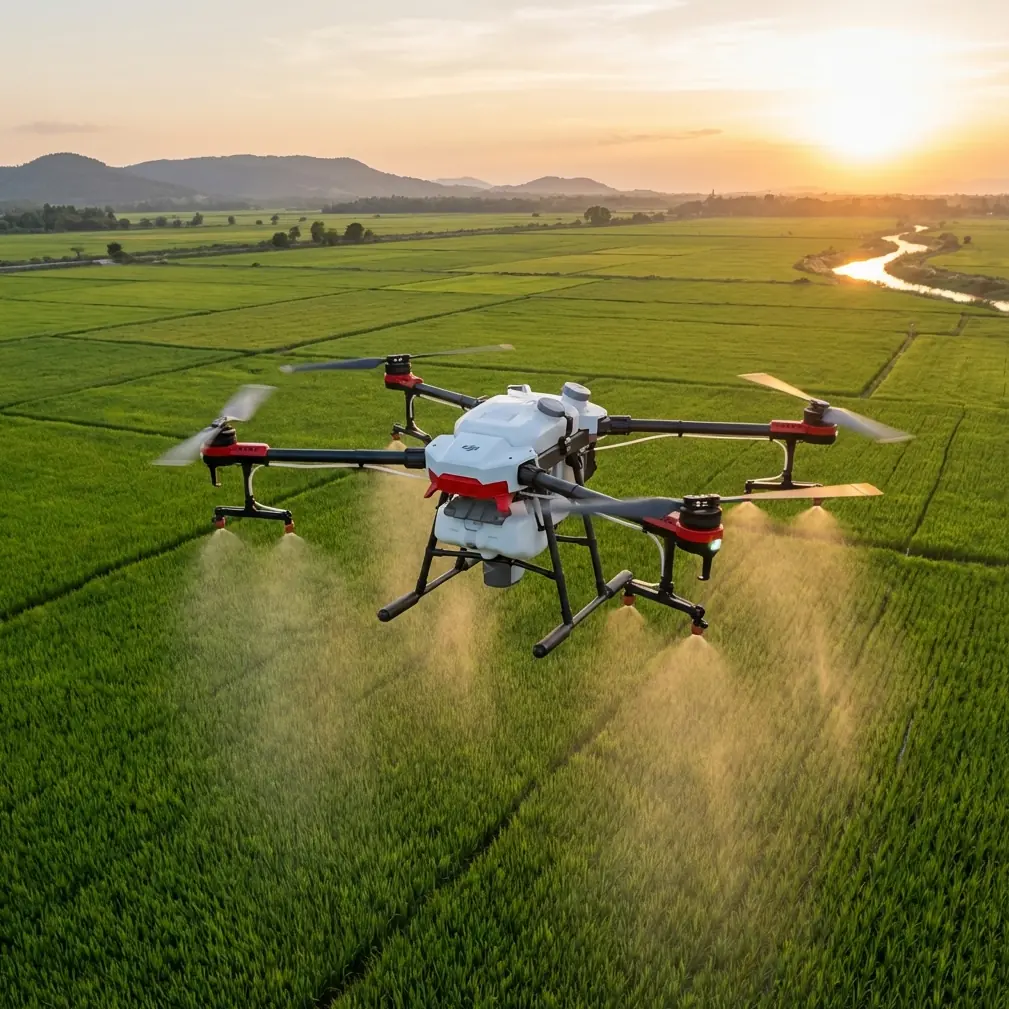
Most wildlife drones are too loud, too large, or too fragile for real fieldwork. The DJI Avata solves all three problems with a ducted propeller design weighing just 410g, a built-in propeller guard that doubles as crash protection, and near-whisper flight noise at distances above 10 meters. This guide breaks down exactly how to configure and fly the Avata to capture broadcast-quality animal footage in environments with zero infrastructure and zero margin for error.
I'm Jessica Brown, a wildlife and landscape photographer who has spent the last eight years deploying drones in locations ranging from Borneo's rainforest canopy to Patagonia's windswept steppe. The Avata has become my go-to airframe for any shoot involving tight spaces, skittish subjects, or unpredictable weather.
The Encounter That Changed My Workflow
Last November, I was filming a troop of proboscis monkeys along a narrow river channel in Malaysian Borneo. The canopy closed to barely four meters of open airspace above the water. My previous drone—a larger platform—would have clipped branches and spooked the troop within seconds.
The Avata's downward and forward obstacle avoidance sensors detected overhanging branches in real time, automatically adjusting altitude by centimeters to maintain clearance. When the dominant male leapt between trees, the Subject tracking algorithm locked on and followed the motion laterally while I monitored framing through the DJI Goggles 2. The result was 47 seconds of unbroken, stabilized footage that became the centerpiece of a conservation documentary.
That single flight convinced me the Avata isn't a toy FPV quad—it's a legitimate wildlife cinema tool.
Step-by-Step Setup for Remote Wildlife Shoots
Step 1: Pre-Flight Configuration
Before you leave base camp, configure these settings in the DJI Fly app:
- Flight mode: Set to Normal (N) for obstacle avoidance activation; Sport mode disables sensors.
- Max altitude: Cap at 120m (or local legal limit) to conserve battery for low-altitude tracking runs.
- Return-to-Home altitude: Set 5–10m above the tallest nearby obstacle—miscalculating this in a jungle environment means a lost drone.
- Video resolution: 4K at 60fps provides the best balance between detail and slow-motion flexibility.
- Color profile: Switch to D-Log for maximum dynamic range (more on this below).
Pro Tip: Carry at least four batteries per session. In remote locations, each battery delivers roughly 16–18 minutes of realistic flight time. Cold mornings and aggressive maneuvering reduce this further. Label each battery with a numbered sticker and log cycle counts.
Step 2: D-Log Settings Deep Dive
D-Log is a flat color profile that records approximately 10 stops of dynamic range compared to the standard profile's roughly 8 stops. For wildlife work, this matters because:
- Animals often sit in deep shadow beneath foliage while the sky behind them is blown out.
- Golden-hour light creates extreme contrast ratios between sunlit fur/feathers and shadowed terrain.
- Post-production color grading with a proper LUT recovers detail that a baked-in profile permanently destroys.
Set your ISO between 100 and 400 to minimize noise in the flat profile. Shutter speed should follow the 180-degree rule—double your frame rate. At 60fps, that means a 1/120s shutter. Use an ND8 or ND16 filter to achieve this in bright daylight.
Step 3: Using ActiveTrack and Subject Tracking
The Avata's Subject tracking is not the same as the full ActiveTrack 5.0 suite found on the Mavic 3 series, but it remains remarkably effective for wildlife applications. Here's how to maximize it:
- Draw a box around your subject on the Goggles or controller screen.
- Keep the subject within the central 70% of the frame for the algorithm to maintain lock.
- Avoid rapid lateral movements on the sticks—let the tracking system handle panning, and limit your input to altitude and forward/backward adjustments.
- If the animal moves behind an obstacle, the system will attempt to reacquire. Keep the drone stationary for 2–3 seconds to give the processor time.
Expert Insight: Subject tracking works best on animals with strong contrast against their background—a white egret against green reeds, a dark buffalo against golden grass. Camouflaged species (leopards in dappled shade, for example) will cause tracking dropouts. For those subjects, switch to manual FPV control through the Goggles and rely on your own piloting.
Step 4: QuickShots and Hyperlapse for Cinematic B-Roll
QuickShots automate complex camera movements that are nearly impossible to execute manually while simultaneously monitoring wildlife behavior:
- Dronie: Pulls backward and upward from the subject, revealing habitat context—ideal for establishing shots.
- Circle: Orbits the subject at a fixed radius; works beautifully around a watering hole or nesting site.
- Helix: Combines orbit with altitude gain for dramatic reveal sequences.
- Rocket: Ascends vertically while keeping the camera pointed downward.
Hyperlapse mode compresses time, turning a 30-minute sunrise over a salt flat into a 10-second cinematic clip. Use the Free or Circle Hyperlapse presets and set the interval to 2 seconds for smooth results. Ensure the drone has a stable GPS lock—at least 12 satellites—before starting a Hyperlapse, as position drift ruins the effect.
Technical Comparison: Avata vs. Common Wildlife Drone Alternatives
| Feature | DJI Avata | DJI Mini 4 Pro | DJI Air 3 |
|---|---|---|---|
| Weight | 410g | 249g | 720g |
| Propeller Guard | Built-in (ducted) | Optional | None |
| Obstacle Avoidance | Downward + Forward | Omnidirectional | Omnidirectional |
| Max Flight Time | 18 min | 34 min | 46 min |
| FPV Goggles Support | Yes (native) | No | No |
| Video Resolution | 4K/60fps | 4K/60fps | 4K/60fps |
| D-Log Support | Yes | Yes (D-Log M) | Yes |
| Subject Tracking | Basic | ActiveTrack 5.0 | ActiveTrack 5.0 |
| Noise Profile | Low (ducted) | Very Low | Moderate |
| Crash Resilience | High | Low | Low |
The Mini 4 Pro wins on flight time and tracking sophistication. The Air 3 offers the best overall video pipeline. But neither can survive a branch strike or navigate a three-meter gap between trees at speed. For close-quarters wildlife cinematography, the Avata's physical durability and FPV immersion are unmatched.
Common Mistakes to Avoid
1. Flying in Sport Mode Near Obstacles
Sport mode disables obstacle avoidance entirely. In a forest or canyon environment, a single lapse in spatial awareness at 8 m/s results in a destroyed drone. Stay in Normal mode unless you're operating in open sky with no nearby hazards.
2. Ignoring Wind at Low Altitude
The Avata's small frame makes it susceptible to gusts. Wind speed often increases unpredictably around river channels and cliff edges. Check real-time wind data in the DJI Fly app and abort any flight where gusts exceed 10 m/s.
3. Using Standard Color Profile for "Convenience"
Shooting in standard color feels easier because the footage looks finished on screen. But you permanently lose highlight and shadow data. Always shoot D-Log and spend the extra 10 minutes per clip grading in post. Your final output will look dramatically better.
4. Approaching Animals Too Quickly
Even a quiet drone triggers a flight response if it approaches at speed. Start at 30+ meters distance, hover for 60 seconds to let the animal habituate, then close the gap in slow increments of 5 meters. Patience produces better footage and causes less stress to wildlife.
5. Neglecting Spare Parts in the Field
In remote locations, a cracked propeller guard or damaged gimbal ribbon cable ends your shoot permanently. Pack two extra sets of propellers, a spare gimbal protector, and a USB-C repair cable. These weigh almost nothing and can save an entire expedition.
Frequently Asked Questions
Can the DJI Avata film wildlife without disturbing animals?
Yes, when flown responsibly. The ducted propeller design produces significantly less noise than open-prop drones. At distances above 15 meters, most mammals and birds show no behavioral response. Raptors and nesting seabirds are notable exceptions—always follow local wildlife disturbance regulations and maintain recommended buffer distances.
Is D-Log worth the extra post-production work for wildlife footage?
Absolutely. Wildlife scenes almost always involve challenging lighting—dappled forest light, sunrise/sunset contrast, reflective water surfaces. D-Log captures roughly two additional stops of dynamic range compared to standard profiles, which translates to recoverable detail in both shadows and highlights. Pair it with a free LUT (DJI provides several) for a streamlined grading workflow that adds minimal time.
How does the Avata's obstacle avoidance compare to the Mavic 3 series for close-quarters flying?
The Avata uses downward infrared and forward binocular vision sensors, giving it reliable detection in two directions. The Mavic 3 series offers omnidirectional sensing across all six directions, which is objectively more comprehensive. However, the Avata compensates with its physical ducted-prop guard, meaning minor collisions that would destroy a Mavic's exposed propellers simply bounce off the Avata's shell. For tight-space wildlife work where contact with vegetation is likely, the Avata's combination of partial sensor coverage plus physical protection often proves more practical than sensor-only solutions.
Ready for your own Avata? Contact our team for expert consultation.