Avata Guide for Remote Wildlife Work: From Fast Flights
Avata Guide for Remote Wildlife Work: From Fast Flights to Usable Maps When Conditions Shift
META: A field-tested Avata guide for remote wildlife capture, covering flight planning, obstacle avoidance, weather changes, and how image workflows like orthomosaics, DEMs, point clouds, and 3D models turn footage into practical environmental insight.
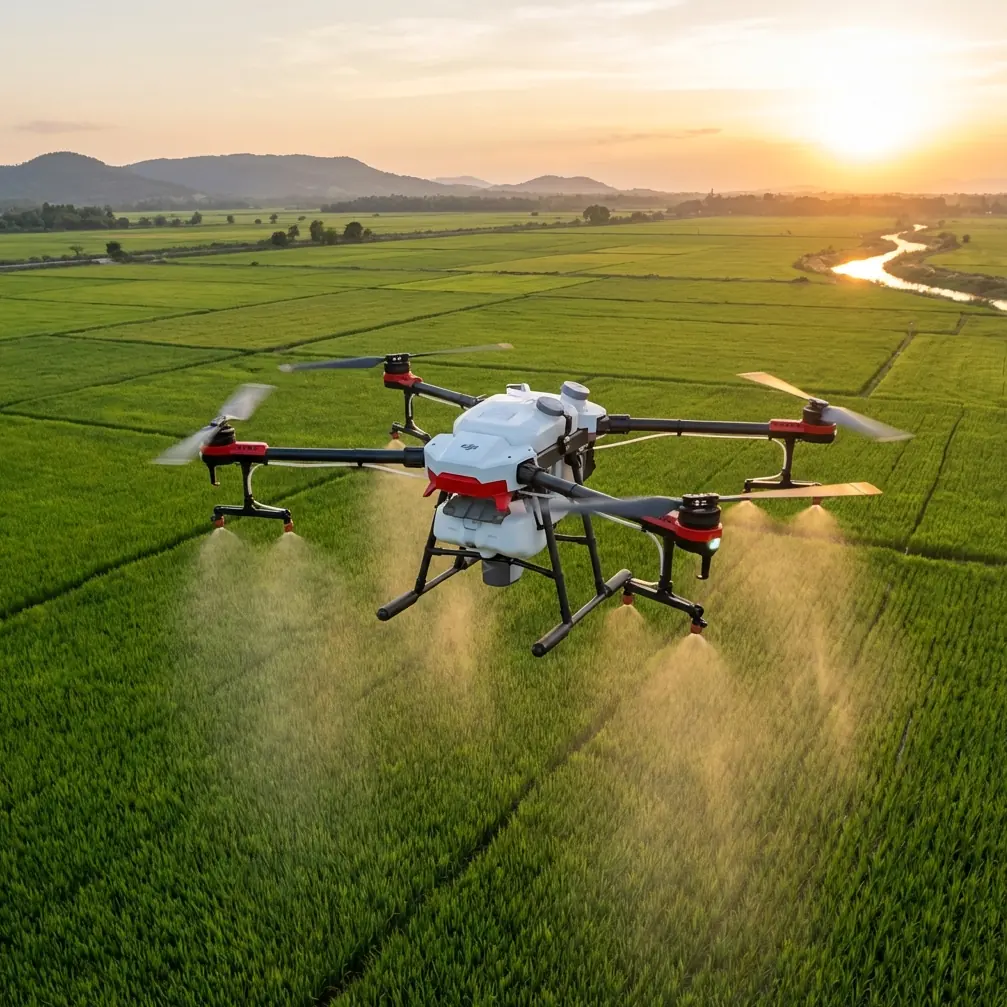
Remote wildlife flying sounds cinematic until the field reminds you what matters. Wind shifts. Light falls apart. Terrain closes in. The animals do not wait for your second attempt.
That is why an Avata workflow for wildlife in remote areas should not be built around pretty clips alone. It needs to survive changing weather, confined flight paths, and the reality that one sortie may need to produce more than video. If you are documenting habitat, nesting corridors, wetland edges, or animal movement zones, the real value often comes after the flight: turning captured imagery into information you can actually use.
The overlooked piece in that chain is processing.
A reference from a drone environmental monitoring solution by Tianjin Tengyun Zhihang Technology, a subsidiary under Hi-Target, highlights a software stack centered on Pix4Dmapper. The operational message is straightforward: thousands of images can be processed into accurate 2D maps and 3D models without heavy manual intervention. That matters for remote wildlife work because the hardest part is rarely pressing record. It is returning with material that helps conservation teams, ecologists, and land managers interpret what they saw.
So if you are flying an Avata in remote wildlife settings, here is the way I would structure the job.
Start with the real mission, not the drone settings
For wildlife capture, pilots often focus first on frame rate, color profile, and whether they want a dramatic low pass through trees. Those choices matter, but they sit downstream from the real question:
What must this flight deliver?
In remote wildlife projects, there are usually three possible outputs.
First, observational footage. This is the obvious one: animals in motion, behavior at water sources, movement through brush, or broad establishing sequences of habitat.
Second, terrain and habitat context. A wildlife clip without spatial context can be visually strong and scientifically weak. You may need to show the edge of a floodplain, erosion near a nesting area, or the relationship between animal tracks and vegetation cover.
Third, measurable geospatial products. This is where the reference data becomes useful. Pix4Dmapper supports orthomosaic export in GeoTIFF, DEM output in GeoTIFF and TXT, point cloud export in PLY and TXT, and 3D model output in OBJ. Those are not abstract checkboxes. They define whether your Avata mission can support real environmental interpretation after the batteries are packed away.
An orthomosaic helps when you need a distortion-corrected overhead view of a wildlife area. A DEM gives elevation context, which can explain drainage, access, and habitat patterns. A point cloud or 3D model becomes useful when the terrain is irregular, vegetated, or structurally complex.
If the assignment is “capture wildlife in remote terrain,” the smartest move is to think like both a pilot and a field researcher.
Why Avata makes sense in remote wildlife environments
Avata is not the first aircraft most people associate with mapping, but that misses the point. In wildlife work, access and proximity often matter more than textbook survey geometry.
Remote environments are rarely open, flat, and forgiving. They are cluttered. Tree lines tighten your route. Rock faces alter wind. Light flickers under canopy. That is where Avata’s compact, protected design changes the job. Obstacle avoidance and tight-space handling are not luxury features in these scenarios. They reduce the mental load when you are threading through changing terrain while trying to maintain respectful standoff from animals.
That operational significance grows when weather changes mid-flight.
I have seen the pattern repeatedly: a calm launch near dawn, then a sudden crosswind pushing down a gully or a temperature shift flattening color and contrast. In those moments, the best wildlife platform is not necessarily the one that promises the grandest horizon shot. It is the one that lets you react quickly, preserve control, and exit cleanly.
With Avata, that often means abandoning a cinematic line for a safer, more efficient track. If you are using subject tracking or ActiveTrack-style logic in open enough terrain, do it conservatively. Wildlife does not move like a predictable sports subject. The safer strategy is to use tracking features to assist framing, not to surrender command judgment. QuickShots and Hyperlapse can still help for non-invasive habitat context sequences, especially when animals are not the direct subject, but remote wildlife flying rewards restraint over automation.
Build for two captures at once: cinematic and mappable
The reference document emphasizes that Pix4Dmapper can rapidly convert large image sets into professional 2D maps and 3D models, and that it can do so with minimal manual handling. For field teams, that is a practical advantage, not just a software claim.
Remote wildlife projects often happen on tight access windows. You may only get one hike in, one weather opening, and one usable battery cycle over a key area. If your Avata flight can capture footage for storytelling and still provide enough structured imagery for post-flight mapping, you are extracting far more value from the same deployment.
Here is how to think about it.
Pass one: behavior-sensitive footage
Use Avata for the low-disturbance, controlled-angle captures that reveal movement and habitat use. Keep your path smooth. Avoid repeated close approaches. If the species is easily stressed, stay wider and let the environment tell part of the story.
D-Log can be useful here if you expect major contrast shifts from sun breaks, cloud cover, or reflective water. In remote wildlife settings, that extra grading flexibility is often the difference between usable detail and muddy shadows.
Pass two: structured image collection
If conditions allow and disturbance risk is low, gather a cleaner image sequence over the relevant habitat area. This does not need to be a full enterprise mapping mission to be valuable. What matters is overlap, consistency, and enough coverage to support processing.
This is where the source details matter directly. Pix4Dmapper supports:
- aerial triangulation and block adjustment optimized for drones
- orthomosaic generation in GeoTIFF
- DEM output in GeoTIFF and TXT
- densified point clouds
- point cloud export in PLY and TXT
- 3D model export in OBJ
- ground control point editing
- automatic accuracy reports
- mosaic editing tools
- a fast processing mode
For wildlife and habitat work, the automatic accuracy report is especially significant. If you are trying to compare shoreline change, vegetation edge movement, or erosion near a nesting zone, you need confidence in the spatial quality of the output. A nice-looking map is not enough.
Ground control point editing also matters. In remote terrain, georeferencing can drift just enough to undermine comparison between visits. The ability to refine control points gives your output a stronger foundation if the project needs repeatability.
What changed when the weather turned
One of the most useful field lessons with Avata is how quickly priorities shift when the sky stops cooperating.
Imagine a remote marsh edge or a hillside meadow at first light. The initial plan is simple: establish habitat, wait for movement, track a subject briefly, then pull up for a wide contextual reveal. But halfway through, the weather closes in. Wind comes from a new direction. The flat morning light disappears behind a thin cloud layer. Contrast drops. Small branches start moving unpredictably.
That is when the aircraft’s handling and protection matter more than your original shot list.
Instead of forcing a long reveal, shorten the route. Fly lower only if the space remains clean and your disturbance footprint stays minimal. Use obstacle awareness as a buffer, not an excuse to get reckless. If the air becomes unstable, transition from dynamic wildlife pursuit to habitat documentation. Capture steadier, repeatable frames that can later feed the mapping pipeline.
This is where a lot of pilots salvage the mission.
The clip you lose to weather may be replaced by a far more useful data set: a patch of wetland rendered as an orthomosaic, a drainage corridor captured well enough for DEM generation, or a brushy ridge reconstructed as a 3D model. The reference notes that thousands of images can be processed quickly into 2D and 3D outputs. In field terms, that means your “weather-compromised” flight can still become a productive environmental record.
The software side is not an afterthought
A surprising number of wildlife drone operators still separate “creative flying” from “analysis flying” as if they belong to different teams. In remote work, that division wastes effort.
The Pix4Dmapper capabilities described in the source are a reminder that image processing should be part of mission design from the start. If your Avata captures can flow into orthomosaics, point clouds, DEMs, and OBJ models, then your footage becomes more than content. It becomes documentation.
That is particularly useful in environmental monitoring scenarios:
- seasonal habitat comparison
- vegetation boundary assessment
- water spread and drainage observation
- terrain visualization for access planning
- 3D context for restoration or conservation reporting
The fast processing mode is not a trivial feature either. In remote operations, turnaround time matters. You may need a quick result while the team is still on-site deciding whether a second sortie is necessary. Faster preliminary processing can help validate coverage before leaving an area that is difficult to revisit.
And because the source highlights that the workflow can function without deep specialist knowledge or heavy manual intervention, the barrier to entry is lower for small environmental teams, field biologists, and creators working alongside conservation groups rather than full geospatial departments.
A practical Avata field workflow for wildlife in remote areas
Here is the version I recommend when the assignment has both visual and environmental value.
1. Scout for disturbance, not just composition
Identify animal movement routes, likely launch positions, and wind channels. A beautiful line through trees is irrelevant if it pressures the subject.
2. Capture your must-have footage first
Wildlife behavior is perishable. Habitat geometry is not. Get the key observational shots while conditions and subject presence still align.
3. Switch to repeatable image collection
If the site and species allow, collect overlapping passes that can support mapping or 3D reconstruction later.
4. Use weather shifts as a decision trigger
If conditions worsen, stop chasing dramatic shots. Pivot to stable habitat coverage. This often preserves mission value.
5. Process for insight, not just aesthetics
Run outputs that answer the field question. Orthomosaic for spatial overview. DEM for elevation-driven patterns. Point cloud or OBJ model for structurally complex terrain.
6. Validate accuracy before telling the story
The source specifically mentions auto-generated accuracy reports and ground control point editing. Use them. If the final map or model is meant to support habitat interpretation, trust must come before presentation.
Where support actually helps
If you are trying to connect an Avata-style field workflow with environmental mapping outputs and want someone to sanity-check the setup, you can message a drone workflow specialist here. That kind of conversation is most useful before the field day, not after a missed capture.
The bigger takeaway
The strongest remote wildlife Avata work does not come from flying aggressively or stacking features for their own sake. It comes from understanding that a single mission can serve two purposes at once: respectful observation and spatial documentation.
The reference material points to exactly that kind of workflow. Pix4Dmapper’s support for GeoTIFF orthomosaics, DEM files, densified point clouds, PLY/TXT exports, OBJ 3D models, and automated accuracy reporting turns image capture into something operationally meaningful. The mention that it can process thousands of photos with limited manual intervention matters because remote projects rarely have unlimited time or specialist labor.
So when the weather changes mid-flight, and it will, the best Avata pilot is not the one who stubbornly pursues the original shot list. It is the one who knows how to adapt the mission, protect the aircraft, minimize wildlife disturbance, and come home with data that still matters.
That is the difference between a nice flight and a useful one.
Ready for your own Avata? Contact our team for expert consultation.