Avata in Coastal Forest Work: A Practical Camera
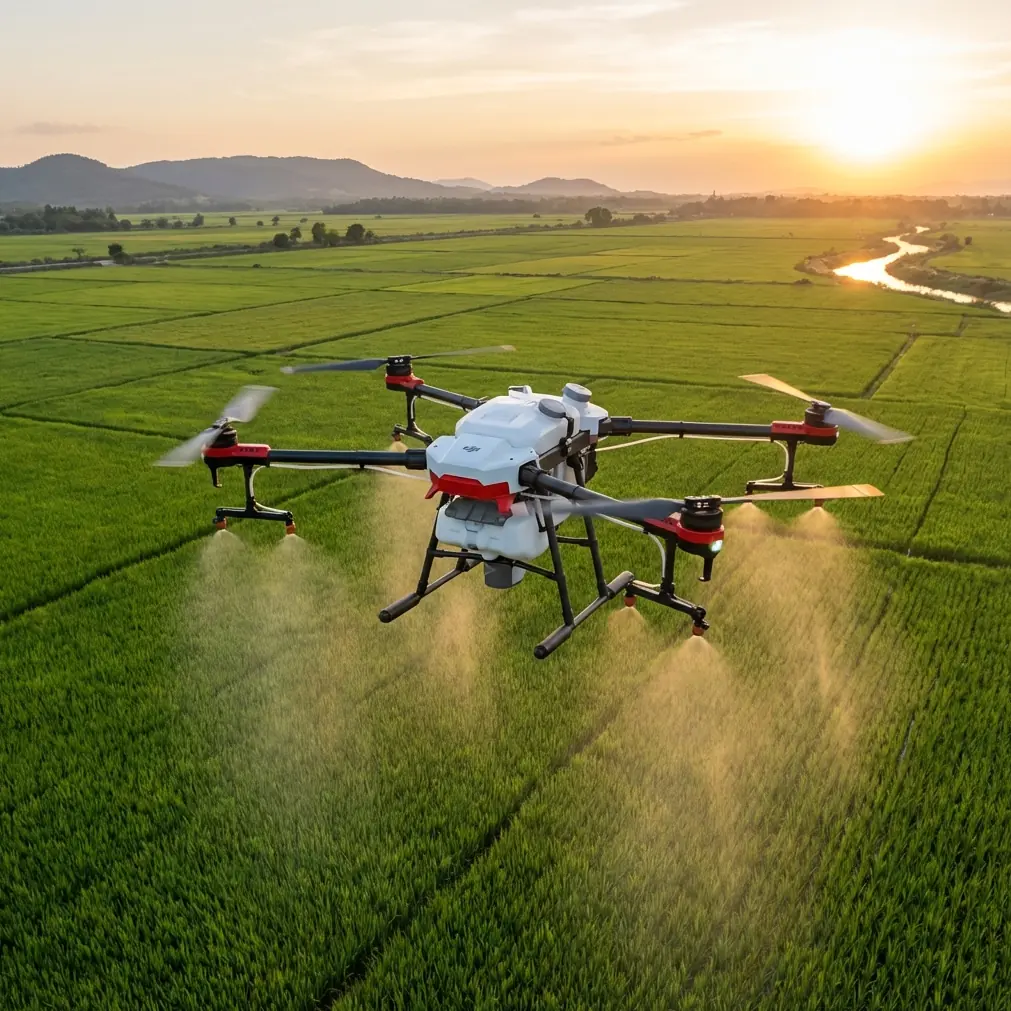
Avata in Coastal Forest Work: A Practical Camera-Control Guide for Cleaner Flights and Faster Field Decisions
META: A hands-on Avata guide for coastal forest operations, focused on touch-screen camera control, lock gestures, mode access, and antenna positioning for reliable image capture in demanding civilian field environments.
Coastal forest work punishes hesitation.
You are often dealing with salt-heavy air, shifting wind channels through tree lines, wet launch zones, and brief openings where the canopy, tide, and light finally line up. In that setting, an Avata pilot does not benefit from a vague feature tour. What matters is speed of control, fewer touchscreen mistakes, and a setup that stays readable and stable while you are moving between shoreline edges and wooded corridors.
That is where a seemingly small reference detail becomes surprisingly valuable: the camera display gesture logic drawn from the HERO4 Silver manual. Even though the source is a camera manual rather than an Avata flight document, the operational lesson carries over neatly to Avata-based field capture workflows. When you’re flying or staging a flight in coastal forests, the difference between a clean swipe, a locked screen, and a buried settings menu can cost a usable pass.
I shoot as a photographer first, and that shapes how I look at Avata. For this kind of work, the aircraft is only half the system. The other half is how quickly you can get from “I need a low run through that opening” to “recording, exposed correctly, stable link, no accidental input.”
Why touch control discipline matters more in coastal forests
Many pilots obsess over obstacle avoidance, subject tracking, QuickShots, Hyperlapse, D-Log, or ActiveTrack before they’ve solved the basic issue of control friction. Those tools matter. But on a damp shoreline, under a broken canopy, with gloves coming on and off and your landing surface changing every few minutes, screen behavior becomes a real operational factor.
The source material gives us four especially useful interaction details:
- Swipe left to reveal camera modes.
- Swipe up from the bottom edge to open the settings menu for the current mode.
- Slide down and hold to unlock the touch screen.
- Press for 3 seconds to lock the touch screen.
Those are simple actions. Their significance in the field is not.
A coastal forest mission often alternates between three rhythms: setup, launch, and rapid review. During setup, you may be changing exposure behavior, capture mode, or playback checks. During launch, the worst mistake is an accidental screen input that changes something without you noticing. During review, speed matters because your weather window may be closing.
That makes lock and unlock behavior especially important. A 3-second press to lock is not just a convenience feature. In real field use, it is protection against wet-finger input, strap bumps, jacket contact, and rushed handling while repositioning. Then, the slide down and hold to unlock introduces a deliberate action that reduces unintended changes when you need to get back into the interface.
On paper, that sounds minor. In a forest edge environment, it is workflow insurance.
Building an Avata routine around those gestures
If your Avata workflow involves repeated low-altitude passes near coastal woods for tourism content, habitat documentation, trail mapping, or training footage, you want your interaction pattern to be nearly automatic.
Here is the routine I recommend.
1. Set mode before you move to the launch point
The source notes that a left swipe shows camera modes. Operationally, that matters because mode decisions should happen before you step into a cluttered launch zone.
Do not wait until the aircraft is powered, the wind has shifted, and a branch line is moving in your peripheral vision. Decide early whether the pass is intended for smooth environmental footage, a quick reveal, a short training clip, or a review-oriented shot sequence. If your Avata workflow includes cinematic profiles such as D-Log for later grading, this is the stage where you confirm that the camera behavior matches the output you need.
In coastal forests, this one habit reduces the temptation to dig through menus while already under time pressure.
2. Use the bottom-edge settings gesture as your preflight checkpoint
The manual states that a swipe up from the bottom edge opens the current mode’s settings menu. This is the gesture that should anchor your preflight camera check.
For coastal forest delivery work, inspection flights, training runs, or environmental documentation, your settings review should happen in a fixed order:
- exposure and white balance approach
- stabilization preferences
- recording resolution/frame rate
- playback confidence check if needed
The reason this matters in Avata operations is simple: a bottom-up gesture is quick, but only if you treat it as a routine and not as a hunt. You want one motion, one menu, one check sequence.
That consistency becomes even more useful if your work mixes shaded canopy and bright reflected water. Coastal forests create abrupt contrast transitions. If you are capturing footage intended for editing flexibility, D-Log can be useful, but only if you consciously confirm it before launch. A rushed pilot often blames the light when the real issue was a missed menu choice.
Screen locking is not optional in wet, mobile environments
The source gives us two time-based and motion-based controls that deserve more respect than they usually get:
- Press for 3 seconds to lock the touch display
- Slide down and hold to unlock
That explicit 3-second number is not trivial. It creates a deliberate threshold. You are not going to lock the display by accident with a casual touch. That’s exactly what you want when moving through brush, adjusting a sling bag, or carrying gear from dune line to tree cover.
For Avata operators in coastal forests, locking the screen should happen at two specific moments:
- Immediately after your final settings confirmation
- Any time you are walking with powered gear between takeoff points
I’ve seen more spoiled setups from unintended screen contact than from outright technical failure. In wet conditions, one accidental tap can change a mode, disable a preferred setting, or push you into a menu when your attention should be outside the display.
Unlocking with a downward slide and hold is equally useful because it demands intent. In practical terms, this reduces the risk of reactivating the interface while pulling the controller or display unit out of a case.
That kind of friction is good friction.
What this means for forest delivery and route scouting
The user scenario here is “delivering forests in coastal,” which I interpret as the kind of civilian route planning, training, logistics visualization, or environmental corridor assessment that benefits from a nimble FPV-style platform. Avata is often attractive in these spaces because it can produce immersive route perspective that larger mapping rigs don’t.
Still, dense vegetation and shoreline conditions expose a hard truth: range and control quality are not only about published specs. They are also about body position, launch location, and antenna orientation.
You asked for antenna positioning advice, and this is where pilots can gain a lot with a few disciplined habits.
Antenna positioning advice for maximum practical range
Maximum range in coastal forests is less about chasing distance and more about preserving a healthy link through partial obstruction, moisture, and irregular terrain.
Use these principles:
Keep the antenna faces oriented toward the aircraft’s working area
The common mistake is pointing antennas like arrows directly at the drone. In many controller systems, the strongest transmission region is not always the tip but the broader face or side profile. For practical Avata work, the safe rule is to keep the antennas positioned so their active surfaces are presented toward the aircraft’s expected flight corridor.
If you are flying a shoreline-to-tree-line route, angle your body and controller before launch so the aircraft spends most of the mission inside that strongest coverage zone.
Avoid letting your own body become the obstacle
This matters more than many pilots admit. Salt air, foliage, and terrain already challenge signal quality. If you turn your back to the aircraft or let your torso block the controller’s line toward the drone, you are stacking avoidable losses on top of unavoidable ones.
When repositioning on foot, pivot with the aircraft. Do not keep your stance fixed and twist only your wrists.
Gain elevation when the forest floor is working against you
A small rise, dune edge, boardwalk, or open patch can meaningfully improve line quality. Coastal forests often produce a tunnel effect where trunks and undergrowth interrupt the path between controller and aircraft. Launching from even a modestly elevated position can clean up the signal corridor.
Stay clear of dense wet foliage whenever possible
Moist leaves are bad news for transmission reliability. If your route forces a low pass beside vegetation, try to maintain a clean control path above or beside the densest sections rather than behind them. Even a short segment of better line-of-sight can stabilize the rest of the run.
Do a short test leg first
Before committing to your full route, fly a brief segment that mimics the hardest part of the planned path. Check responsiveness, image stability, and your comfort with orientation. This is especially useful if you expect to use intelligent functions like ActiveTrack or capture modes such as Hyperlapse later in the same session. The environment should be validated first. Features come second.
If you need a second opinion on controller layout or field setup for this kind of coastal forest work, you can message the team here: ask an Avata workflow specialist.
How these camera gestures support smarter review in the field
The source also mentions playback behavior:
- Swipe left/right to move through gallery images in playback mode
- Swipe from the left edge to the right to show the previous captured file
- Double tap to zoom in or out of an image
- Tap to select and turn settings on or off
- Swipe up/down to browse a settings list
These are not just interface trivia. In a coastal forest environment, they help you answer three critical questions quickly after a pass:
- Did I get the route cleanly?
- Is the horizon, framing, or exposure usable?
- Do I need to repeat the shot before conditions change?
The double-tap zoom behavior is especially useful in review because it lets you check edge detail, branch interference, and motion artifacts without wasting time in a deeper menu structure. If you are documenting trail conditions, boardwalk assets, eco-tourism routes, or vegetation edge changes, that fast zoom review can help you validate whether your footage is actually fit for purpose.
The left/right gallery swipes matter too. After several quick runs, efficient playback navigation helps you compare attempts in sequence instead of relying on memory. That is valuable when wind direction changes the feel of a pass, or when you are trying to decide whether the first opening through the trees looked cleaner than the third.
What Avata pilots often get wrong in these environments
The biggest mistake is thinking of the mission as “just a short scenic flight.”
Coastal forests are layered environments. Open sky can turn into branch cover in a second. Bright reflective water can become deep shade just as quickly. If your Avata setup is not controlled at the interface level, all the premium features in the world will not rescue a careless workflow.
Another frequent error is overconfidence in automation. Obstacle avoidance and tracking-related tools can help in many civilian applications, but they do not replace deliberate route planning in wooded coastal spaces. Pilots should treat intelligent features as assistants, not as permission to fly carelessly in clutter.
And then there is the screen itself. People underestimate how much time is lost to accidental inputs, delayed menu access, or confused playback review. The source material’s gesture map is useful precisely because it pushes you toward muscle memory:
- left for modes
- up from bottom for settings
- 3-second press to lock
- slide down and hold to unlock
That sequence is the kind of practical knowledge that saves footage.
A better way to think about Avata in coastal forest operations
Avata is at its best when the pilot behaves like a field operator, not a gadget collector.
That means building a disciplined launch routine, understanding how your display behaves under pressure, and treating antenna positioning as part of flight planning rather than an afterthought. It also means reviewing footage efficiently enough to make on-site corrections while the weather, tide, and light are still working in your favor.
The reference manual details may come from a camera interface context, but they point to a larger truth: in difficult environments, elegant flying starts with uncluttered control habits. The pilots who get consistent results are rarely the ones doing the most on screen. They are the ones doing the right things, in the right order, with fewer mistakes.
For coastal forest delivery visuals, route scouting, training footage, and environmental documentation, that mindset is what turns Avata from a fun aircraft into a reliable working tool.
Ready for your own Avata? Contact our team for expert consultation.