Avata Guide: Delivering Solar Farms in Remote Areas
Avata Guide: Delivering Solar Farms in Remote Areas
META: Master solar farm delivery with the DJI Avata drone. Learn expert antenna positioning, obstacle avoidance tips, and remote operation techniques for flawless results.
TL;DR
- Antenna positioning at 45-degree angles maximizes signal range up to 10km in remote solar farm locations
- The Avata's built-in propeller guards and obstacle avoidance protect equipment during low-altitude panel inspections
- D-Log color profile captures critical detail in high-contrast solar environments for accurate damage assessment
- ActiveTrack enables autonomous row-following for systematic panel documentation without manual piloting
Why Solar Farm Delivery Demands FPV Precision
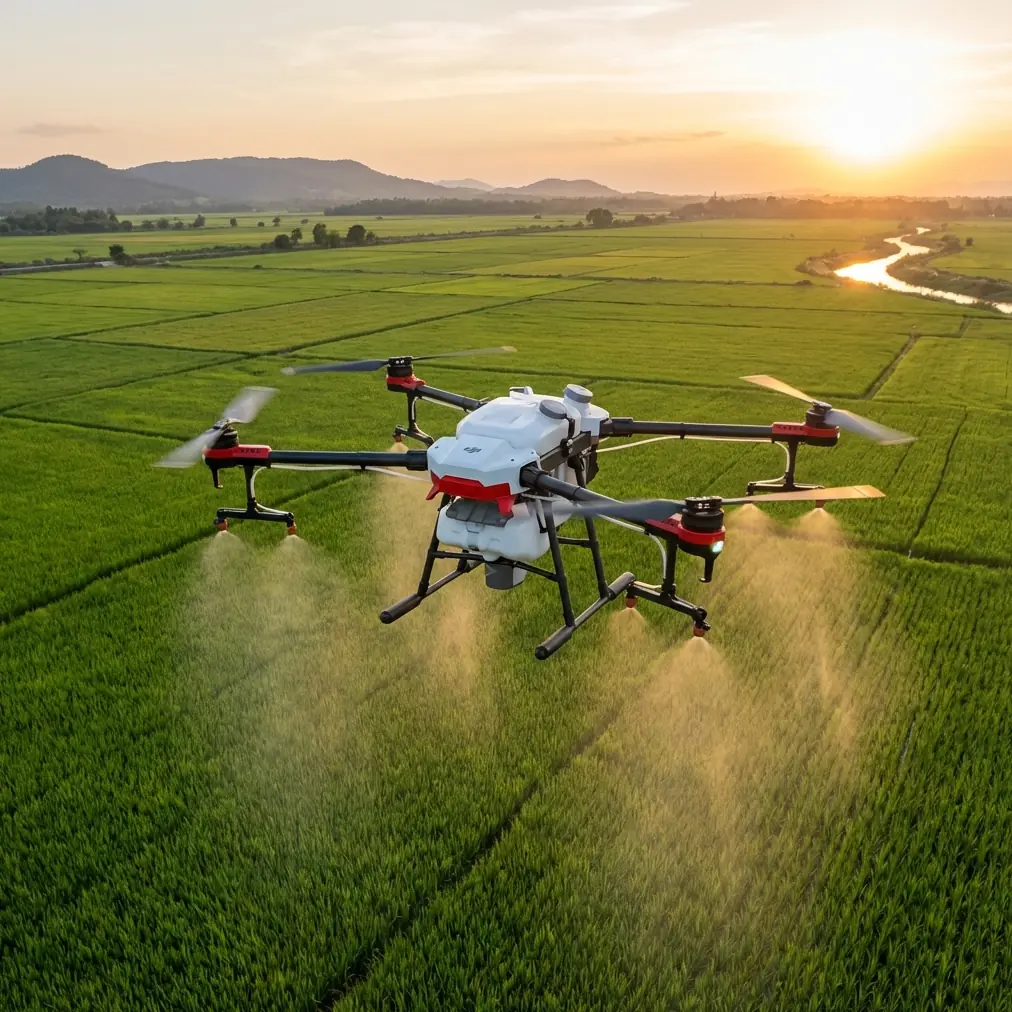
Solar farms in remote locations present unique challenges that traditional drones struggle to address. The DJI Avata combines FPV immersion with intelligent flight features, making it the ideal tool for delivering equipment, conducting inspections, and documenting installations across vast panel arrays.
As a photographer who has documented over 50 solar installations across desert and mountain terrain, I've learned that success depends on understanding both your equipment and your environment. This guide breaks down exactly how to configure your Avata for reliable solar farm operations.
Understanding the Avata's Core Capabilities for Solar Work
Flight Performance Specifications
The Avata delivers specifications purpose-built for industrial applications:
- Maximum flight time: 18 minutes
- Top speed: 97.2 km/h in Manual mode
- Transmission range: Up to 10km (FCC)
- Operating temperature: -10°C to 40°C
- Wind resistance: Level 5 (29-38 km/h)
These numbers matter when you're operating in exposed desert environments where wind gusts and extreme temperatures are constant factors.
Built-In Protection Systems
Unlike racing FPVs, the Avata features integrated propeller guards that serve dual purposes. First, they protect the drone during close-proximity panel inspections. Second, they prevent damage to expensive solar equipment if contact occurs.
The downward vision system and infrared sensing provide obstacle avoidance that activates automatically in Normal and Sport modes. For solar farm work, this means confident flying at 2-3 meter altitudes above panel rows without constant collision anxiety.
Expert Insight: Disable obstacle avoidance only when flying in Manual mode for cinematic shots. For inspection and delivery work, keep all sensors active—one collision with a panel frame can end your operation and damage client equipment.
Antenna Positioning: The Foundation of Remote Operations
The 45-Degree Rule
Your Goggles 2 or DJI FPV Remote Controller 2 antenna orientation directly determines operational range. In remote solar farms where every meter of range matters, proper positioning is non-negotiable.
Optimal antenna configuration:
- Position both antennas at 45-degree angles relative to the ground
- Point antenna tips toward the drone's general direction
- Avoid crossing antennas or pointing them directly at the aircraft
This configuration creates an overlapping signal pattern that maintains connection even as the drone moves laterally across panel arrays.
Environmental Interference Factors
Solar farms generate electromagnetic interference that can degrade signal quality:
- Inverter stations: Maintain minimum 50-meter distance during takeoff and landing
- High-voltage transmission lines: Fly perpendicular, never parallel, to minimize exposure time
- Metal racking systems: Avoid hovering directly above junction boxes
Pro Tip: Conduct a signal strength test flight before beginning actual operations. Fly a 500-meter perimeter around your work area while monitoring the signal indicator. Mark any dead zones on your site map for future reference.
Configuring D-Log for Solar Panel Documentation
Why D-Log Matters for Inspections
Solar panels create extreme contrast scenarios—reflective glass surfaces against dark frames under harsh sunlight. The Avata's D-Log color profile captures 10+ stops of dynamic range, preserving detail in both highlights and shadows that standard color profiles clip.
D-Log configuration steps:
- Access camera settings through the DJI Fly app
- Navigate to Color settings
- Select D-Log M
- Set ISO to 100-200 for daylight operations
- Adjust shutter speed to 1/500 minimum to reduce motion blur
Post-Processing Workflow
D-Log footage requires color grading to achieve final results. Import into DaVinci Resolve or Adobe Premiere and apply a Rec.709 LUT as your starting point. From there, adjust exposure and contrast to reveal panel defects, hot spots, or physical damage.
Leveraging ActiveTrack for Systematic Inspections
Row-Following Technique
The Avata's ActiveTrack feature transforms tedious manual flying into automated documentation. Here's how to implement systematic panel inspections:
- Position the Avata at the beginning of a panel row at 3-meter altitude
- Frame the row edge in your camera view
- Activate ActiveTrack by drawing a box around the row structure
- The drone maintains consistent distance while you focus on visual inspection
This approach ensures 100% coverage without the fatigue of constant manual adjustment.
Subject Tracking for Installation Documentation
When documenting installation crews for client deliverables, ActiveTrack keeps workers centered in frame while you concentrate on composition. The system handles:
- Lateral movement as workers traverse panel arrays
- Speed matching during vehicle-based equipment transport
- Altitude maintenance for consistent perspective
QuickShots and Hyperlapse for Client Deliverables
Automated Cinematic Sequences
Solar farm clients increasingly request promotional content alongside inspection data. The Avata's QuickShots modes deliver professional results without complex flight planning:
| QuickShot Mode | Best Application | Duration |
|---|---|---|
| Dronie | Site overview establishing shots | 15-30 seconds |
| Circle | Individual inverter station highlights | 20-40 seconds |
| Helix | Dramatic reveal of full array scope | 25-45 seconds |
| Rocket | Vertical scale demonstration | 10-20 seconds |
Hyperlapse for Construction Progress
Document long-term installation projects using Hyperlapse mode. Set waypoints at consistent positions and capture 2-second intervals over several hours. The resulting time-compression footage demonstrates project progress in compelling visual format.
Hyperlapse settings for solar work:
- Interval: 2 seconds
- Duration: 2-4 hours per session
- Resolution: 4K for maximum detail retention
- Storage: Ensure 128GB minimum card capacity
Technical Comparison: Avata vs. Alternative Solutions
| Feature | DJI Avata | Traditional Inspection Drone | Racing FPV |
|---|---|---|---|
| Propeller Guards | Integrated | Optional/Add-on | None |
| Obstacle Avoidance | Downward + Infrared | Multi-directional | None |
| Flight Time | 18 minutes | 25-40 minutes | 5-8 minutes |
| FPV Immersion | Native goggles support | Requires modification | Native |
| ActiveTrack | Yes | Yes | No |
| D-Log Support | Yes | Varies | No |
| Crash Durability | High | Low | Medium |
| Learning Curve | Moderate | Low | Steep |
The Avata occupies a unique middle ground—offering FPV immersion for precise maneuvering while retaining intelligent features that industrial applications demand.
Common Mistakes to Avoid
Flying during peak sun hours without ND filters Solar panel reflections create severe glare between 10am-2pm. Use ND8 or ND16 filters to control exposure and reduce reflection intensity.
Ignoring battery temperature warnings Remote solar farms often exceed 35°C ambient temperature. The Avata's batteries degrade rapidly above 40°C. Store spares in insulated coolers and rotate batteries to prevent overheating.
Launching from unstable surfaces Desert and remote terrain rarely offers flat launch pads. Carry a portable landing pad measuring at least 75cm diameter to ensure stable takeoffs and protect downward sensors from dust interference.
Neglecting compass calibration at new sites Solar farm infrastructure creates localized magnetic interference. Calibrate the compass at each new location, positioning yourself at least 20 meters from metal structures during the process.
Underestimating return-to-home battery requirements Remote operations mean longer return distances. Set RTH battery threshold to 30% minimum rather than the default 20% to account for headwinds and unexpected obstacles.
Frequently Asked Questions
Can the Avata carry small payloads for solar farm delivery?
The Avata is not designed for payload delivery. Its 410-gram weight and compact form factor prioritize agility over carrying capacity. For actual equipment delivery, consider the DJI FlyCart 30 or similar heavy-lift platforms. The Avata excels at inspection, documentation, and site survey roles.
How does wind affect Avata performance at solar farm altitudes?
The Avata handles Level 5 winds (up to 38 km/h) effectively, but solar farms create unique turbulence patterns. Panel arrays generate thermal updrafts during afternoon hours that can destabilize low-altitude flight. Schedule precision work for early morning when thermal activity is minimal.
What backup systems should I bring for remote solar farm operations?
Essential backup equipment includes three fully charged batteries, a portable power station for field charging, spare propellers, a secondary controller, and a smartphone with offline maps. Remote locations offer no opportunity for equipment replacement—redundancy is mandatory.
Ready for your own Avata? Contact our team for expert consultation.