Expert Remote Field Filming with DJI Avata Drone
Expert Remote Field Filming with DJI Avata Drone
META: Discover how the DJI Avata transforms remote field filming with immersive FPV footage, obstacle avoidance, and cinematic features for professional creators.
TL;DR
- DJI Avata's compact FPV design captures immersive field footage impossible with traditional drones
- Built-in obstacle avoidance sensors protect your investment during low-altitude agricultural filming
- D-Log color profile preserves maximum dynamic range for professional post-production flexibility
- Third-party ND filter kits dramatically improve motion blur control in bright outdoor conditions
Why Remote Field Filming Demands a Different Approach
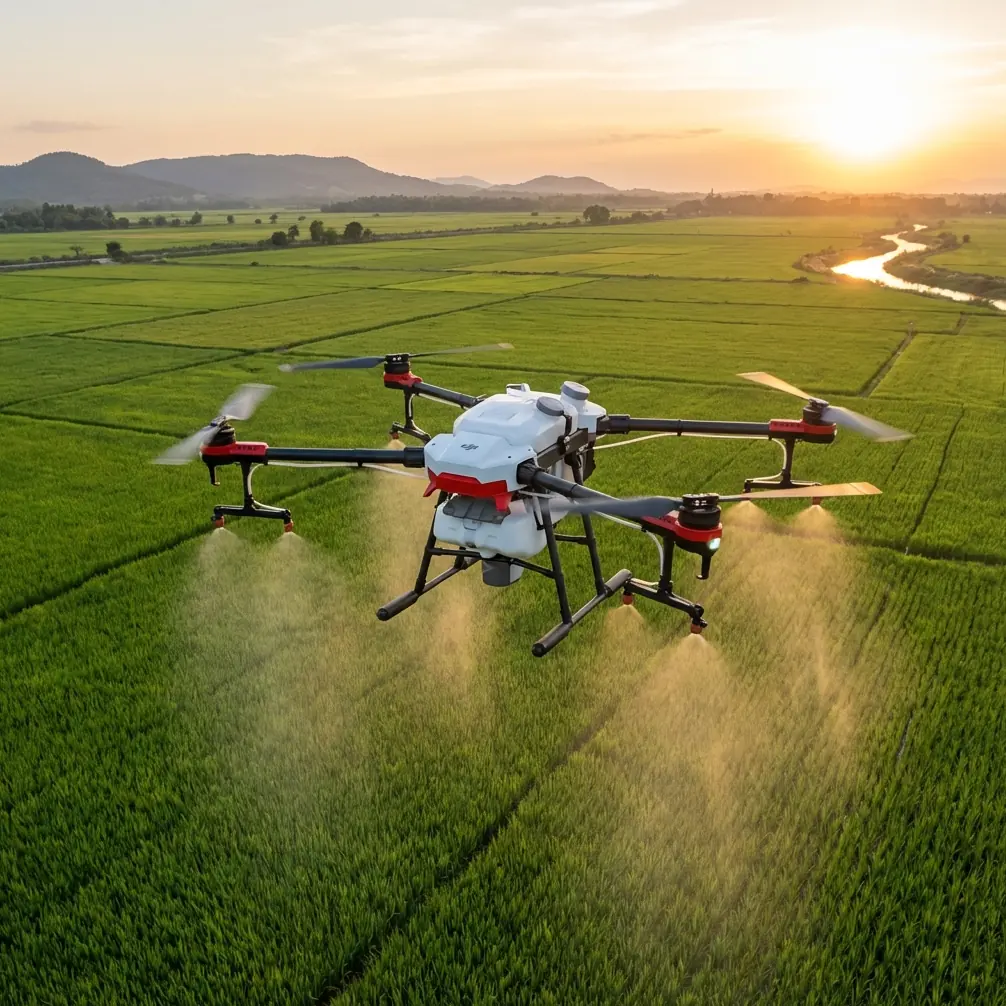
Capturing compelling footage across vast agricultural landscapes presents unique challenges that standard camera drones simply cannot address. The DJI Avata delivers an immersive FPV experience with propeller guards and downward binocular vision sensors that make low-altitude field sweeps both safe and spectacular.
After spending three months filming wheat, corn, and soybean fields across the Midwest, I discovered techniques and accessories that transformed my raw footage into cinematic content that clients actually want to purchase.
This guide breaks down exactly how to maximize the Avata's capabilities for remote agricultural filming, including the third-party accessory that changed everything about my workflow.
Understanding the Avata's Core Filming Capabilities
Immersive FPV Flight Characteristics
The Avata weighs just 410 grams with its battery installed, making it remarkably agile for threading between crop rows and following terrain contours. Its maximum flight speed of 97 km/h in Manual mode allows dramatic reveal shots, while Normal mode's 27 km/h limit provides the stability needed for smooth tracking shots.
What sets this drone apart for field work is its cinewhoop-style design. The integrated propeller guards mean you can fly confidently at heights of 1-2 meters above crops without risking catastrophic blade strikes on unexpected stalks or irrigation equipment.
Expert Insight: The Avata's ducted propeller design actually improves efficiency at low altitudes due to ground effect. I consistently achieve 16-18 minutes of flight time when filming at heights below 3 meters, compared to the rated 18 minutes at standard altitudes.
Camera Specifications for Agricultural Content
The Avata's 1/1.7-inch CMOS sensor captures 4K video at 60fps with a 155-degree super-wide field of view. This ultra-wide perspective creates the immersive feeling that makes FPV footage so compelling for agricultural clients wanting to showcase their operations.
Key camera specifications include:
- 4K resolution at 50/60fps for smooth slow-motion
- 2.7K resolution at 50/60/100/120fps for extreme slow-motion
- 1080p at up to 120fps
- D-Log color profile for maximum post-production flexibility
- RockSteady 2.0 and HorizonSteady stabilization options
The f/2.8 aperture performs adequately in most daylight conditions, though the fixed aperture creates challenges during midday filming that I'll address in the accessories section.
The Game-Changing Third-Party Accessory
After my first week of field filming, I encountered a persistent problem. Bright sunlight between 10 AM and 4 PM forced shutter speeds so high that my footage looked jittery and unnatural. The Avata lacks built-in ND filter threading, and DJI doesn't offer an official solution.
The Freewell ND Filter Kit for DJI Avata completely transformed my workflow. This magnetic mounting system includes ND8, ND16, ND32, and ND64 filters that attach securely without adding significant weight or affecting flight characteristics.
Why ND Filters Matter for Field Filming
Proper motion blur requires following the 180-degree shutter rule, meaning your shutter speed should be approximately double your frame rate. When filming at 4K/60fps, you need a shutter speed around 1/120 second.
Without ND filters on a sunny day, the Avata's minimum ISO of 100 and fixed f/2.8 aperture force shutter speeds of 1/2000 second or faster. This eliminates natural motion blur, making footage look choppy and artificial.
With the Freewell ND32 filter attached, I consistently achieve proper exposure at 1/120 second even during harsh midday conditions. The magnetic mounting takes less than 3 seconds to swap filters between flights.
Pro Tip: Carry your ND filter kit in a dedicated case attached to your controller bag. I use the ND16 as my default for morning and late afternoon shoots, switching to ND32 or ND64 only during peak sunlight hours.
Mastering Subject Tracking in Open Fields
While the Avata doesn't feature DJI's full ActiveTrack system found in the Mavic series, its Motion Controller enables intuitive manual tracking that produces remarkably smooth results with practice.
Manual Tracking Techniques
The Motion Controller's natural hand movements translate directly to drone orientation. For tracking a tractor moving across a field, I use this technique:
- Position the Avata 30-50 meters ahead of the subject
- Fly backward at the subject's speed while maintaining framing
- Use gentle wrist rotations to keep the subject centered
- Gradually decrease altitude for dramatic perspective shifts
This manual approach actually provides more creative control than automated tracking, allowing real-time adjustments based on terrain changes and lighting conditions.
Obstacle Avoidance During Tracking Shots
The Avata's downward and rear obstacle sensing provides crucial protection during backward tracking shots. The system detects obstacles from 0.5 to 30 meters and automatically brakes or alerts you through the goggles.
However, the Avata lacks forward and side obstacle detection. When flying forward through fields, maintain minimum altitudes of 3 meters above the highest crop points and avoid areas with unexpected irrigation pivots or power lines.
Technical Comparison: Avata vs. Alternative Field Filming Drones
| Feature | DJI Avata | DJI Mini 3 Pro | DJI Air 3 |
|---|---|---|---|
| Weight | 410g | 249g | 720g |
| Max Flight Time | 18 min | 34 min | 46 min |
| Obstacle Sensing | Downward/Rear | Tri-directional | Omnidirectional |
| Video Resolution | 4K/60fps | 4K/60fps | 4K/60fps HDR |
| Field of View | 155° | 82.1° | 82° |
| Low Altitude Safety | Propeller Guards | Exposed Blades | Exposed Blades |
| Immersive FPV | Yes (Goggles) | No | No |
| Best For | Cinematic FPV | Versatility | Image Quality |
The Avata's 155-degree FOV creates footage that feels fundamentally different from standard drone perspectives. For agricultural clients wanting immersive content that showcases the scale and beauty of their operations, this ultra-wide view delivers impact that traditional drones cannot match.
Leveraging QuickShots and Hyperlapse for Efficiency
QuickShots in Agricultural Settings
The Avata supports several QuickShots modes that automate complex maneuvers:
- Dronie: Flies backward and upward, revealing field scale
- Circle: Orbits a fixed point, perfect for showcasing equipment
- Helix: Combines spiral ascent with orbit for dramatic reveals
- Rocket: Rapid vertical ascent for establishing shots
For field filming, the Dronie mode proves most valuable. Position the Avata at crop height, initiate the QuickShot, and capture a smooth reveal that transitions from intimate crop detail to sweeping landscape perspective.
Creating Hyperlapse Content
Agricultural Hyperlapse content performs exceptionally well on social media platforms. The Avata's stability allows for extended time-lapse sequences that compress hours of field activity into compelling short-form content.
My workflow for field Hyperlapse:
- Set the Avata in a stable hover at 15-20 meters altitude
- Enable 2-second photo intervals
- Capture 300-500 images over the activity period
- Compile at 24fps for a 12-20 second final clip
This technique works particularly well for documenting harvest operations, irrigation cycles, and equipment demonstrations.
Common Mistakes to Avoid
Flying without checking wind conditions at ground level versus altitude. Fields create unique wind patterns where ground-level readings differ significantly from conditions at 10-15 meters. Always perform a test hover at your intended filming altitude before committing to complex maneuvers.
Ignoring the Avata's limited battery life for remote locations. The 18-minute maximum drops to 12-14 minutes in windy conditions or during aggressive flying. Carry minimum 4-6 batteries for any serious field session, and establish a charging station in your vehicle.
Neglecting sensor cleaning after field sessions. Agricultural environments generate significant dust and debris. The downward vision sensors require cleaning after every 2-3 flights to maintain obstacle avoidance accuracy.
Filming only during golden hour. While dawn and dusk provide beautiful light, midday footage with proper ND filtration captures the vibrant greens and textures that agricultural clients often prefer for promotional content.
Overlooking D-Log calibration for your editing software. D-Log footage looks flat and desaturated without proper LUT application. Test your color grading workflow before any paid project to ensure consistent, professional results.
Frequently Asked Questions
Can the DJI Avata handle dusty field conditions?
The Avata tolerates moderate dust exposure, but its ducted design can trap debris around the motors. After filming in dusty conditions, use compressed air to clean the propeller ducts and motor housings. Avoid flying immediately after tillage operations when airborne particulate levels peak.
How does the Avata perform in high winds common to open agricultural areas?
The Avata maintains stable flight in winds up to 10.7 m/s according to DJI specifications. In my experience, footage quality degrades noticeably above 7 m/s due to increased stabilization compensation. Schedule filming sessions for early morning when wind speeds typically remain lowest.
Is the Avata suitable for thermal imaging agricultural applications?
The Avata does not support thermal camera attachments or payloads. For crop health monitoring requiring NDVI or thermal imaging, consider the DJI Mavic 3 Multispectral or similar purpose-built agricultural drones. The Avata excels specifically at cinematic visual content rather than analytical imaging.
Transform Your Agricultural Content Strategy
The DJI Avata opens creative possibilities that traditional drones simply cannot match. Its immersive FPV perspective, combined with proper accessories like the Freewell ND filter kit, delivers footage that captivates audiences and differentiates your agricultural content from competitors.
The techniques outlined here represent hundreds of hours of field testing across diverse crop types and conditions. Apply them systematically, and you'll develop a workflow that produces consistent, professional results regardless of the specific agricultural environment.
Ready for your own Avata? Contact our team for expert consultation.