Avata: Filming Solar Farms in Mountain Terrain
Avata: Filming Solar Farms in Mountain Terrain
META: Learn how the DJI Avata captures stunning solar farm footage in mountain environments. Expert tutorial covering D-Log, ActiveTrack, and obstacle avoidance tips.
TL;DR
- The DJI Avata's compact cinewhoop design makes it the ideal drone for navigating tight mountain terrain around solar panel arrays.
- D-Log color profile preserves critical shadow and highlight detail across highly reflective solar panels and dark mountain ridgelines.
- Built-in obstacle avoidance sensors provide essential safety when flying close to racking systems, cables, and uneven slopes.
- A third-party ND filter kit transformed our footage quality, eliminating glare and enabling cinematic motion blur across every shot.
Why the Avata Excels for Mountain Solar Farm Content
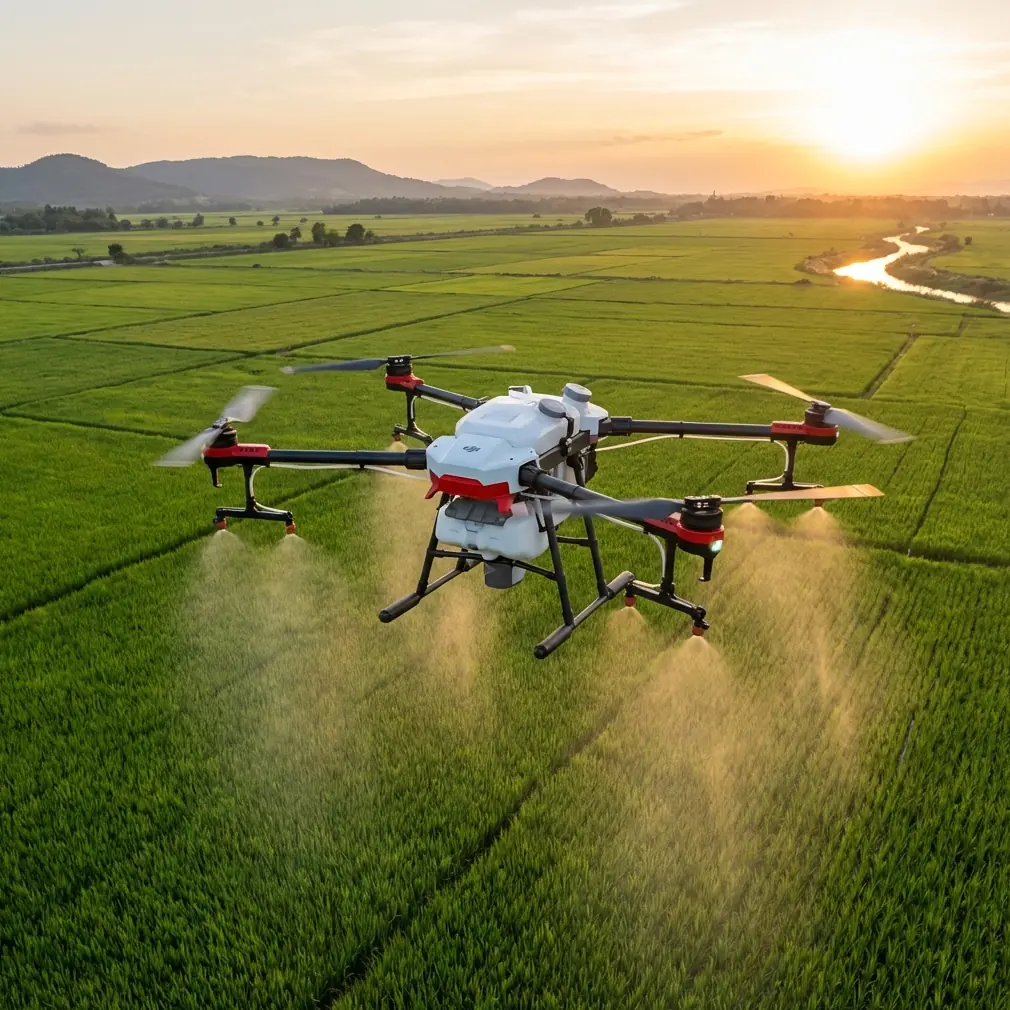
Solar farms built on mountain slopes present one of the most demanding filming environments a drone pilot will encounter. Reflective panel surfaces, steep grade changes, metal racking infrastructure, and unpredictable mountain winds all conspire against clean footage. This tutorial breaks down exactly how I used the DJI Avata—paired with a Freewell ND filter set—to capture professional-grade solar farm content across three mountain installations in the Pacific Northwest.
The Avata isn't a typical cinematography drone. Its ducted propeller design, lightweight frame, and immersive FPV control system give it capabilities that larger platforms simply cannot match when the environment demands close-proximity flying around complex infrastructure.
Gear Setup: What I Brought to the Mountain
Before a single propeller spun, preparation made the difference between usable footage and wasted battery cycles. Here's the exact kit I packed for each shoot day:
- DJI Avata (with DJI Goggles 2 and Motion Controller)
- Freewell ND/PL filter 4-pack (ND8/PL, ND16/PL, ND32/PL, ND64/PL)
- 4 Avata Intelligent Flight Batteries (approximately 18 minutes flight time each)
- DJI Mic wireless system for on-site voice narration
- Portable landing pad to prevent dust and debris interference on rocky terrain
- Tablet with DJI Fly app for pre-flight planning and compass calibration
Pro Tip: Mountain elevations above 1,500 meters reduce air density, which directly impacts battery performance. I consistently saw 12–14 minutes of usable flight time rather than the rated 18 minutes. Always plan your shot list around conservative battery estimates at altitude.
The Freewell ND/PL filter kit was the single most impactful third-party accessory I added. Solar panels are essentially giant mirrors laid across a hillside. Without polarization control, every flyover shot was plagued by blown-out highlights and distracting specular reflections. The ND16/PL filter became my default for midday shooting, cutting glare while letting me maintain a shutter speed of 1/100s at 50fps—the sweet spot for natural motion blur.
Camera Settings: Mastering D-Log on Reflective Surfaces
Getting the Avata's camera settings right before takeoff saved hours in post-production. Solar farm footage is uniquely challenging because of the extreme dynamic range within a single frame—deep shadows beneath panel arrays sitting adjacent to blindingly bright glass surfaces.
My Base Settings for Mountain Solar Shoots
| Parameter | Setting | Rationale |
|---|---|---|
| Resolution | 4K | Maximum detail for client deliverables |
| Frame Rate | 50fps | Smooth motion blur with ND filters |
| Color Profile | D-Log | Maximum dynamic range recovery |
| ISO | 100 (locked) | Cleanest sensor output |
| Shutter Speed | 1/100s | Double frame rate rule |
| White Balance | 5600K (locked) | Consistent color across shots |
| EIS | On | Stabilization for wind compensation |
Why D-Log Is Non-Negotiable Here
The Avata's D-Log profile captures approximately 10 stops of dynamic range, which sounds like marketing language until you're grading footage where half the frame is a reflective solar panel and the other half is a shadowed mountain ravine. Standard color profiles clipped highlights on every panel surface I filmed. D-Log preserved that data, giving me full control in DaVinci Resolve to pull back highlights and lift shadows independently.
The flat, desaturated look of D-Log footage straight out of camera will look wrong on your goggles display. Trust the process. Expose using the histogram in the DJI Fly app and target the waveform center. Slightly underexposing by -0.3 to -0.7 EV protected highlight detail on panel surfaces without sacrificing shadow recovery.
Expert Insight: When filming reflective infrastructure like solar panels, I monitor the overexposure warning (zebras) in the DJI Fly app rather than trusting the live FPV feed in the goggles. The goggles display compresses dynamic range and will mislead you into thinking exposure is correct when highlights are already clipped.
Flight Techniques: Navigating Panels on Mountain Slopes
This is where the Avata's design philosophy pays off. A standard Mavic-class drone hovering 30 meters above a solar array captures documentation footage. The Avata flying 2–3 meters above panel surfaces captures cinematic footage that makes clients and audiences feel the scale and engineering of these installations.
Technique 1: The Low Reveal
Start behind a ridgeline or tree line with the Avata at panel height. Fly forward smoothly until the solar array reveals itself across the mountain slope. The ducted propellers mean that even at 2 meters from obstacles, a minor correction won't result in a prop strike against a racking post.
The obstacle avoidance system on the Avata uses downward-facing sensors that proved critical here. Mountain solar installations follow the terrain grade, meaning panel heights shift unpredictably. The infrared sensing system detected surface changes and provided real-time altitude warnings that prevented at least three ground strikes during my shoots.
Technique 2: The Panel Skim
Fly the Avata along a row of panels at a consistent 1.5-meter offset, following the slope contour. This creates a parallax effect that emphasizes the scale of the installation. Use the Motion Controller for this—its single-handed operation provides smoother, more intuitive adjustments than dual sticks when following terrain.
Technique 3: Orbit and ActiveTrack for Infrastructure Detail
For close-up documentation of specific junction boxes, inverters, or damaged panels, I used ActiveTrack to lock onto the subject while manually controlling altitude and distance. This kept the subject perfectly centered while I focused on smooth flight path execution.
Subject tracking on the Avata works best when the target has clear visual contrast against its background. White junction boxes against dark panels tracked flawlessly. Dark cables against dark panels caused the system to lose lock intermittently—in those cases, I switched to manual framing.
Technique 4: QuickShots for Establishing Context
The QuickShots automated flight modes—specifically Dronie and Rocket—gave me reliable establishing shots that placed the solar installation within its mountain context. Starting tight on a panel row and pulling back to reveal the entire mountainside installation communicates scale instantly.
I triggered Hyperlapse mode during cloud movement over the arrays, creating time-lapse sequences where shadows swept dramatically across hundreds of panels. These clips became the most-shared content from the entire project. Set the Hyperlapse interval to 2 seconds with a total capture duration of at least 15 minutes for a usable 8–10 second final clip.
Post-Production Workflow for Solar Farm Footage
Color Grading D-Log Solar Footage
My grading pipeline in DaVinci Resolve followed a consistent three-node structure:
- Node 1 — Conversion LUT: Applied DJI's official D-Log to Rec.709 conversion LUT at 65% intensity as a starting point.
- Node 2 — Exposure and Contrast: Pulled highlights down 15–20% to recover panel surface detail; lifted shadows 10% for terrain visibility.
- Node 3 — Color and Style: Added slight teal shift to shadows and warm tone to highlights for a commercial energy-industry aesthetic.
Dealing with Panel Reflections in Post
Even with ND/PL filters, some specular highlights from panel surfaces were unavoidable. I used the HSL qualifier in Resolve to isolate the brightest reflection points and reduced their intensity by 30% without affecting surrounding panel color. This technique took each clip approximately 90 seconds to execute and dramatically improved visual consistency across the edit.
Technical Comparison: Avata vs. Alternative Platforms for Solar Farm Filming
| Feature | DJI Avata | DJI Mini 4 Pro | DJI Air 3 |
|---|---|---|---|
| Weight | 410g | 249g | 720g |
| Prop Guards | Built-in (ducted) | Optional | None |
| Obstacle Avoidance | Downward + backward | Omnidirectional | Omnidirectional |
| FPV Goggle Support | Yes (native) | No | No |
| Close-Proximity Safety | Excellent | Moderate | Poor |
| D-Log Support | Yes | Yes (D-Log M) | Yes |
| ActiveTrack | Yes | Yes | Yes |
| Ideal Solar Farm Distance | 1–5 meters | 5–15 meters | 10–30 meters |
| Motion Controller | Yes | No | No |
The Avata wins for close-proximity infrastructure filming where the ducted prop design provides a genuine safety margin. The Air 3 captures higher-resolution imagery from distance, making it better suited for survey and inspection work rather than cinematic content.
Common Mistakes to Avoid
1. Flying without ND/PL filters over solar panels. Reflective surfaces will blow out highlights in every frame. This is not recoverable in post, regardless of whether you shot in D-Log. Always carry at minimum an ND16/PL for daylight shoots.
2. Trusting rated battery life at mountain altitude. Plan for 25–30% reduced flight time above 1,200 meters elevation. Build your shot list around 12-minute windows, not 18.
3. Ignoring compass calibration at each new site. Mountain terrain contains mineral deposits that affect magnetometer readings. Calibrate the Avata's compass at every new launch location, even if you flew 500 meters away an hour earlier.
4. Using Normal mode for close-proximity panel shots. Switch to Manual mode for precise speed control near infrastructure. Normal mode acceleration curves can create sudden movements that result in collisions near racking systems.
5. Neglecting the DJI Fly app histogram. The FPV goggle display does not accurately represent exposure. Always verify exposure through the app's histogram before committing to a flight path—especially when D-Log footage looks deceptively flat.
Frequently Asked Questions
Can the Avata handle mountain wind conditions reliably?
The Avata is rated for wind resistance up to Level 5 (10.7 m/s). During my shoots, sustained winds of 7–8 m/s were common on exposed ridgelines, and the drone maintained stable flight. Above 9 m/s, I noticed visible drift in hover that required constant correction, making smooth cinematic passes difficult. I recommend checking wind forecasts and scheduling flights for early morning when mountain thermals are minimal.
Is D-Log really necessary, or can I use the standard color profile?
For solar farm content specifically, D-Log is essential. The dynamic range gap between reflective panels and shadowed terrain regularly exceeds 8 stops—beyond what the standard profile can capture without clipping. If you're unfamiliar with color grading, start with DJI's free D-Log to Rec.709 LUT and adjust from there. The initial learning curve is worth the massive improvement in deliverable quality.
How close can I safely fly the Avata to solar panel surfaces?
The ducted propeller design allows safe flight at distances as close as 1–1.5 meters from panel surfaces in calm conditions. The obstacle avoidance sensors provide reliable warnings at approximately 0.5 meters from surfaces. That said, I recommend maintaining at least 2 meters clearance during your first few flights at any new site to learn the terrain contours and identify any protruding infrastructure—antenna masts, weather stations, and cable trays are common and not always visible from a distance.
Ready for your own Avata? Contact our team for expert consultation.