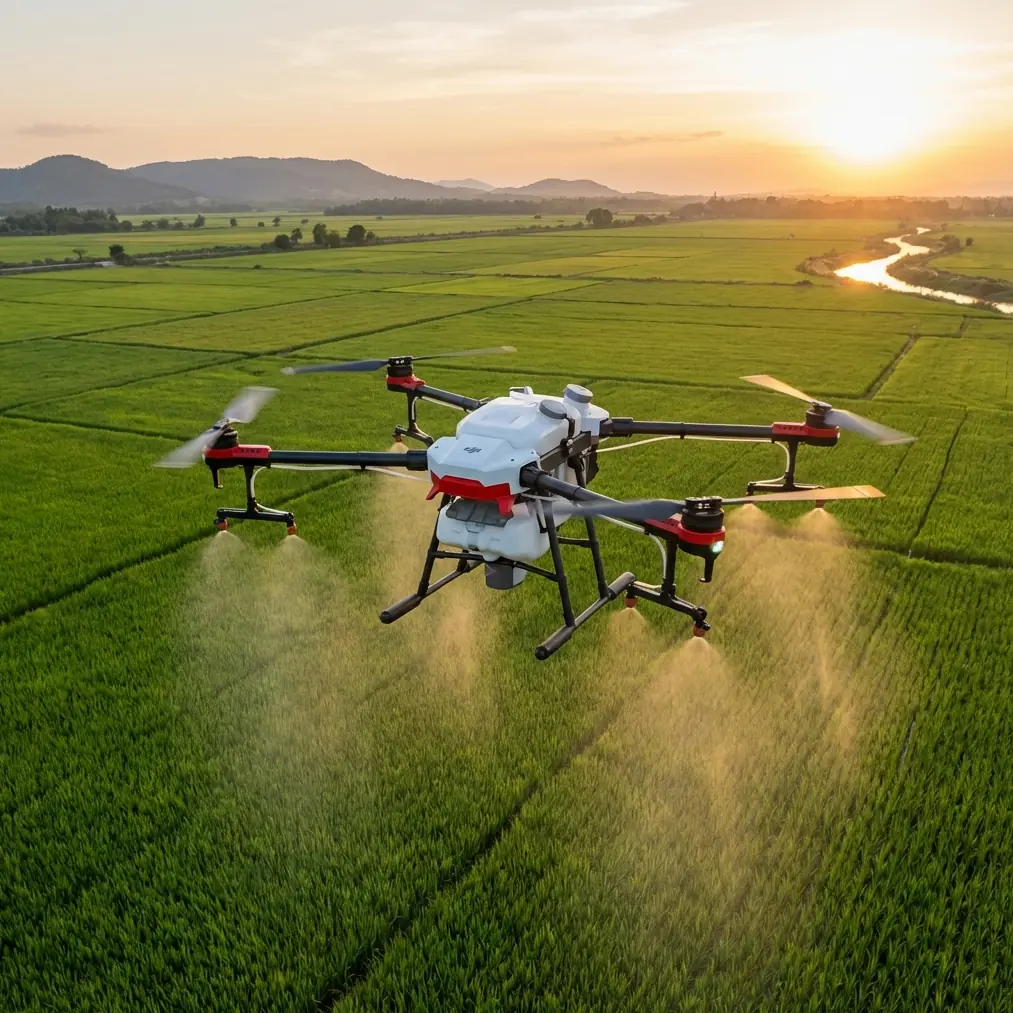
Avata for Mountain Construction Site Inspections: A Field
Avata for Mountain Construction Site Inspections: A Field-Driven How-To
META: A practical expert guide to using DJI Avata for mountain construction site inspections, covering obstacle avoidance, battery management, video settings, and safe workflow tips.
Mountain construction sites punish sloppy drone habits.
You are dealing with steep grade changes, unstable wind, narrow access roads, dust, exposed rebar, concrete structures in progress, and crews spread across multiple elevation levels. A drone that feels easy on a flat open jobsite can suddenly become demanding when the terrain rises, the signal path bends around rock, and your landing options disappear.
That is where Avata becomes interesting.
I would not describe it as a replacement for a traditional mapping platform or a heavy-lift inspection aircraft. That misses the point. Avata shines when you need to move through partially built structures, trace the shape of retaining walls, inspect facade progress near uneven terrain, and capture visual records from perspectives that a standard camera drone often avoids. For construction teams working in mountain environments, that combination of compact form, ducted prop design, and agile flight behavior can be more useful than raw size or headline speed.
This guide is built around field practicality: how to use Avata well on mountain construction inspections, what settings matter, and one battery habit that saves trouble when the site is far from the road.
Why Avata makes sense on mountain jobs
Construction inspection in the mountains is rarely a single mission type. One flight might involve checking the alignment of a temporary access route, peeking under a steel overhang, documenting excavation progress below a ridgeline, and then collecting cinematic proof-of-work footage for stakeholders.
Avata handles that mixed workload well because it is less intimidated by tight spaces than many camera drones. The integrated propeller guards are not just a cosmetic design choice. On active sites, they reduce the consequences of minor contact near scaffolding, unfinished interiors, cable runs, and structural edges. That matters operationally because mountain projects often compress the work area. You may not have a wide, clean buffer around the object you need to inspect.
Obstacle sensing also matters here, but with realistic expectations. Avata is not a magic shield against bad judgment. On mountain sites, the real value of obstacle awareness is that it gives the pilot extra margin when the visual scene is busy: concrete columns, mesh, temporary supports, tree lines on the slope, and shadows that flatten depth perception. Used properly, obstacle avoidance is a risk reduction layer, not a substitute for route planning.
If your work includes short-form visual reporting for clients or project managers, Avata’s automated cinematic tools such as QuickShots and Hyperlapse can also pull their weight. These are not just “nice creative extras.” A controlled Hyperlapse showing a crane pad, slope stabilization zone, or facade progression over time can make changes instantly legible to non-technical stakeholders. QuickShots, when used carefully and only in safe open sections of the site, can help produce repeatable overview clips for weekly updates without burning pilot attention on every camera move.
Start with the site, not the drone
Before powering on, read the mountain.
That means four things:
- Wind direction at more than one elevation
- Potential GPS and signal shadowing from terrain or structures
- Dust and debris around launch zones
- Emergency landing options
Pilots often make the mistake of assessing weather only where they are standing. On a mountain project, wind can be mild at the launch point and ugly at the face of the slope or on the leeward side of a partially finished structure. Avata is agile, but agility does not cancel out turbulence. If the site includes saddles, cut slopes, or abrupt terrain breaks, expect wind behavior to change quickly as you move.
I prefer to walk the launch area and identify at least two backup landing spots before takeoff. On mountain sites, your original landing zone can become unusable if a truck pulls in, dust gets kicked up, or workers occupy the area.
A practical pre-flight workflow for construction inspection
For site inspection work, I use a simple sequence.
1. Define the inspection objective in one sentence
Not “fly around and get footage.”
Something like:
- Check the outer retaining wall for drainage outlet placement
- Document roofing progress on the upper structure
- Review scaffold clearance near the facade
- Capture an end-of-week visual status pass
That sentence affects altitude, route, camera settings, and battery planning.
2. Split the site into segments
A mountain construction site should not be flown as one vague roaming mission. Break it into sections:
- lower access and staging area
- middle structural zone
- upper slope or ridge-facing section
- interior or under-canopy spaces, if relevant
This reduces the chance that you waste battery zig-zagging between unrelated targets.
3. Confirm visual priorities
For inspection work, the most useful footage is usually not the most dramatic footage. You want:
- stable approach paths
- slow lateral reveals
- repeatable angles
- enough dwell time on details
If the site team needs technical review, dramatic FPV-style movement can actually make footage less useful.
Camera setup that works for real inspection footage
Avata’s camera is capable of producing strong visual records, but mountain construction creates contrast problems fast. Bright sky, pale concrete, shaded recesses, reflective metal surfaces, and dark soil can all appear in the same pass.
That is why D-Log is worth using when you expect mixed lighting and want flexibility in post. Operationally, D-Log matters because it preserves more room for balancing highlights and shadows afterward. On a site where one section of the frame is sunlit concrete and another is a shadowed beam connection, that extra grading latitude can help retain usable inspection detail.
That said, do not shoot D-Log by habit if your workflow cannot support color correction. If the footage needs to go straight to a project manager the same day, a simpler profile may be more efficient.
For inspection-oriented footage:
- prioritize horizon control
- keep movements smooth and slow
- avoid abrupt yaw unless you are intentionally checking a corner transition
- hold on key details for a few extra seconds
Those extra seconds matter. Review teams often scrub footage repeatedly, and a stable hold is more useful than a flashy pass.
What to do with ActiveTrack and subject tracking features
A lot of pilots hear “ActiveTrack” or subject tracking and immediately think of chasing vehicles or people. That is not how I’d frame its value on a mountain construction project.
The better use case is controlled documentation of predictable site movement in safe, open conditions. For example, if you need a visual record of a vehicle route along a graded access road or a machinery movement corridor from a safe standoff position, subject tracking can reduce the pilot’s workload and improve framing consistency. But it should only be used when the airspace around the tracked subject is clean and predictable.
The operational significance is simple: tracking features free up mental bandwidth, but mountain sites are rarely forgiving. If terrain, cables, structures, or changing elevations complicate the scene, manual control is safer and more precise.
So yes, know the feature set. But do not force it into places where a deliberate hand-flown pass is the right answer.
How to inspect close to structures without making the footage useless
Avata invites proximity. That is part of its appeal.
The mistake is flying close just because you can.
For construction inspection, close flight should answer a question:
- Is flashing installed correctly at the roof edge?
- Is clearance maintained around a facade element?
- Is the scaffold tie-in visible?
- Is erosion control holding along the cut?
When approaching structures:
- slow down earlier than you think you need to
- keep your exit route visible
- avoid backing into blind space
- use shallow angle passes rather than aggressive dives toward the subject
Mountain jobs add a second challenge: background depth can fool you. A wall may appear more isolated than it is because the terrain falls away behind it. That visual openness can hide side obstacles such as poles, cable runs, or temporary barriers.
Obstacle avoidance helps, but good inspection flying still depends on route discipline.
My field battery tip: treat the mountain return as the real power test
Here is the battery habit I wish more pilots learned early.
Do not judge remaining battery by how comfortable the outbound leg felt. Judge it by the return leg against elevation, wind, and stress.
On mountain sites, the easiest part of the flight is often getting out to the inspection point. Gravity, tailwind, and downhill visual lines can make the drone feel more efficient than it really is. Then the return requires climbing, correcting in gusts, or taking a less direct route because crews or equipment have moved into your original corridor.
My rule in the field is simple: if the site is spread across elevation and the drone is working near structures, I mentally reserve a larger battery buffer than I would on open flat ground. Not because Avata is weak, but because mountain work creates hidden battery drains: repeated micro-corrections in wind, hovering while framing details, and longer-than-planned recovery paths.
Another practical habit: keep batteries warm before flight in cold mountain conditions, but never overheat them in direct sun while staged. Cold packs can sag early. Hot packs can trigger their own problems. Stable temperature management gives you more predictable performance and more honest return planning.
And rotate packs with notes. I like a simple field label system tied to flight purpose: “upper slope pass,” “facade detail,” “road approach review.” That way, when footage and battery history need to be matched later, you are not guessing.
Hyperlapse and QuickShots for progress reporting
Most site teams say they want inspection footage. What they often also need is communication footage.
This is where Hyperlapse and QuickShots can earn a place in a construction workflow. A weekly Hyperlapse from the same vantage can show changes in earthworks, material staging, slope stabilization, or structural rise in a way that still photos sometimes fail to communicate. The key is consistency: same route, similar timing, similar framing.
QuickShots deserve more caution. Use them only where you have clean space and a clear purpose. A controlled reveal of a completed retaining structure or a smooth pullback showing the relationship between the upper and lower work zones can be valuable in stakeholder updates. On a cluttered mountain site, though, manual flight is often the better choice.
A smart workflow for photographers and site documentarians
As a photographer, I care about more than whether the drone got in the air. I care whether the footage will still matter after the flight.
My recommendation for construction site documentation with Avata is to capture three layers every time:
Layer 1: factual record
Slow, stable passes of the actual inspection targets.
Layer 2: relational context
Wider clips showing how the inspected element sits within the slope, road, or structure.
Layer 3: communication assets
A few polished clips for reports, presentations, or client updates.
That mix prevents a common problem: returning with attractive footage that does not answer operational questions, or technical footage that no one outside the site team can easily interpret.
If your crew needs help setting up a workflow around site visuals, flight planning, or repeatable inspection media, you can message the team directly here: site workflow support
Mistakes to avoid with Avata on mountain projects
A few patterns show up again and again:
Flying too aggressively because the platform feels protected
Ducted props reduce some risk from light contact. They do not erase risk to people, property, or the aircraft.
Launching from dusty or loose aggregate surfaces
Mountain construction sites are full of contaminated launch points. Use a clean pad whenever possible.
Treating cinematic automation as a substitute for inspection planning
QuickShots and tracking modes are tools, not inspection logic.
Ignoring light direction
Harsh overhead sun can flatten defects. Side light often reveals texture, edge alignment, and surface changes much better.
Running the battery too deep before climbing home
This is the classic mountain-site error.
Final take
Avata is not the drone for every construction task. If you need survey-grade mapping or long-duration corridor work, you should choose accordingly. But for agile visual inspections on mountain sites, especially where structures, slopes, and tight access all collide, Avata has a real place.
Its obstacle-sensing support, compact protected design, and creative capture modes make it especially useful for teams that need both close-in inspection footage and polished visual reporting. Add disciplined route planning, sensible use of D-Log, and conservative battery management, and it becomes far more than a fun FPV platform. It becomes a practical site documentation tool.
That is the difference that matters on a mountain job. Not how dramatic the drone looks in the air, but whether it comes back with clear answers.
Ready for your own Avata? Contact our team for expert consultation.