Avata Guide for Construction Site Inspection in Extreme Temp
Avata Guide for Construction Site Inspection in Extreme Temperatures: Getting Cleaner Subject Separation Without Guesswork
META: Learn how to use Avata for construction site inspection in extreme heat or cold, with practical camera guidance built around the 12-word background blur rule: background far, camera close, wide aperture, longer focal length.
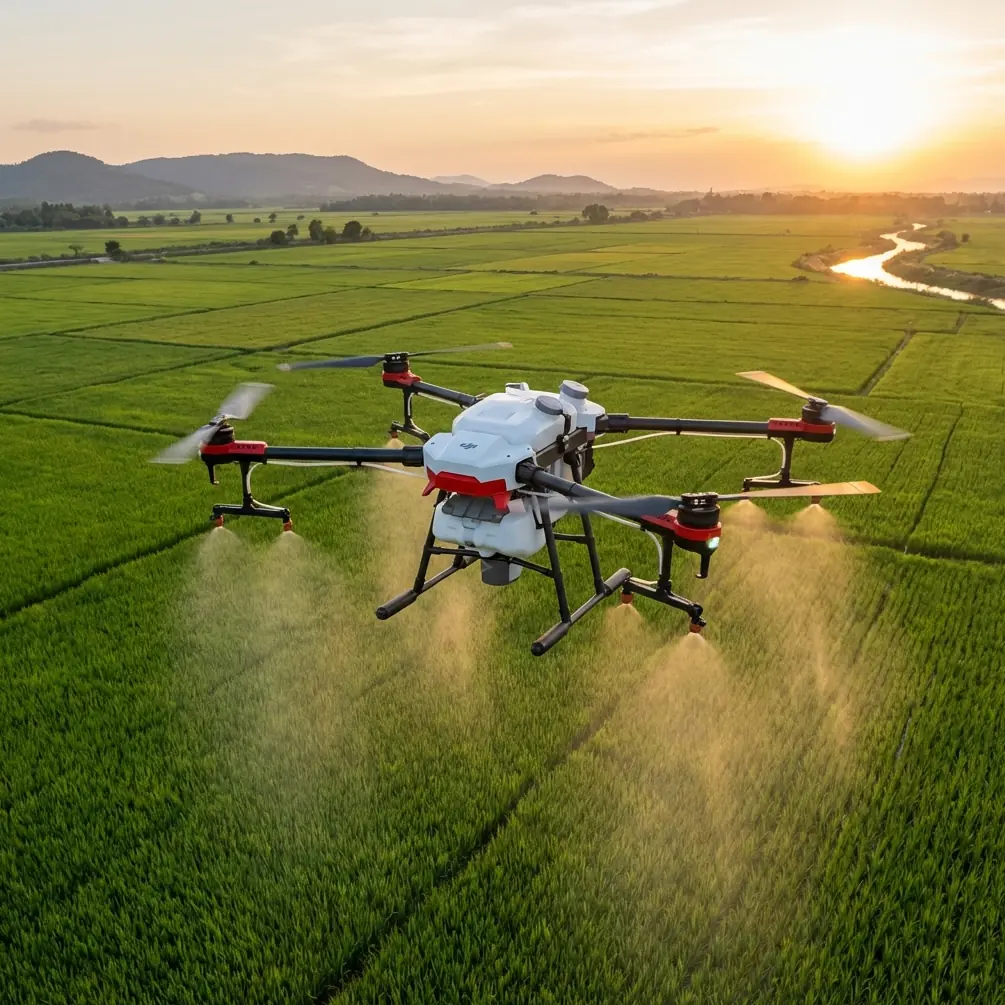
Construction sites in extreme weather punish sloppy flying and expose weak imaging habits fast. Heat shimmer softens detail. Winter glare flattens surfaces. Dust, steam, frost, reflective sheeting, rebar, scaffolding, and moving crews all compete for attention inside the frame. When you are using an Avata to document site conditions, progress milestones, facade defects, rooftop equipment, or MEP access paths, the difference between a useful image and a throwaway image often comes down to one thing: can the viewer immediately see the subject?
A recent Chinese photography tip distilled background blur into a 12-character rule: “背景远,相机近,光圈大,焦距远” — in English, keep the background far, move the camera close, use a large aperture, and use a longer focal length. That sounds like basic camera advice, but on a construction inspection workflow with Avata, those four ideas become operational. They help you isolate a cracked conduit, a warped membrane edge, a valve tag, a thermal anomaly zone, or a safety marker from a visually messy background.
This matters even more in extreme temperatures, where site teams need fast interpretation, not cinematic ambiguity.
Why this old-school imaging rule fits the Avata surprisingly well
Avata is often discussed for immersive flight, agile movement, obstacle-rich navigation, and close-quarters access. On construction sites, those strengths are useful when standard inspection drones feel too bulky around steel members, temporary stair towers, underside spaces, or partially enclosed structures.
But agility by itself does not produce readable inspection images.
The 12-word rule from the reference material is useful because it gives pilots a field-ready mental checklist. It is not abstract theory. Two details from that source are especially relevant:
“Background far” means the subject should be separated from the background by real distance.
Operationally, this is huge on a jobsite. If you are documenting a junction box mounted directly against a cluttered wall, the image will look busy. If instead you choose a subject angle where the box is framed against an open corridor, roofline, sky gap, or deeper setback, the background falls away visually and the feature stands out.“Camera close” means physically moving the camera nearer to the subject helps increase blur and subject emphasis.
For Avata, this is where the aircraft earns its keep. Because it can work close to structures and navigate tighter inspection paths than many conventional platforms, you can reduce the camera-to-subject distance without needing a long stand-off. That improves visual separation and also boosts detail capture on labels, surface conditions, and attachment points.
The source also notes that the article would go on to explain how to use the rule in practice and add extra points that make blurred-background photos look better. For construction inspection, that “beyond the口诀” part is where judgment comes in. Blur is not the goal by itself. Controlled separation is.
The construction problem: too much background, not enough evidence
On active sites, almost every frame is contaminated by something irrelevant:
- orange netting behind the subject
- steel lattice intersecting your line of sight
- white insulation reflecting harsh midday light
- parked plant equipment pulling visual attention
- distant crew movement
- heat haze over roofing or slab work
In those conditions, Avata operators who think only about “getting close” often produce images that are technically sharp but visually confusing. The subject blends into its environment. Reviewers in the office waste time zooming and asking for clarification.
Instead, think like an inspector first and a pilot second: what in this frame must be unmistakable within 2 seconds?
That is where the 12-word rule becomes a site method.
Step 1: Start with “background far,” not flight speed
The reference article makes a simple point: when the subject has meaningful distance from the background, blur is easier to create. On a construction site, this translates into selecting angles with depth behind the target.
Say you are documenting:
- flashing at a parapet edge
- a cracked seal around rooftop penetrations
- an exposed cable tray section
- temporary weatherproofing around an opening
- sensor mounts on a facade
If you shoot these flat-on with a wall directly behind them, the frame turns dense and low-contrast. If you shift laterally or vertically so there is open air, a recessed setback, or a longer structural drop behind the subject, the image immediately cleans up.
With Avata, this often means flying a few feet off your first instinct line and looking for depth layers. Extreme heat and cold make this even more critical. In hot conditions, shimmer across a distant surface can muddy background textures. In snow or frost, bright uniform surfaces can erase edge definition. A deeper background solves both by giving the subject more separation.
A practical site habit: before recording, pause and ask, “What is behind the subject?” Not “Can I reach it?” Avata usually can. The harder question is whether the background helps or hurts the inspection image.
Step 2: Use Avata’s close-access advantage carefully
The second source detail, “camera close,” is where Avata becomes more than a recreational flyer with a good camera. On many builds, close access is the difference between a broad progress shot and a real inspection record.
Moving closer does three things at once:
- increases subject prominence
- reduces irrelevant background area in frame
- improves legibility of defects, tags, fasteners, and edge conditions
In extreme temperatures, this also shortens the time you need to hover in unstable air. Hot rooftop thermals and cold wind shear around unfinished structures can make long stand-off shots less consistent. A brief, controlled close approach often yields cleaner results than trying to frame the same subject from farther out.
That said, “close” on a construction site should never mean reckless proximity. Avata’s obstacle sensing and controlled low-speed maneuvering help, but inspection pilots still need disciplined spacing around cables, netting, crane lines, temporary bracing, and workers.
One of the more memorable examples I have seen was during a perimeter facade pass near a partially vegetated drainage edge beside a large site. A bird burst out from the lower scrub line as the aircraft rounded a corner near stacked formwork. The drone’s sensors and the pilot’s quick correction prevented a bad interaction, and the flight path was adjusted immediately. That sort of moment is a reminder: obstacle awareness is not just about beams and walls. Outdoor construction sites are shared environments. Avata’s close-range control matters because the real world is not static.
Step 3: Understand the “wide aperture” limitation and adapt
The reference rule includes “large aperture.” In traditional photography, that is a direct way to strengthen background blur. With drones, especially compact FPV-style systems like Avata, you do not always have the same aperture control flexibility as an interchangeable-lens ground camera.
So how do you apply the principle?
You treat “wide aperture” as a reminder to maximize subject separation through the variables you can control:
- distance between subject and background
- camera-to-subject distance
- focal framing
- light angle
- background simplicity
This is actually good discipline for inspection work. A lot of site imaging falls apart because operators assume the hardware will create separation automatically. It won’t. The real result comes from geometry.
If you are capturing in D-Log for later grading, remember that flatter profiles preserve dynamic range but can make field previews look less contrasty than the final output. In harsh temperature-driven lighting, that can trick you into thinking the subject separation is weaker than it really is. Review your framing for structural clarity, not just on-screen punch.
Step 4: “Longer focal length” becomes selective framing
The last part of the source rule is “focal length farther” or “use a longer focal length.” With Avata, this is less about lens swapping and more about how you compose and crop responsibly for the inspection deliverable.
Longer focal framing narrows the viewer’s attention. On a construction site, that can help isolate:
- expansion joint failure
- rust onset on exposed hardware
- membrane lifting at seams
- conduit support spacing
- signage placement
- temporary edge protection details
The trap is over-cropping weak source footage. If your original frame is shaky, overexposed, or cluttered, digital tightening will not rescue it. Better practice is to build selective framing at capture: fly a little closer, align the subject cleanly, reduce horizon distractions, and use the background depth you created in Step 1.
When teams ask for “more cinematic” inspection visuals, what they usually mean is “easier to read.” Subject isolation does that better than fancy movement.
QuickShots, Hyperlapse, and ActiveTrack: useful, but not for every inspection moment
Some operators try to lean on automated flight features everywhere. On construction sites, that can be a mistake.
QuickShots can help during progress marketing or stakeholder overview segments, but they are not the first choice for precise defect documentation. Hyperlapse is useful for showing weather movement, site logistics flow, or phased activity over time, especially in changing seasonal conditions, but it is not a substitute for close evidence capture.
ActiveTrack and subject tracking can assist in following vehicles, material movement paths, or walkthrough leaders in controlled areas, yet inspection targets are often static details with complicated surroundings. The best “tracking” skill remains pilot judgment: decide what matters and compose for it.
If your team is building repeatable inspection SOPs for Avata use in tough climate conditions, it is often worth comparing workflows with specialists who understand both flight and site documentation. For direct discussion, you can reach out here: message an Avata workflow specialist.
Extreme temperature tactics that improve separation
Here is where the photography rule meets site reality.
In high heat
Heat shimmer can soften backgrounds unpredictably. That sounds helpful for blur, but it often creates ugly, wavering texture that distracts from the subject. The fix is not to rely on atmospheric distortion. Instead:
- shoot earlier when surfaces are cooler
- shorten stand-off distance
- choose deeper but cleaner backgrounds
- avoid low-angle views over heat-radiating roofs when detail matters
In cold conditions
Snow, frost, or bright overcast can flatten contrast. Subject separation then depends more on shape and distance than color. Use Avata to reposition until the subject sits against a darker or more distant backdrop. A vent cap against white roofing may vanish; the same vent cap framed against a recessed mechanical zone becomes obvious.
In wind at exposed height
Long hover holds increase framing drift. Use shorter capture windows. Set your position, record the essential evidence, and move. The close-camera principle from the source becomes especially useful here because proximity reduces the need for prolonged hovering to “find” the subject later in edit.
A field workflow I’d actually use
For an Avata inspection pass on a weather-stressed build:
Identify the evidence target first.
Not “roof section,” but “uplifted seam at northeast membrane corner.”Look for background depth.
Apply the source’s background far rule before you fly in.Bring the drone in deliberately.
Use the camera close principle to improve subject clarity.Simplify the frame.
Remove clutter, poles, crew, and bright distractions from behind the subject when possible.Capture one steady proof shot before creative motion.
Inspection records come first.If needed, grab a second clip in D-Log for reporting edits or stakeholder presentations.
Only then consider supplementary movement shots, a wider reveal, or a Hyperlapse segment for context.
That order keeps the mission useful.
The real lesson from the 12-word rule
What I like about the source material is that it does not romanticize blur. It reduces the concept to four controllable factors. On construction inspections with Avata, that is exactly the right mindset.
You do not need mystery. You need images that separate the subject from the chaos around it.
So remember the four-part formula from the reference:
- background far
- camera close
- wide aperture
- longer focal length
Even when your aircraft does not give you full lens-style aperture freedom, the first two points alone can dramatically improve inspection output. And those are the two details the source explicitly explains: create distance behind the subject, and move the camera nearer to it. On a crowded site in extreme temperatures, that operational discipline is often what turns a confusing visual into a usable inspection record.
Avata is at its best when you treat maneuverability as a tool for evidence, not spectacle. Fly for separation. Frame for clarity. Let the site team see the problem without having to hunt for it.
Ready for your own Avata? Contact our team for expert consultation.