Avata: Mastering Highway Inspections in Complex Terrain
Avata: Mastering Highway Inspections in Complex Terrain
META: Learn how the DJI Avata transforms highway inspections in challenging terrain with expert techniques for obstacle avoidance, subject tracking, and D-Log capture.
TL;DR
- Pre-flight sensor cleaning is critical—dirty obstacle avoidance sensors can cause crashes in complex terrain environments
- The Avata's cinewhoop design allows safe navigation through tight spaces along highways, bridges, and overpasses
- D-Log color profile captures maximum dynamic range for detailed infrastructure analysis
- Master ActiveTrack and QuickShots to create consistent, repeatable inspection footage
Why Highway Inspections Demand a Different Approach
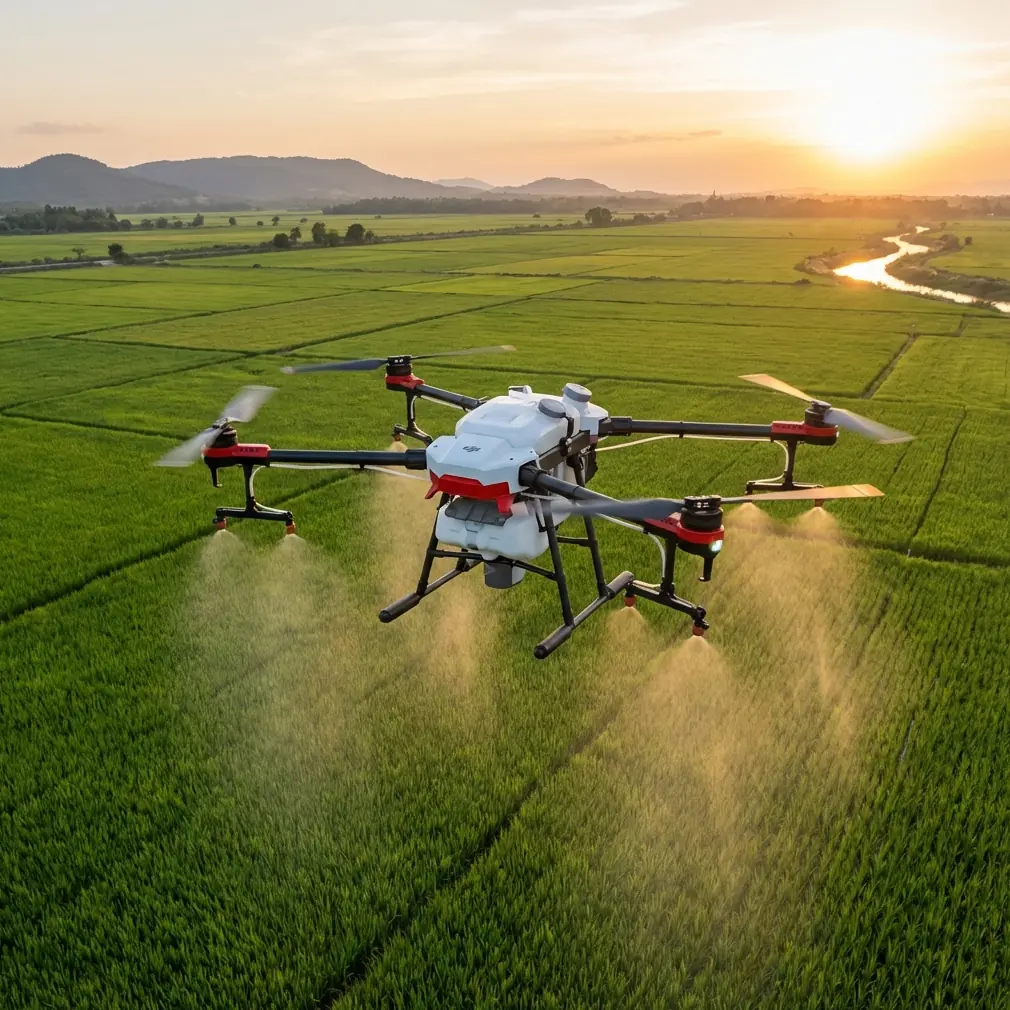
Highway infrastructure inspections present unique challenges that traditional drones struggle to handle. The DJI Avata's compact, ducted propeller design makes it the ideal tool for navigating guardrails, bridge supports, and overpasses where larger aircraft simply cannot operate safely.
I've spent three years photographing infrastructure projects across mountain passes and coastal highways. The Avata changed how I approach these assignments—not because it's the fastest or has the longest range, but because it goes where other drones can't.
This guide walks you through the exact workflow I use for highway inspections in complex terrain, from pre-flight preparation to post-processing deliverables.
Pre-Flight Preparation: The Safety Step Most Pilots Skip
Before every flight, I perform a 60-second sensor cleaning ritual that has saved me from multiple potential crashes. The Avata relies heavily on its downward vision sensors and obstacle avoidance system to maintain stability in tight spaces.
The Sensor Cleaning Protocol
Here's my exact pre-flight cleaning sequence:
- Downward vision sensors: Use a microfiber cloth to remove dust and debris from both cameras
- Front-facing sensors: Check for smudges, water spots, or insect residue
- Propeller ducts: Clear any grass, dirt, or small rocks that could affect airflow
- Camera lens: Clean with a lens pen, checking for scratches that could affect image quality
- Battery contacts: Wipe connection points to ensure reliable power delivery
Pro Tip: Carry a small LED flashlight to inspect sensors in low-light conditions. Highway inspections often start at dawn to avoid traffic, and sensor contamination is harder to spot in dim lighting.
This cleaning step takes less than a minute but directly impacts how well the obstacle avoidance system performs. Dirty sensors can misread distances, causing the Avata to either stop unnecessarily or—worse—fail to detect actual obstacles.
Understanding the Avata's Obstacle Avoidance in Complex Environments
The Avata uses a combination of infrared sensors and visual positioning to detect obstacles. In highway environments, this system faces several challenges:
Environmental Factors That Affect Detection
| Factor | Impact on Sensors | Mitigation Strategy |
|---|---|---|
| Direct sunlight | Infrared interference | Fly during golden hour or overcast conditions |
| Reflective surfaces | False readings | Reduce speed near guardrails and signs |
| Dust and debris | Sensor obstruction | Clean sensors between flights |
| Rain or moisture | Vision system errors | Avoid wet conditions entirely |
| Uniform surfaces | Positioning drift | Maintain visual reference points |
The obstacle avoidance system works best when you understand its limitations. Near highway guardrails, the reflective metal can confuse infrared sensors. I reduce my speed to 3-4 m/s when flying parallel to these structures.
Configuring Obstacle Avoidance Settings
For highway inspections, I use these specific settings:
- Obstacle avoidance: Set to "Bypass" rather than "Brake"
- Return-to-home altitude: 50 meters minimum to clear overpasses
- Max flight altitude: Configured based on local regulations and tallest structures
- Downward vision: Always enabled for low-altitude work
The "Bypass" setting allows the Avata to navigate around obstacles rather than stopping completely. This creates smoother footage and prevents the jarring stops that can ruin an inspection sequence.
Subject Tracking for Consistent Documentation
ActiveTrack transforms how you document linear infrastructure. Rather than manually controlling every movement, you can lock onto a specific feature and let the Avata maintain consistent framing.
When to Use ActiveTrack vs. Manual Control
Use ActiveTrack for:
- Following road surfaces to document pavement conditions
- Tracking along guardrail lines for damage assessment
- Maintaining consistent distance from bridge supports
- Creating repeatable flight paths for comparison footage
Use manual control for:
- Navigating under overpasses with limited clearance
- Inspecting specific damage points that require precise positioning
- Flying in areas with multiple potential tracking targets
- Any situation where obstacle density is high
Expert Insight: ActiveTrack works best when your subject has clear visual contrast against the background. Highway lane markings, yellow guardrails, and bridge expansion joints all track reliably. Uniform concrete surfaces without distinct features will cause tracking to fail.
QuickShots for Standardized Inspection Angles
QuickShots provide repeatable camera movements that create consistent documentation across multiple inspection sites. For highway work, I rely on three specific modes:
Dronie: Pulls back and up from a specific point of interest. Ideal for documenting the overall context of a damage site or showing how a specific feature relates to surrounding infrastructure.
Circle: Orbits around a fixed point. Essential for bridge pier inspections where you need 360-degree coverage of a single structural element.
Helix: Combines orbit with altitude gain. Useful for tall structures like highway signs or lighting poles where you need to document the full vertical extent.
Capturing Inspection-Quality Footage with D-Log
Standard color profiles crush shadow detail and clip highlights—both unacceptable for infrastructure documentation. D-Log preserves the maximum dynamic range, giving you flexibility in post-processing.
D-Log Settings for Highway Inspections
Configure your Avata with these parameters:
- Color profile: D-Log
- Resolution: 4K at 60fps (allows for slow-motion analysis)
- Shutter speed: Double your frame rate (1/120 for 60fps)
- ISO: Keep as low as possible, typically 100-400
- White balance: Manual, set to match conditions (5500K for daylight)
The higher frame rate isn't for creative slow-motion effects. When reviewing footage for cracks, corrosion, or structural damage, the ability to slow down playback reveals details that normal speed misses.
Hyperlapse for Long-Distance Documentation
Hyperlapse mode creates time-compressed footage that's invaluable for documenting extended highway sections. A 10-kilometer stretch that would take hours to review at normal speed becomes a 2-minute overview that highlights problem areas.
For highway hyperlapse, use these settings:
- Interval: 2 seconds between frames
- Speed: 5x for general overview, 2x for detailed sections
- Flight path: Waypoint mode for consistent altitude and distance from road
This technique helps clients understand the scope of a project and quickly identify sections requiring detailed inspection.
Technical Comparison: Avata vs. Traditional Inspection Drones
| Specification | DJI Avata | Traditional Inspection Drone |
|---|---|---|
| Propeller protection | Full ducted design | Exposed or partial guards |
| Minimum operating space | 1.5 meters | 3+ meters |
| Wind resistance | 10.7 m/s | Varies widely |
| Flight time | 18 minutes | 25-40 minutes |
| Sensor size | 1/1.7-inch | 1-inch or larger |
| Weight | 410 grams | 800+ grams |
| FPV capability | Native goggles support | Requires additional equipment |
The Avata trades flight time and sensor size for maneuverability. For highway inspections where access to tight spaces matters more than maximum image resolution, this tradeoff makes sense.
Common Mistakes to Avoid
Flying too fast near structures: The obstacle avoidance system needs time to react. Keep speeds under 5 m/s when within 10 meters of any structure.
Ignoring wind patterns around bridges: Bridges create turbulent air patterns. Approach from upwind and be prepared for sudden gusts when transitioning from sheltered to exposed areas.
Relying solely on obstacle avoidance: The system is a backup, not a replacement for pilot awareness. Always maintain visual line of sight and know your escape routes.
Skipping the sensor cleaning routine: One dirty sensor can cascade into a crash. The 60 seconds spent cleaning saves hours of repair time and potential project delays.
Using auto exposure for documentation: Auto exposure creates inconsistent footage that's difficult to compare across inspection dates. Lock your exposure settings manually.
Forgetting to log flight data: Every inspection flight should be logged with GPS coordinates, time, weather conditions, and battery serial numbers. This documentation is essential for legal and professional purposes.
Frequently Asked Questions
Can the Avata fly safely under highway overpasses?
Yes, but with precautions. The ducted propeller design protects against minor contact, and the compact 180mm diagonal allows navigation through spaces as narrow as 1.5 meters. Disable GPS positioning when flying under structures where satellite signal is blocked, and rely on the downward vision system for stability. Always scout the area on foot first to identify potential hazards.
What's the minimum light level for reliable obstacle avoidance?
The Avata's vision sensors require at least 15 lux for reliable operation—roughly equivalent to a well-lit parking lot at night. Below this threshold, obstacle avoidance becomes unreliable. For dawn or dusk inspections, carry a light meter app on your phone and verify conditions before flying near structures.
How do I maintain consistent footage quality across multiple inspection dates?
Create a documented camera profile that you apply to every flight: specific D-Log settings, manual white balance, fixed shutter speed, and consistent flight altitudes. Save these as a preset in the DJI Fly app. For comparison footage, fly the same waypoint routes and process all footage with identical color correction settings.
Ready for your own Avata? Contact our team for expert consultation.