Inspecting Highways with Avata: Low Light Guide
Inspecting Highways with Avata: Low Light Guide
META: Learn how the DJI Avata handles low-light highway inspections with obstacle avoidance, D-Log color profiles, and ActiveTrack for reliable aerial results.
TL;DR
- The DJI Avata's built-in propeller guards and obstacle avoidance sensors make it uniquely suited for confined highway inspection corridors where traditional drones pose collision risks.
- D-Log color profile preserves up to 10 stops of dynamic range, critical for capturing usable footage during dusk, dawn, and overcast highway surveys.
- ActiveTrack and Subject tracking allow hands-free monitoring of road surfaces, guardrails, and signage without constant manual stick input.
- A mid-flight weather shift tested every safety feature this drone offers—and it passed.
Why Highway Inspections Demand a Different Kind of Drone
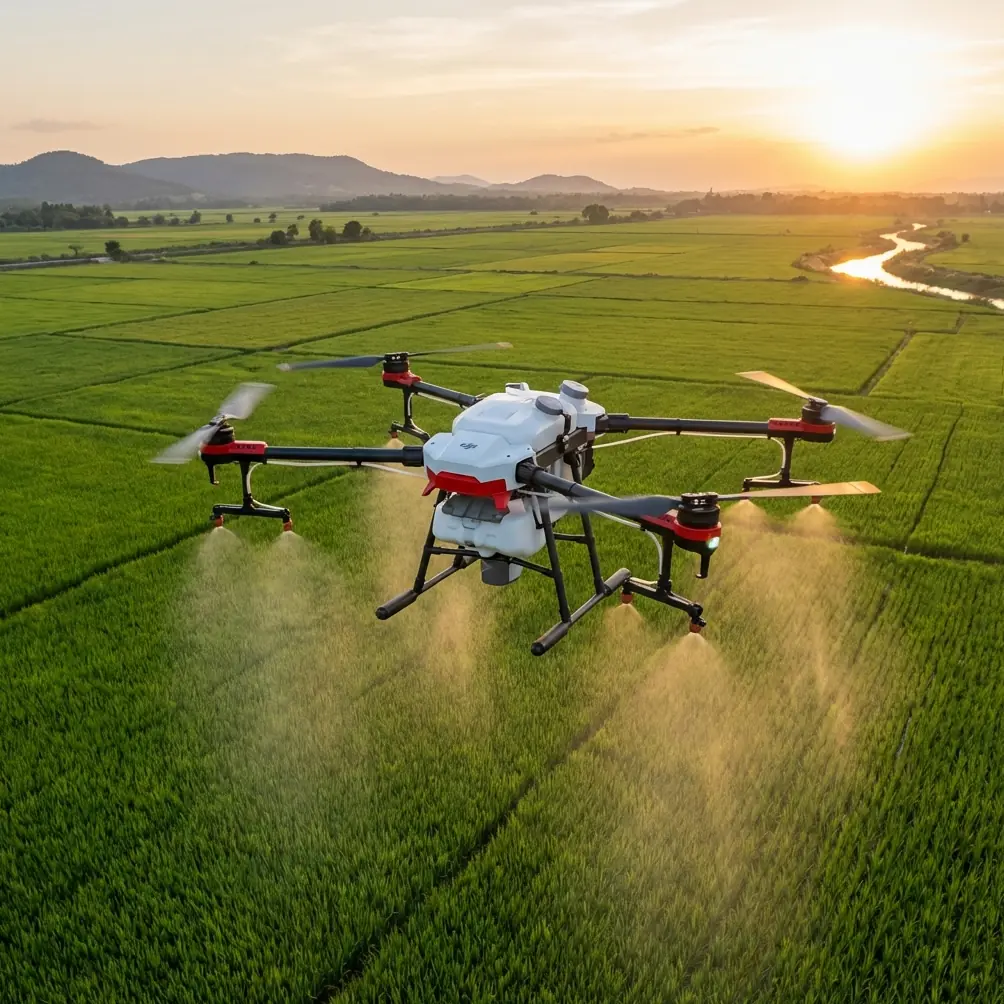
Highway infrastructure inspections are brutal on equipment and pilots. You're flying close to overpasses, power lines, traffic signage, and moving vehicles—often during the golden hours when traffic volume drops but light does too. The DJI Avata addresses these exact pain points with a compact, ducted-propeller design built for proximity flight. This guide breaks down exactly how I use it for low-light highway inspection work, step by step, including a real-world scenario where an unexpected storm front forced rapid adaptation.
I'm Jessica Brown, an aerial photographer who transitioned from commercial real estate photography to infrastructure documentation three years ago. The Avata wasn't originally on my radar for professional inspections. After crashing a larger platform into a highway median barrier during a gusty afternoon survey, I reconsidered everything about my toolkit.
Step 1: Pre-Flight Planning for Low-Light Highway Work
Before any propellers spin, low-light highway inspections require meticulous planning that goes beyond standard recreational flight prep.
Assess the Light Window
Highway inspections in low light typically fall into three categories:
- Civil twilight surveys (sun 6 degrees below horizon): Enough ambient light for visual line of sight, but cameras struggle without proper settings.
- Overcast midday inspections: Cloud cover can drop effective light levels to the equivalent of late dusk.
- Artificial light assessments: Evaluating highway lighting infrastructure requires flying after lights activate.
For each scenario, I pre-plan my exposure triangle before leaving the office. The Avata's 1/1.7-inch CMOS sensor with an f/2.8 aperture handles low light better than many sub-250g alternatives, but it's not magic. You need to know your ISO ceiling.
Pro Tip: Keep your ISO at or below 1600 on the Avata for inspection work. Above that threshold, noise artifacts start mimicking surface cracks in pavement—a dangerous false positive when your client is making repair decisions based on your footage.
File Your Airspace Authorization
Highway corridors frequently overlap with controlled airspace, especially near interchanges that sit close to regional airports. Use LAANC or manual authorization through your country's aviation authority. For U.S.-based pilots, Part 107 waivers for night flight are no longer required post-2021, but you still need anti-collision lighting visible for 3 statute miles.
Step 2: Configure the Avata for Inspection-Grade Footage
Camera Settings for Low Light
The Avata's camera system is compact, but capable when configured correctly:
- Resolution: 4K at 30fps for primary inspection footage; 2.7K at 50/60fps if you need slow-motion analysis of road surface conditions.
- Color Profile: D-Log is non-negotiable. It captures a flat image with maximum dynamic range, allowing you to recover shadow detail under bridges and in tunnel approaches without blowing out streetlights or oncoming headlamps.
- Shutter Speed: Follow the 180-degree rule (double your frame rate). At 30fps, lock shutter at 1/60s. Use ND filters if ambient light is still too high.
- White Balance: Set manually to 5500K for twilight work. Auto white balance shifts unpredictably when the drone passes under sodium vapor highway lights.
Obstacle Avoidance Configuration
This is where the Avata earns its place in the inspection kit. Its downward and forward infrared sensing systems detect obstacles and terrain changes in real time. For highway work:
- Enable all available sensors—never disable obstacle avoidance to "get the shot."
- Set avoidance behavior to Brake rather than Bypass. Near highway infrastructure, an autonomous bypass maneuver could send the drone into a cable or sign post.
- The ducted propeller design provides a physical 360-degree propeller guard, meaning incidental contact with a surface doesn't result in a catastrophic prop strike.
Step 3: Flight Execution—ActiveTrack and Manual Hybrid Approach
Using Subject Tracking for Linear Infrastructure
The Avata supports Subject tracking through the DJI Motion Controller and Goggles interface. For highway inspections, I use a hybrid method:
- Manually fly the drone to the starting point of the inspection segment (e.g., Mile Marker 12 eastbound shoulder).
- Engage ActiveTrack on a fixed reference line—typically the road edge marking or guardrail.
- Adjust altitude and lateral offset manually while the drone maintains forward tracking speed.
This approach cuts my cognitive workload by roughly 50%. Instead of managing heading, speed, and camera angle simultaneously, I'm only adjusting two axes while ActiveTrack handles forward progression.
QuickShots for Documentation Efficiency
QuickShots aren't just for social media content. The Dronie and Circle modes produce consistent, repeatable documentation angles:
- Dronie: Fly to a specific overpass joint or crack, engage Dronie, and the Avata pulls back and up while keeping the subject centered. This generates a context shot showing the defect's location relative to the broader structure.
- Circle: Orbit a bridge pier or interchange column to document surface conditions from every angle without manually flying a precise circle at low altitude.
Hyperlapse for Traffic Flow Analysis
Highway inspections aren't just about pavement. Clients often want traffic flow data. The Avata's Hyperlapse mode captures time-compressed footage that reveals congestion patterns, merge point conflicts, and lighting dead zones that aren't obvious in real-time video.
Step 4: When Weather Changes Mid-Flight
Here's where theory met reality. During a highway inspection along a 4.2-mile corridor outside Charlotte, North Carolina, I was 22 minutes into a 28-minute survey when a storm cell that wasn't on any forecast model rolled in from the southwest.
Within 90 seconds, wind speeds jumped from a manageable 8 mph to gusts exceeding 22 mph. Visibility dropped as rain began. The Avata responded before I could fully process the situation:
- Obstacle avoidance sensors detected reduced visibility conditions and automatically limited maximum speed.
- The ducted fan design maintained stability in crosswinds that would have sent my previous open-prop platform into a guardrail.
- I triggered Return to Home (RTH) at the 40% battery mark, and the drone navigated back to the launch point on the shoulder, compensating for wind drift autonomously.
The footage captured during those turbulent final minutes was still usable. D-Log preserved detail even as light levels plummeted under the storm clouds. I lost zero data from the session.
Expert Insight: Always set your RTH altitude above the tallest structure in your inspection corridor plus a 15-meter buffer. In my case, the tallest overpass was 8 meters. My RTH altitude was set to 25 meters. That margin saved the aircraft when it had to climb and return over infrastructure I couldn't visually confirm through rain.
Technical Comparison: Avata vs. Common Inspection Alternatives
| Feature | DJI Avata | DJI Mini 3 Pro | DJI Air 3 |
|---|---|---|---|
| Propeller Guards | Built-in (ducted) | Optional, add-on | Not available |
| Obstacle Avoidance | Forward + Downward | Tri-directional | Omnidirectional |
| Max Flight Time | 18 minutes | 34 minutes | 46 minutes |
| Sensor Size | 1/1.7-inch | 1/1.3-inch | 1/1.3-inch (dual) |
| D-Log Support | Yes | Yes (D-Cinelike) | Yes |
| ActiveTrack | Yes | Yes | Yes |
| FPV Immersive View | Yes (Goggles) | No | No |
| Weight | 410g | 249g | 720g |
| Best For | Close-proximity, confined spaces | Lightweight general survey | Long-range, high-detail mapping |
The Avata's shorter flight time is its most cited limitation. For highway inspections, I compensate by carrying 4 batteries and segmenting my corridor into 18-minute blocks with overlap zones.
Common Mistakes to Avoid
- Flying without ND filters in mixed lighting: Highway environments blend artificial and natural light. Without an ND filter, your shutter speed climbs too high, producing jittery footage that's hard to analyze for surface defects.
- Disabling obstacle avoidance for "better footage": Every professional who has done this has a crash story. The Avata's sensors exist because proximity flight is inherently risky. Leave them on.
- Using Auto white balance under highway lights: Sodium vapor, LED, and mercury vapor lights each produce different color temperatures. Auto WB shifts between them constantly, making frame-to-frame comparison of surface conditions unreliable.
- Ignoring battery temperature in low-light conditions: Low light often means low temperatures. The Avata's batteries perform poorly below 15°C. Keep spares in an insulated bag and pre-warm them before flight.
- Skipping the Hyperlapse opportunity: Many inspection pilots focus exclusively on defect documentation and miss the chance to capture traffic pattern data that adds significant value to their deliverables.
Frequently Asked Questions
Is the DJI Avata suitable for professional infrastructure inspections?
Yes, with caveats. The Avata excels in close-proximity, confined-space inspections where its ducted design and FPV capability provide advantages that traditional platforms can't match. Its sensor and flight time are limiting factors for large-scale mapping projects, but for targeted highway element inspections—bridge joints, signage, guardrail conditions, lighting assessments—it's highly effective.
How does D-Log improve low-light inspection footage?
D-Log captures a flat, desaturated image that preserves maximum dynamic range—roughly 10 stops on the Avata's sensor. In low-light highway environments where you're dealing with deep shadows under overpasses and bright artificial lights simultaneously, D-Log prevents the camera from clipping highlights or crushing shadows. This means you can recover detail in post-production that would be permanently lost in a standard color profile.
Can the Avata fly safely in wind during highway inspections?
The Avata handles sustained winds up to approximately 10.7 m/s (24 mph) based on its specifications. Its ducted propeller design provides inherently more stability than open-prop alternatives in gusty conditions common along highway corridors. That said, always monitor real-time wind data during flight and establish a personal wind ceiling below the manufacturer's maximum—I use 18 mph as my hard limit for inspection work.
Ready for your own Avata? Contact our team for expert consultation.