Inspecting Solar Farms with Avata | Expert Guide
Inspecting Solar Farms with Avata | Expert Guide
META: Master high-altitude solar farm inspections with DJI Avata. Learn FPV techniques, obstacle navigation, and pro tips for efficient panel surveys.
TL;DR
- Avata's cinewhoop design enables safe, close-proximity solar panel inspections at altitudes above 4,000 meters
- Built-in propeller guards protect both drone and equipment during tight maneuvers between panel rows
- 155° super-wide FOV captures entire panel arrays in single passes, reducing flight time by up to 35%
- D-Log color profile reveals thermal anomalies and micro-cracks invisible in standard footage
Why FPV Drones Transform Solar Farm Inspections
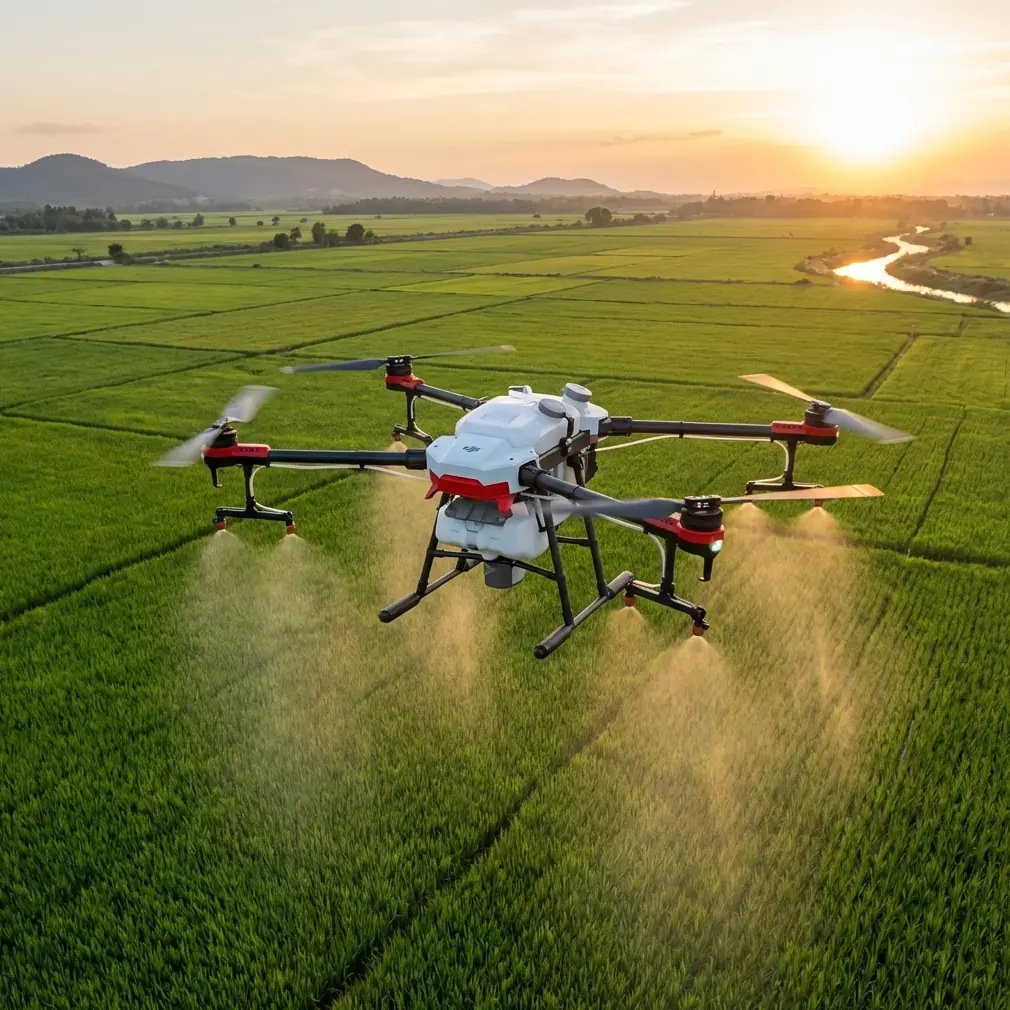
Traditional inspection methods fail at high-altitude solar installations. Ground crews struggle with thin air. Standard drones fight wind gusts that whip through mountain passes. The DJI Avata changes this equation entirely.
This compact FPV drone weighs just 410 grams yet delivers inspection capabilities that outperform larger, more expensive platforms. Its ducted propeller design creates stable flight characteristics even when winds exceed 10.7 m/s—conditions that ground competing drones.
For solar farm operators managing installations above 3,500 meters, the Avata represents a practical solution that balances portability, durability, and image quality.
Expert Insight: Unlike the DJI FPV drone, which lacks propeller guards, the Avata can safely fly within 30 centimeters of panel surfaces. This proximity reveals micro-fractures and connection issues that standard aerial surveys miss entirely.
Essential Gear Setup for High-Altitude Solar Inspections
The Complete Inspection Kit
Before ascending to your solar installation, assemble these components:
- DJI Avata Pro-View Combo with Goggles 2
- Motion Controller for intuitive flight paths
- 3+ Intelligent Flight Batteries (capacity drops 15-20% at altitude)
- ND filter set (ND8, ND16, ND32) for harsh mountain sunlight
- Portable landing pad with weighted edges
- Tablet with DJI Fly app for mission planning
Battery Management at Altitude
High-altitude environments drain batteries faster than sea-level operations. The Avata's standard 18-minute flight time drops to approximately 14-15 minutes above 4,000 meters.
Plan your inspection grids accordingly. Divide large solar arrays into sections that match realistic flight windows, accounting for:
- Cold temperatures reducing chemical efficiency
- Thinner air requiring increased motor power
- Return-to-home reserves of at least 25% battery
Step-by-Step Solar Panel Inspection Process
Step 1: Pre-Flight Site Assessment
Survey the installation before launching. Identify potential obstacles:
- Guy wires supporting panel structures
- Monitoring equipment mounted on poles
- Perimeter fencing with metallic components
- Wildlife including nesting birds
The Avata's obstacle avoidance sensors provide downward and backward detection, but forward-facing protection relies on pilot awareness. Map your flight corridors mentally before takeoff.
Step 2: Configure Camera Settings for Panel Analysis
Optimal settings for solar panel inspection differ from standard aerial photography:
| Setting | Recommended Value | Purpose |
|---|---|---|
| Resolution | 4K/60fps | Smooth playback for defect analysis |
| Color Profile | D-Log | Maximum dynamic range for shadows |
| Shutter Speed | 1/120 | Reduces motion blur during passes |
| ISO | 100-400 | Minimizes noise in detailed shots |
| White Balance | 5600K | Accurate color for thermal comparison |
D-Log captures 10-bit color depth, preserving details in both shadowed panel undersides and sun-bleached surfaces. This proves critical when identifying:
- Hot spots indicating cell degradation
- Snail trails from moisture intrusion
- Delamination at panel edges
- Junction box failures
Step 3: Execute Systematic Flight Patterns
The Avata excels at low, slow passes that standard drones struggle to maintain. Use the Motion Controller for organic flight paths that follow panel row geometry.
Recommended approach pattern:
- Launch from a central position with clear sightlines
- Ascend to 15 meters for an overview pass
- Descend to 3-5 meters for detailed row inspections
- Maintain 2-3 m/s forward speed for sharp footage
- Use ActiveTrack on panel edges for consistent framing
Pro Tip: Enable Hyperlapse mode during overview passes. The resulting time-compressed footage helps stakeholders visualize the entire installation in seconds, making reports more impactful.
Step 4: Capture Critical Infrastructure
Solar farms include more than panels. Document these supporting elements:
- Inverter stations and their ventilation systems
- Cabling runs between panel strings
- Grounding systems and connection points
- Access roads and maintenance pathways
- Perimeter security including fencing condition
The Avata's 155° FOV captures wide infrastructure shots without requiring multiple passes. This efficiency matters when battery life is limited.
Avata vs. Competing Inspection Drones
| Feature | DJI Avata | DJI Mini 3 Pro | DJI FPV | Autel EVO Nano+ |
|---|---|---|---|---|
| Weight | 410g | 249g | 795g | 249g |
| Propeller Guards | Integrated | Optional | None | Optional |
| Max Wind Resistance | 10.7 m/s | 10.7 m/s | 12 m/s | 10.7 m/s |
| FOV | 155° | 82.1° | 150° | 85° |
| Close-Proximity Safety | Excellent | Poor | Dangerous | Poor |
| FPV Immersion | Full | Limited | Full | None |
| Inspection Suitability | Optimal | Moderate | Risky | Moderate |
The Avata occupies a unique position. It combines FPV immersion with safety features that make close-proximity work practical rather than reckless.
Competitors like the DJI FPV offer similar perspectives but lack propeller protection. One collision with a panel frame means damaged equipment and potential array damage. The Avata's ducted design absorbs minor impacts without catastrophic failure.
Leveraging QuickShots for Documentation
QuickShots automate complex camera movements that would otherwise require expert piloting. For solar inspections, these modes prove particularly valuable:
Dronie: Captures establishing shots showing installation scale and terrain context. Start positioned above the array center, then let the automated pullback reveal the full site.
Circle: Documents individual problem areas with 360-degree coverage. Position the Avata above a damaged panel, initiate Circle mode, and capture evidence from every angle.
Rocket: Creates dramatic vertical reveals useful for stakeholder presentations. Begin at ground level near the inverter station, then ascend straight up to showcase the entire installation.
These automated sequences free pilots to focus on observation rather than stick manipulation—critical when scanning hundreds of panels for defects.
Subject Tracking for Linear Inspections
The Avata's subject tracking capabilities extend beyond following moving objects. Use ActiveTrack to lock onto fixed reference points while flying parallel paths.
This technique works exceptionally well for:
- Following cable runs from panels to junction boxes
- Tracing perimeter fencing for security assessments
- Documenting access roads for maintenance planning
The system maintains consistent framing while you focus on forward navigation, effectively turning complex inspection passes into manageable single-task operations.
Common Mistakes to Avoid
Flying too fast during inspection passes. The Avata can reach 8 m/s in Normal mode, but inspection work demands patience. Speeds above 3 m/s introduce motion blur that obscures the micro-defects you're hunting.
Ignoring altitude-adjusted battery calculations. Pilots accustomed to sea-level operations consistently overestimate available flight time. Build 30% additional margin into high-altitude mission planning.
Neglecting ND filters in bright conditions. Mountain solar installations receive intense, unfiltered sunlight. Without appropriate ND filtration, footage becomes overexposed and useless for defect analysis.
Skipping the overview pass. Jumping directly into close-proximity work without first mapping the site leads to missed sections and inefficient flight paths. Always begin with a high-altitude survey.
Relying solely on visual inspection. The Avata captures excellent footage, but pairing visual data with thermal imaging from a secondary drone creates comprehensive inspection reports. Consider the Avata as one tool in a complete inspection workflow.
Frequently Asked Questions
Can the Avata detect thermal anomalies in solar panels?
The Avata's standard camera captures visible light only. However, D-Log footage reveals subtle color variations that often correlate with thermal issues. Hot spots appear as slight discoloration, and experienced analysts can identify problem areas for follow-up thermal investigation. For direct thermal imaging, pair the Avata with a thermal-equipped drone like the Mavic 3 Thermal.
How does wind affect Avata performance at high-altitude solar farms?
The Avata handles wind exceptionally well for its size class, maintaining stable flight in gusts up to 10.7 m/s. At high altitudes, thinner air reduces both lift and wind resistance proportionally. Most pilots report consistent handling up to 5,000 meters, though battery consumption increases noticeably. Schedule inspections for early morning when mountain winds typically remain calm.
What's the optimal inspection frequency for solar farms using drone surveys?
Industry standards recommend quarterly visual inspections for commercial solar installations. The Avata's efficiency makes monthly surveys economically viable for high-value arrays. Increased frequency catches developing issues before they cascade into major failures. Many operators now perform post-storm inspections as standard practice, using the Avata's quick deployment capability to assess damage within hours of weather events.
Maximizing Your Inspection Investment
Solar farm inspections demand tools that balance capability with practicality. The Avata delivers both, offering FPV immersion that reveals defects invisible to standard drones while maintaining safety margins that protect valuable infrastructure.
High-altitude installations present unique challenges. Thin air, intense sunlight, and unpredictable winds test equipment limits. The Avata's compact, protected design handles these conditions while remaining portable enough for remote site access.
Master the techniques outlined here, and your inspection reports will contain actionable intelligence rather than generic aerial photography. Panel owners and maintenance teams will recognize the difference immediately.
Ready for your own Avata? Contact our team for expert consultation.