How to Inspect Wildlife in Complex Terrain With Avata Withou
How to Inspect Wildlife in Complex Terrain With Avata Without Losing Signal or Your Shot
META: A field-tested Avata tutorial for wildlife inspection in difficult terrain, covering antenna positioning, low-altitude photogrammetry logic, flight planning, image quality, and safer operation around ridgelines, trees, and uneven ground.
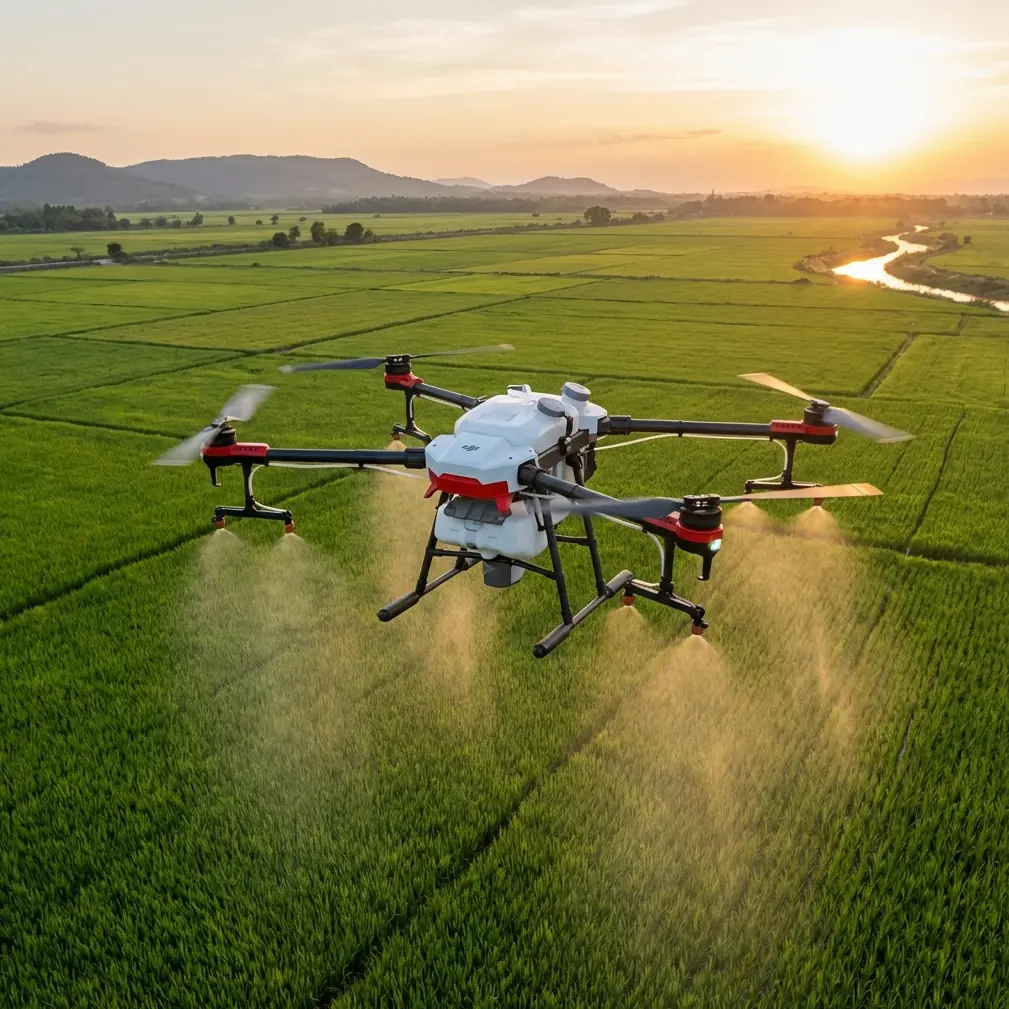
Wildlife inspection sits in an awkward middle ground. You need detail, but you also need distance. You want access to steep ravines, riverbanks, forest edges, and broken ridgelines, yet you cannot afford to push too close and disturb the animals you came to observe. That is exactly where Avata becomes useful—if you fly it with discipline.
I’m not talking about casual scenic flying. I mean structured observation in cluttered terrain, where the challenge is not simply getting airborne. The real challenge is maintaining line quality, controlling relative altitude over uneven ground, and collecting footage that remains useful once you’re back at the screen.
One overlooked way to think about this job comes from low-altitude digital aerial photogrammetry standards. The reference material here is not an Avata manual at all. It is a technical standard, CH/Z 3004—2010, and even in its fragmented table data, it still points to something operationally valuable: low-altitude image collection lives or dies by geometry. Camera parameters, flight height, baseline span, and scale are not abstract survey language. They are practical reminders that in rugged terrain, what matters is not just how high the drone is above takeoff point, but how consistently it is positioned relative to the subject and the ground below.
That lesson applies directly to wildlife work.
Why the photogrammetry reference matters for an Avata pilot
The source mentions several camera setups and flight heights, including H = 375 m, 462 m, 556 m, and 735 m, tied to different sensor and lens combinations such as Canon EOS 5D bodies and focal lengths like 24 mm and 35 mm. Avata is obviously a different aircraft with a different payload concept, but the operational principle carries over cleanly: when the camera system changes, the altitude needed to achieve a given image scale changes with it.
For wildlife inspection, this translates into a simple field rule:
- do not judge your shot only by what the drone altitude readout says
- judge it by subject size in frame, angle to the terrain, and consistency across passes
That is especially critical in complex terrain. If you launch from a ridge and descend into a basin, your displayed altitude may become psychologically misleading. You may feel “low” because the drone is below your takeoff point, while in reality it is still too high above the animals or habitat feature you need to inspect. The reverse is also true near cliff faces and sloping forest canopies. Relative altitude changes faster than many pilots realize.
The table also references baseline span for elevation control points in a 1:1000 mapping context. Again, this sounds distant from wildlife inspection until you remember what baseline really means in the field: spacing between useful image positions. If your passes are erratic, your footage may look cinematic but fail as inspection material. Nesting areas, herd movement corridors, water access points, or erosion around habitat edges need repeatable viewing angles if you want to compare conditions from one flight to the next.
That is why Avata should be flown less like a toy FPV craft and more like a compact visual inspection tool.
Start with the terrain, not the animal
Before the first battery goes in, study the shape of the land. Complex terrain breaks radio links and visual lines long before it looks dangerous on screen. Dense trees, wet rock walls, cutbanks, and rolling folds in the ground all interfere with your ability to maintain a clean connection.
For wildlife inspection, divide the area into three zones:
Observation zone
Where the drone will spend most of its time collecting footage.Signal risk zone
Places where terrain, trunks, ridges, or canyon walls can interrupt control and video transmission.Recovery corridor
The direction you can climb and retreat if the subject moves unexpectedly or the signal weakens.
This sounds basic, but it changes how you use Avata. Instead of “following the animal,” you are building a route network that keeps the drone in a controllable volume of air.
Antenna positioning advice for maximum range
This is the part many pilots get wrong, especially in rough landscapes.
If you want the best possible range and link stability, your antenna strategy should focus on orientation, body position, and terrain shielding.
1. Face the aircraft with the controller correctly oriented
Do not point the tips of the antennas directly at the drone if your controller design uses side radiation patterns. In most practical scenarios, the strongest link comes when the broad side of the antenna pattern faces the aircraft rather than the narrow end. The mistake is common: pilots visually “aim” the antenna tips like a laser pointer. That often gives worse performance.
2. Keep your own body from blocking the signal
When inspecting wildlife, people often crouch behind brush or stand half-hidden behind rock to stay discreet. Good for concealment, bad for transmission. Your torso can attenuate signal enough to matter, especially when the drone is low on the far side of a slope. Hold the controller clear of your chest and avoid rotating your back toward the aircraft during orbiting maneuvers.
3. Gain a little elevation at the pilot position
A small rise can make a major difference. One or two meters of extra pilot elevation can reopen a line over grasses, shrubs, embankments, and uneven terrain folds. If you are choosing between shade under a tree and a clear shoulder with a wider view, take the clear shoulder.
4. Avoid launching from signal traps
Deep trail cuts, creek banks, dense canopy openings, and cliff-adjacent notches are poor launch spots. Even if the drone climbs out, the first part of the flight can be messy. Start where the controller has the cleanest outward view.
5. Rotate with the aircraft during lateral movement
If the drone is crossing a hillside rather than flying straight out, your antenna orientation should follow that movement. Small body adjustments help maintain the strongest pattern toward the aircraft.
If you need tailored setup help for your terrain and mission style, you can message a drone specialist here.
Use Avata’s strengths properly in wildlife work
Avata is appealing because it can move through tighter spaces and awkward contours more naturally than bulkier platforms. That does not mean every wildlife mission should be flown aggressively. In fact, the best inspection flights are often calm, slow, and deliberate.
Obstacle awareness matters more than speed
In broken terrain, obstacle avoidance is not just about preventing a crash. It reduces pilot workload. Trees, branches, rock outcrops, and uneven cliff geometry create a cumulative attention tax. The more cognitive effort you spend avoiding impact, the less attention you have for animal behavior and shot continuity.
Use conservative routes that preserve margin. If you are evaluating habitat condition near treelines or escarpments, don’t thread the smallest gap just because Avata can.
Subject tracking needs judgment
ActiveTrack-style thinking is attractive in wildlife scenarios because moving animals rarely stay where you expect. But tracking should never override disturbance management. If a bird changes posture, a deer bunches up, or a herd shifts direction in response to the aircraft, back off. A usable inspection sequence from farther away is better than a close pass that changes the behavior you intended to document.
QuickShots and Hyperlapse are secondary tools
They can help with context. A short automated reveal can show how a nesting area sits relative to a ridge, water source, or tree line. Hyperlapse can visualize changes in light, movement patterns, or edge use over time. But these modes should support inspection, not replace it. Most wildlife work depends on stable, repeatable manual framing.
D-Log is worth using when conditions are uneven
Complex terrain often means high-contrast scenes: bright open sky, dark ravines, reflective water, shadowed vegetation. Shooting in D-Log preserves more flexibility when balancing exposure in post. That matters if your real target is subtle habitat detail such as disturbed soil, damaged understory, trail wear, or nest structure contrast against foliage.
Build repeatable passes instead of chasing perfect single shots
The survey reference’s emphasis on camera geometry and baseline spacing offers a very useful discipline here. For wildlife inspection, create repeatable passes with fixed intent:
- Pass 1: wide contextual sweep
- Pass 2: medium-distance behavioral or habitat pass
- Pass 3: detail pass from the least intrusive angle
- Pass 4: retreat and overhead context if conditions allow
This approach does three things.
First, it reduces unnecessary improvisation near animals.
Second, it gives you comparable imagery over time.
Third, it lowers the chance that a single shaky or obstructed shot ruins the mission.
When the terrain is steep, keep each pass tied to a visible reference line: creek edge, ridgeline break, canopy seam, fence line, or rock band. That keeps your image geometry more consistent.
Manage altitude by ground relationship, not takeoff number
This point deserves repeating because it is where many inspections degrade.
The photogrammetry source includes several distinct height values because image scale changes with height and lens geometry. Operationally, that means your footage quality depends on how the drone sits relative to the surface and subject, not merely on one displayed number.
In wildlife inspection, use these checks:
- Is the animal or habitat feature occupying a consistent proportion of the frame?
- Has the camera angle become too steep to interpret detail?
- Is terrain forcing the drone into a silhouette against bright sky?
- Are you drifting into a height band where branches, ridges, or thermal movement complicate control?
If the answer to any of those changes dramatically along the route, your effective inspection altitude is not stable, even if the aircraft telemetry feels reassuring.
Wind, ravines, and edge effects
Wildlife tends to gather where terrain does interesting things: sheltered bowls, cliff ledges, stream corridors, woodland edges, and grassland transitions. Those same features produce ugly airflow.
With Avata, watch for:
- rotor wash interaction with nearby branches or tall grass
- sudden vertical lift near sun-warmed cliff faces
- sink on the lee side of ridges
- turbulence at canyon mouths and narrow cuts
Do not hold an unnecessarily low hover in those areas. Keep moving with purpose, and maintain an exit vector into cleaner air. Wildlife subjects rarely reward stationary indecision.
What footage is actually useful afterward
A successful wildlife inspection flight is not the one with the most dramatic clip. It is the one that answers the field question.
That may be:
- Is the nesting area occupied?
- Is there visible disturbance near the habitat boundary?
- Are animals using the same access corridor as last week?
- Has water availability changed around the feeding zone?
- Is vegetation cover opening up on a slope or edge?
To support those answers, your media should include both context and detail. One of the strengths of a structured Avata workflow is that you can collect immersive proximity footage while still preserving orienting shots that make the close material interpretable.
A practical mission template
Here is a reliable tutorial workflow for inspecting wildlife with Avata in complex terrain:
Pre-flight
- Pick a launch point with the clearest possible outward line.
- Check wind behavior, not just wind speed.
- Identify likely signal shadows caused by ridges, trunks, and terrain folds.
- Plan a retreat corridor before launch.
Link setup
- Position antennas for broad-pattern exposure toward the aircraft.
- Keep the controller away from your torso.
- Stand where your body will not need to twist awkwardly during the main pass.
First flight
- Fly a high, wide reconnaissance loop.
- Confirm where the terrain interrupts the signal.
- Mark any areas where the animal can be observed without direct overhead pressure.
Second flight
- Run two or three repeatable inspection passes.
- Maintain consistent subject scale where possible.
- Use gentle yaw and smooth speed control rather than abrupt FPV-style corrections.
Capture settings
- Use D-Log when lighting is uneven.
- Reserve QuickShots or Hyperlapse for environmental context.
- Keep subject tracking conservative and ready to disengage.
Exit
- Leave before the animals show sustained reaction.
- Review footage immediately for coverage gaps.
- If a reflight is necessary, adjust route geometry rather than simply flying closer.
The real takeaway
The most useful thing in the reference data is not the old camera list. It is the quiet reminder that low-altitude imaging has always been about geometry, consistency, and control. The source’s concrete numbers—flight heights like 375 m and 556 m, and lens references such as 24 mm and 35 mm—exist because image collection becomes meaningful only when the relationship between camera and terrain is understood.
That same mindset makes Avata far more effective for wildlife inspection.
If you treat complex terrain as a signal problem, a geometry problem, and an animal-disturbance problem all at once, Avata stops being just a compact FPV platform. It becomes a precise observation tool for places that are difficult to walk, awkward to view from the ground, and too sensitive for careless flying.
Ready for your own Avata? Contact our team for expert consultation.