Avata Guide: Mapping Remote Highways Efficiently
Avata Guide: Mapping Remote Highways Efficiently
META: Master highway mapping in remote areas with DJI Avata. Learn expert techniques for obstacle avoidance, flight planning, and capturing comprehensive road data.
TL;DR
- Avata's compact FPV design enables low-altitude highway mapping that traditional drones struggle to achieve in confined spaces
- Built-in obstacle avoidance sensors protect against unexpected terrain features during remote corridor flights
- D-Log color profile preserves maximum detail for post-processing road condition analysis
- Third-party ND filter kits dramatically improve footage quality during harsh midday lighting conditions
Why the Avata Excels at Remote Highway Mapping
Highway mapping projects in remote locations present unique challenges that standard camera drones handle poorly. Narrow corridors, unpredictable wind patterns, and limited GPS reliability demand a platform built for agility and precision.
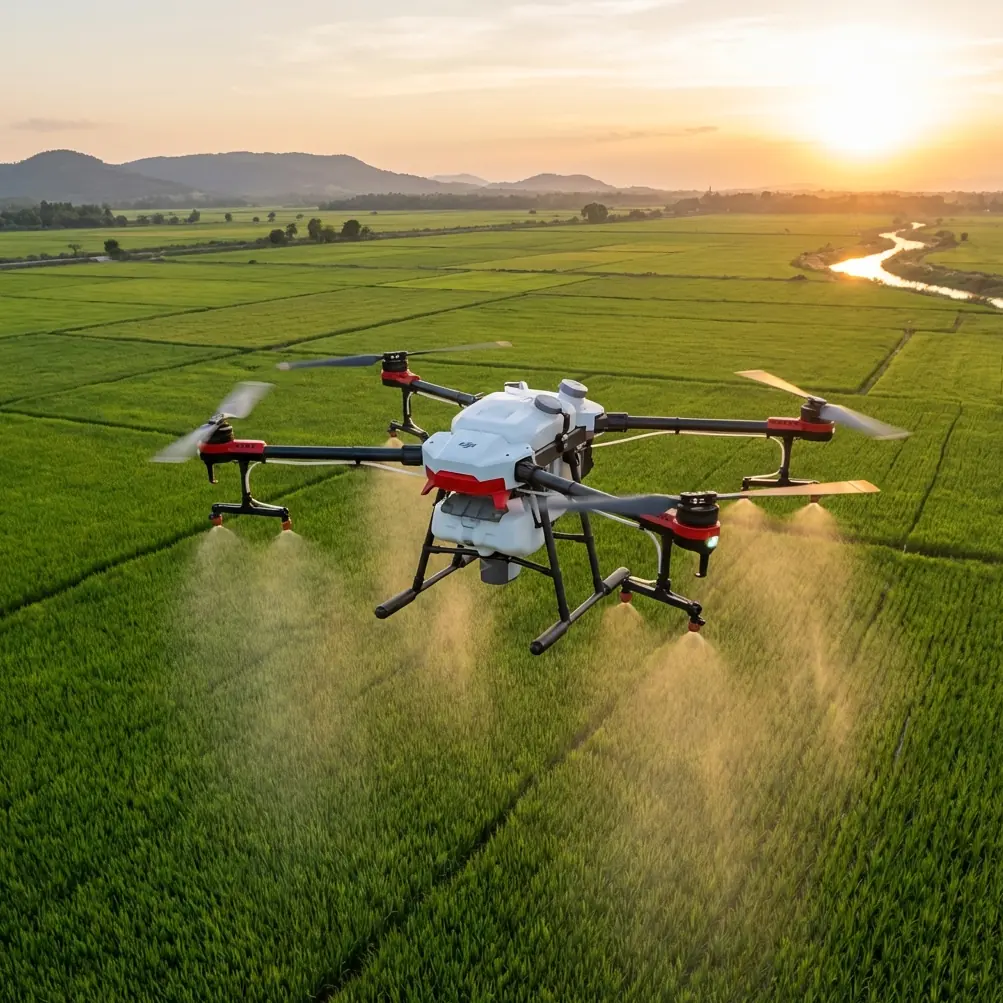
The DJI Avata weighs just 410 grams with its propeller guards, making it exceptionally maneuverable through tight spaces alongside guardrails, overpasses, and bridge structures. This compact form factor doesn't sacrifice capability—the 4K/60fps sensor captures road surface details that surveyors need for accurate condition assessments.
I've spent three years mapping infrastructure across mountainous terrain, and the Avata transformed how I approach highway documentation projects.
Essential Pre-Flight Planning for Remote Operations
Assessing the Corridor Environment
Before launching, walk or drive the highway section you're mapping. Document these critical factors:
- Overhead obstructions: Power lines, tree canopy coverage, and bridge underpasses
- Cellular coverage zones: Mark areas where your phone loses signal
- Wind exposure points: Gaps in terrain that create turbulence
- Emergency landing spots: Flat areas every 500 meters along your route
- Traffic patterns: Peak hours to avoid for safety compliance
Remote highways often lack the infrastructure that makes urban mapping straightforward. Plan for self-sufficiency with backup batteries and offline maps loaded on your controller.
Configuring Obstacle Avoidance Settings
The Avata's downward and forward-facing sensors provide critical protection during low-altitude highway passes. Configure these settings before departure:
Navigate to Safety Settings and set your obstacle avoidance behavior to Brake. This stops the drone rather than attempting automatic bypass maneuvers that could send it into traffic lanes.
Set your Return-to-Home altitude at least 30 meters above the highest obstacle in your mapping zone. Remote highways often feature unexpected cell towers or transmission lines that don't appear on standard maps.
Expert Insight: Disable obstacle avoidance only when flying directly over the road surface with clear sightlines. The sensors can misread heat shimmer from asphalt as obstacles, causing unnecessary flight interruptions during summer mapping sessions.
Capturing Comprehensive Highway Data
Flight Pattern Strategies
Linear infrastructure demands systematic coverage. The Avata supports several approaches depending on your deliverable requirements:
Single-Pass Centerline Method Fly directly above the road centerline at 15-20 meters altitude. This captures lane markings, surface damage, and drainage features in a single efficient pass. Ideal for initial condition surveys.
Parallel Offset Pattern Complete three passes—centerline plus two offset flights 8 meters to each side. This technique documents shoulder conditions, guardrail integrity, and roadside vegetation encroachment.
Orbital Bridge Documentation Use the Avata's agility to circle bridge structures completely. Start with a wide orbit at 25 meters, then tighten to 10 meters for detailed abutment and deck joint inspection.
Optimizing Camera Settings for Road Surfaces
Highway mapping requires settings that maximize surface detail visibility:
| Setting | Recommended Value | Purpose |
|---|---|---|
| Resolution | 4K/30fps | Balance between detail and file size |
| Color Profile | D-Log | Preserves shadow detail in pavement cracks |
| Shutter Speed | 1/120 minimum | Reduces motion blur during forward flight |
| ISO | 100-400 | Minimizes noise in surface texture |
| White Balance | Manual 5600K | Consistent color across flight segments |
The D-Log profile appears flat and desaturated in raw footage. This is intentional—it captures the widest dynamic range for post-processing, where you'll enhance contrast to reveal subtle pavement distress patterns.
The ND Filter Advantage
Here's where a third-party accessory became essential to my workflow. The Freewell ND filter kit designed for Avata transformed my midday mapping capability.
Remote highway projects rarely offer scheduling flexibility. When the client needs data by Friday, you fly when you can access the site—often during harsh overhead sun conditions.
Without ND filters, maintaining proper exposure at 1/120 shutter speed requires stopping down the aperture excessively, reducing overall image sharpness. The ND16 filter for bright conditions and ND8 for overcast skies let me maintain optimal aperture settings regardless of lighting.
Pro Tip: Carry the complete ND filter set even on overcast days. Remote mountain highways can shift from full shade to direct sun within a single mapping segment as you round curves.
Leveraging Advanced Flight Features
Subject Tracking for Moving Baseline
ActiveTrack functionality serves an unexpected purpose in highway mapping. Rather than tracking vehicles, use it to follow a ground-based reference point—a colleague walking the shoulder with a high-visibility vest.
This creates smooth, consistent footage that maintains perfect parallel alignment with the road edge. The Avata's tracking algorithm handles the flight path while you focus on camera angle adjustments.
Hyperlapse for Context Documentation
Before detailed mapping passes, capture a Hyperlapse sequence of the entire highway section. This compressed overview footage helps clients understand the project scope and provides geographic context for detailed findings.
Set the Hyperlapse interval to 2 seconds and fly at 30 km/h ground speed. A 5-kilometer highway section compresses into approximately 90 seconds of dramatic overview footage.
QuickShots for Deliverable Enhancement
Client presentations benefit from polished transitional footage. QuickShots modes—particularly Dronie and Rocket—create professional reveal sequences at key infrastructure points like intersections, bridges, and tunnel portals.
These automated maneuvers free you from manual stick control, ensuring smooth, repeatable results that elevate your final deliverable quality.
Common Mistakes to Avoid
Ignoring Wind Gradient Effects Remote highways through mountain passes experience dramatically different wind conditions at 5 meters versus 25 meters altitude. The Avata handles wind well, but sudden gusts during low passes can push you toward guardrails. Always test conditions with a high-altitude hover before committing to low mapping runs.
Overlooking Battery Temperature Cold mountain mornings reduce battery capacity by up to 30 percent. Keep spare batteries warm in your vehicle until needed, and plan shorter flight segments when temperatures drop below 10°C.
Neglecting Redundant Storage The Avata's internal storage fills quickly during 4K mapping sessions. Always insert a high-speed microSD card rated for V30 or faster write speeds. Losing footage to a storage failure on a remote site means repeating the entire trip.
Flying Without Visual Observers Remote doesn't mean unmonitored. Highway mapping requires maintaining visual line of sight, which becomes impossible around curves. Position a spotter at blind corners with radio communication to warn of approaching vehicles or unexpected obstacles.
Skipping Compass Calibration Remote areas with mineral deposits or underground infrastructure can affect compass accuracy. Calibrate at each new launch point rather than relying on calibration from your home location.
Frequently Asked Questions
How far can the Avata fly for highway mapping missions?
The Avata provides approximately 18 minutes of flight time under optimal conditions, translating to roughly 8-10 kilometers of linear highway coverage per battery when flying at efficient mapping speeds. Carry at least four batteries for comprehensive project coverage, accounting for repositioning flights and repeat passes.
Can the Avata map highways in light rain conditions?
The Avata lacks official weather sealing, making rain flights inadvisable. Light moisture damages the exposed motor windings and can fog the camera lens internally. Schedule mapping sessions during dry conditions, and abort immediately if unexpected precipitation develops.
What software processes Avata highway mapping footage most effectively?
For photogrammetric processing, Pix4D and DroneDeploy handle Avata footage effectively despite its non-survey-grade camera. For visual condition assessment, DaVinci Resolve provides excellent D-Log color correction tools at no cost. Export corrected footage to your GIS platform for geographic referencing.
Start Your Highway Mapping Project
The Avata brings FPV agility to infrastructure documentation work that previously required larger, less maneuverable platforms. Its combination of obstacle avoidance protection, high-quality imaging, and compact design makes it ideal for the confined corridors and challenging conditions that define remote highway mapping.
Master the techniques outlined here, invest in quality ND filters, and approach each project with thorough pre-flight planning. Your deliverables will reflect the precision that clients expect from professional infrastructure documentation.
Ready for your own Avata? Contact our team for expert consultation.