Avata Guide: Mapping Venues in Low Light Conditions
Avata Guide: Mapping Venues in Low Light Conditions
META: Learn how to map venues in low light using the DJI Avata. Expert tutorial covers D-Log settings, obstacle avoidance, and pro techniques for stunning results.
TL;DR
- The DJI Avata's built-in obstacle avoidance sensors and stabilized camera make it a capable tool for mapping venues when natural light fades.
- Shooting in D-Log color profile preserves shadow detail critical for accurate low-light venue maps.
- ActiveTrack and QuickShots modes can automate repeatable flight paths, reducing pilot workload during complex mapping sessions.
- Proper pre-flight calibration and manual exposure settings separate usable venue maps from grainy, unusable footage.
Why Low-Light Venue Mapping Demands the Right Drone
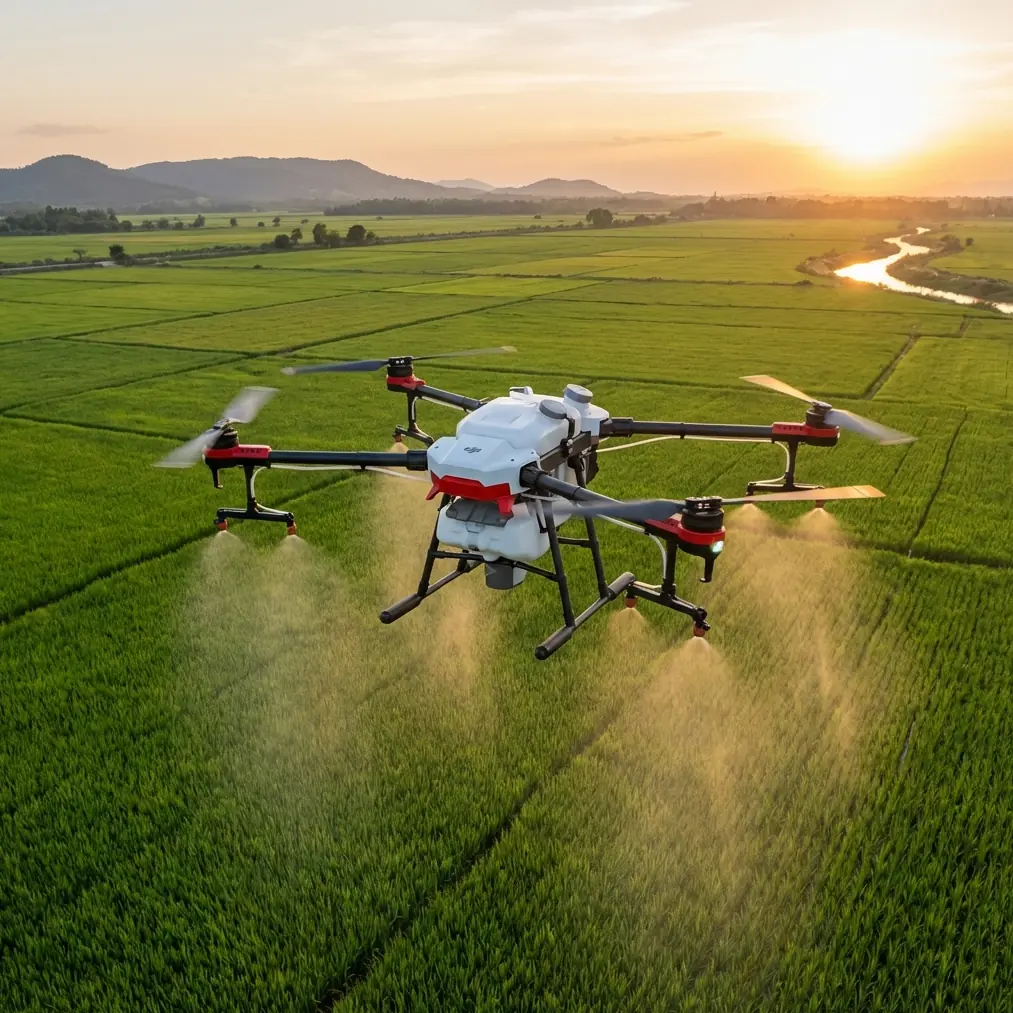
Mapping a venue after sunset or inside a dimly lit warehouse is one of the hardest tasks a drone pilot can face. The DJI Avata gives photographers a compact, ducted-prop platform with a 1/1.7-inch CMOS sensor, built-in propeller guards, and infrared sensing—tools that directly solve the three biggest low-light mapping problems: image noise, collision risk, and flight consistency.
I'm Jessica Brown, a photographer who has spent the last four years mapping event venues, concert halls, and outdoor festival grounds with drones. This tutorial walks you through my exact workflow for producing clean, detailed venue maps with the Avata when lighting conditions are far from ideal.
Understanding the Avata's Sensor Capabilities for Low Light
The Avata's camera sensor supports a native ISO range of 100–6400 for video and 100–12800 for photos. For venue mapping, those upper ISO limits matter because you will routinely push the sensor beyond its comfort zone.
Key Sensor Specs That Affect Mapping Quality
- Sensor size: 1/1.7-inch CMOS
- Effective pixels: 48 MP
- Max video resolution: 4K at 60fps
- Supported color profiles: Normal, D-Log
- Electronic image stabilization: RockSteady and HorizonSteady
- Field of view: 155° ultra-wide
The 155° FOV is particularly useful for venue mapping. Wider frames mean fewer passes to cover the same area, which translates to shorter total flight time and less battery drain—a resource you cannot waste when every minute of low light counts.
Expert Insight: The Avata's ultra-wide lens introduces barrel distortion at the edges. For mapping accuracy, plan to crop 10–15% of each frame or use lens correction in post-processing software like Adobe Lightroom or Pix4D before stitching.
Step-by-Step: Mapping a Venue in Low Light with the Avata
Step 1 — Scout the Venue and Identify Obstacles
Before you power on the Avata, walk the venue with a flashlight. Mark any hanging fixtures, rigging, cables, or structural elements that sit at your planned flight altitude. The Avata's downward infrared sensing system detects surfaces below the drone, but it does not have full 360-degree obstacle avoidance like some larger DJI platforms.
This is where a real-world lesson changed my approach permanently. During a dusk mapping session at an outdoor amphitheater in northern California, a great horned owl swooped into the Avata's flight path from a tree line roughly 12 meters away. The downward sensors registered the altitude shift as I instinctively pulled back on the stick, and the Avata's ducted propeller guards prevented blade contact with a low-hanging branch I hadn't marked during my walkthrough. The owl was unharmed. The branch left a scuff on the prop guard—not the propeller. That encounter taught me that obstacle avoidance technology is a safety net, not a substitute for thorough scouting.
Step 2 — Configure Camera Settings for D-Log
Switch the Avata's color profile to D-Log before your first flight. D-Log captures a flatter image with higher dynamic range, preserving detail in both shadows and highlights that a standard color profile would clip.
Recommended manual settings for indoor low-light venue mapping:
- ISO: 400–1600 (start at 800 as a baseline)
- Shutter speed: 1/60s for 30fps video; 1/120s for 60fps video
- White balance: Manual, set to match the venue's dominant light source (typically 3200K for tungsten, 4500K for mixed LED)
- Color profile: D-Log
- EIS mode: RockSteady ON, HorizonSteady OFF (horizon lock can interfere with banked mapping passes)
Step 3 — Plan Your Flight Grid
Venue mapping requires systematic coverage. Divide the venue into a grid and fly parallel passes with 60–70% overlap between each frame. This overlap gives stitching software enough common reference points to build an accurate composite.
For a standard 500-square-meter indoor venue, expect to fly 3–4 battery cycles at a consistent altitude of 4–6 meters.
Step 4 — Use QuickShots for Repeatable Exterior Passes
For outdoor venue perimeters, the Avata's QuickShots modes—specifically Dronie and Circle—provide automated, repeatable flight paths. These are not traditional photogrammetry orbits, but they produce consistent footage that supplements your manual grid passes.
QuickShots maintain a fixed distance from a selected point, which helps ensure uniform scale across exterior mapping frames. Pair QuickShots with Hyperlapse mode for time-compressed exterior overviews that clients often request alongside raw mapping data.
Step 5 — Leverage Subject Tracking for Walkthrough Maps
ActiveTrack on the Avata is limited compared to the Mavic series, but the drone's motion controller offers intuitive, head-tracked flight that closely mimics a guided walkthrough. For venue mapping deliverables that include virtual tour footage, fly the Avata through the space at a walking pace—roughly 1.5 m/s—while recording in 4K.
Pro Tip: Mount the Avata's motion controller on a short monopod and hold it at chest height. This smooths your hand inputs and produces walkthrough footage that feels cinematic rather than jerky. The gyroscopic input from a stable base dramatically reduces the micro-corrections that create visible jitter in low-light footage.
Technical Comparison: Avata vs. Common Mapping Alternatives
| Feature | DJI Avata | DJI Mini 3 Pro | DJI Air 3 |
|---|---|---|---|
| Sensor Size | 1/1.7-inch | 1/1.3-inch | 1/1.3-inch (dual) |
| Max ISO (Video) | 6400 | 6400 | 6400 |
| FOV | 155° | 82.1° | 82° |
| Obstacle Sensing | Downward infrared | Tri-directional | Omnidirectional |
| Prop Guards | Built-in ducted | Optional | None |
| Indoor Suitability | High | Moderate | Low |
| D-Log Support | Yes | Yes (D-Cinelike) | Yes |
| Weight | 410 g | 249 g | 720 g |
| Max Flight Time | 18 min | 34 min | 46 min |
| Subject Tracking | Head-track via Motion Controller | ActiveTrack | ActiveTrack |
The Avata's combination of built-in ducted prop guards and ultra-wide FOV makes it the strongest choice for indoor and confined venue work, despite its shorter flight time. The Air 3 excels outdoors but its exposed propellers and larger frame create unacceptable risk inside event spaces with hanging decor and rigging.
Post-Processing Your Low-Light Venue Maps
Color Grading D-Log Footage
D-Log footage looks flat and desaturated straight out of the camera. Apply DJI's official D-Log LUT as a starting point, then adjust:
- Lift shadows by +15 to +25 to recover venue floor detail
- Pull highlights down by -10 to -15 to retain window and stage light detail
- Add targeted noise reduction at ISO values above 1600
- Sharpen at 30–40% with a radius of 1.0–1.5 pixels for mapping clarity
Stitching and Output
Feed your processed frames into stitching software like Pix4Dmapper, DroneDeploy, or Agisoft Metashape. The Avata's ultra-wide lens requires a custom lens profile for accurate distortion correction—most professional stitching platforms now include DJI Avata presets.
Export your final venue map at a minimum resolution of 300 DPI for print deliverables and 150 DPI for web-based virtual tour platforms.
Common Mistakes to Avoid
- Flying too fast indoors. Keep speed below 3 m/s for mapping. Faster flight introduces motion blur that destroys stitching accuracy, especially at higher ISO settings.
- Ignoring white balance shifts. Venues with mixed lighting (LED wash plus tungsten spots) cause color banding across your map if white balance is set to auto. Lock it manually.
- Skipping pre-flight IMU calibration. The Avata's altitude hold and stabilization depend on a calibrated IMU. A 2-minute calibration on a flat surface before each session prevents altitude drift that misaligns your grid passes.
- Over-relying on obstacle avoidance. The Avata senses downward only. Side and top obstacles—chandeliers, speaker arrays, cable runs—are invisible to the sensors. Maintain visual line of sight at all times.
- Using HorizonSteady for mapping. HorizonSteady locks the horizon level, which sounds useful but crops the frame significantly and fights against deliberate bank angles needed for angled mapping passes.
Frequently Asked Questions
Can the DJI Avata produce survey-grade venue maps?
The Avata is not a survey-grade photogrammetry platform. It lacks RTK positioning and has a relatively small sensor. It excels at producing visual reference maps, virtual tour assets, and layout documentation accurate enough for event planning, stage design, and architectural walkthroughs. For sub-centimeter accuracy, pair Avata visual data with ground control points measured by a total station or RTK GPS receiver.
How many batteries do I need for a complete venue mapping session?
Plan for 3–5 fully charged batteries per session. The Avata's 18-minute max flight time drops to roughly 12–14 minutes in practice when flying steady mapping grids with constant video recording. A standard 1,000-square-meter venue typically requires 4 battery cycles to achieve full coverage with adequate overlap.
Is the Avata safe to fly indoors without a spotter?
The Avata's ducted propellers significantly reduce injury risk and property damage compared to open-prop drones. Many venue managers are more willing to approve indoor Avata flights for this reason. That said, regulations in most jurisdictions require a visual observer for commercial indoor flights. Always confirm local rules, obtain venue insurance clearance, and brief on-site staff before flying.
Ready for your own Avata? Contact our team for expert consultation.