Expert Mapping with Avata: 8 Framing Rules That Make
Expert Mapping with Avata: 8 Framing Rules That Make Mountain Venue Flights Cleaner and More Usable
META: Learn how to use Avata for mountain venue mapping with 8 simple framing rules adapted from smartphone photography, plus workflow tips on obstacle awareness, D-Log, Hyperlapse, and accessories.
Mountain venue mapping sounds technical until you get back from a flight and realize the problem was not the aircraft. It was the way you saw the scene.
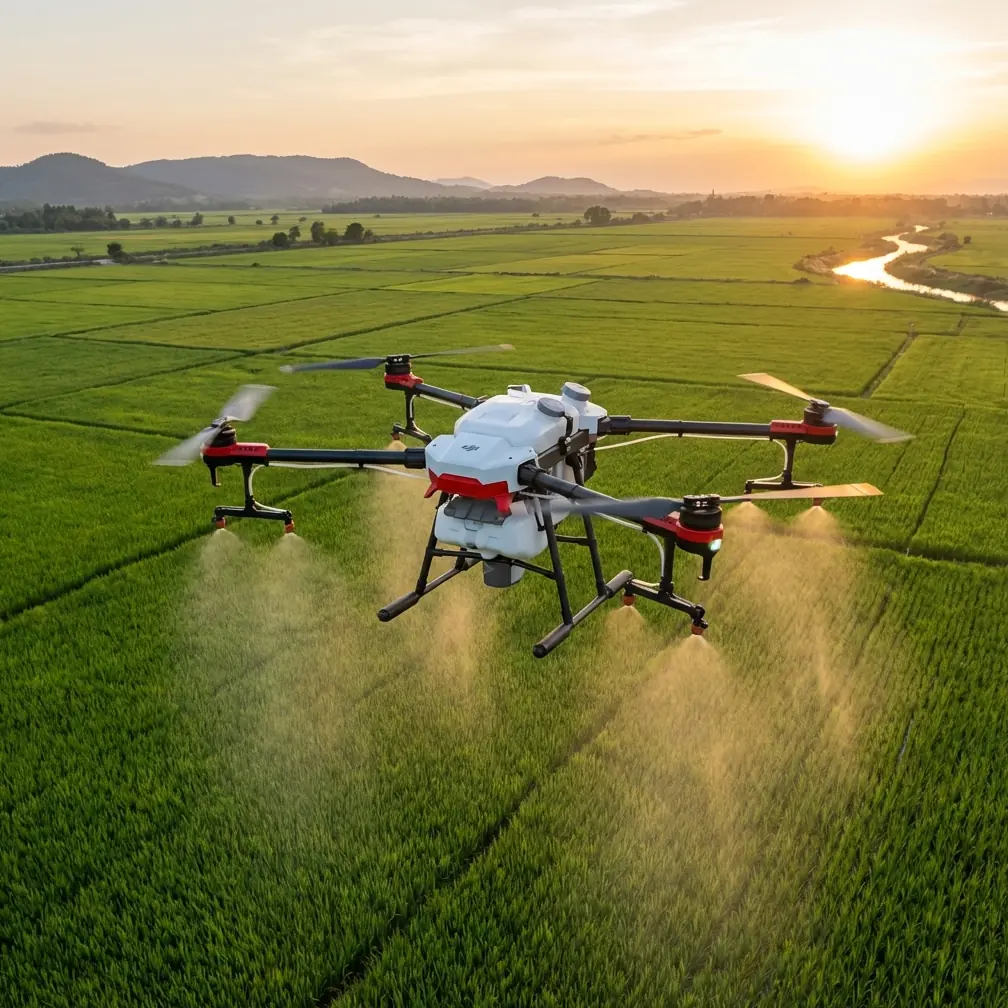
That is where Avata becomes interesting. People often talk about it as an immersive FPV platform, but for venue scouting, route previews, tourism planning, and visual site documentation in mountainous terrain, its real advantage is how close it lets you work to terrain, pathways, terraces, viewing decks, lodge entrances, and ridgelines. The challenge is that mountain environments are visually busy. Trees, fences, railings, signs, parked service vehicles, dramatic skies, uneven slopes, and layers of rock can all compete in the same frame.
A recent photography piece from chinahpsy offered a useful correction to a mistake many beginners make: trying to cram everything into one image. The article’s core point was simple and practical. It shared 8 easy shooting techniques that work across phones and cameras, without forcing people to learn settings or memorize technical terms. That matters for Avata pilots in the field, especially when mapping a venue in the mountains. If your frames are overloaded, the subject disappears and the background turns into clutter. In a venue-mapping workflow, that is not just an aesthetic problem. It reduces operational value.
I want to build on that idea and adapt it for Avata pilots.
Why this matters for mountain venue mapping
When a resort owner, event organizer, or site planner asks for a venue map, they usually do not mean a strict survey deliverable. Often they need a visual understanding of access roads, guest flow, photo spots, slopes, staging areas, and the relationship between structures and terrain. Avata can produce exactly that kind of spatial storytelling. But only if each shot has a clear purpose.
In mountain environments, “show everything” is the fastest way to explain nothing.
A crowded frame can hide the main path to a viewpoint. It can flatten the elevation change between a parking area and the main building. It can make a ceremony lawn blend into the tree line. For anyone reviewing the footage later, the venue becomes harder to interpret. Good mapping footage is not footage with the most detail. It is footage with the right detail in the right hierarchy.
That is why those 8 simple photography tips are more than casual content. For Avata work, they become a field discipline.
Rule 1: One flight segment, one subject
The chinahpsy article identified the classic beginner mistake: packing too many attractive elements into one frame. With Avata, that usually happens when pilots try to show the entrance gate, valley backdrop, restaurant deck, and walking path all in a single sweeping pass.
Don’t.
Instead, define the subject before takeoff:
- the arrival road
- the main venue building
- the path to the overlook
- the event lawn
- the cliffside deck
- the service route behind the venue
This changes everything. Your flight lines become shorter, cleaner, and easier to repeat. Your editing becomes faster because each clip answers one question.
Operationally, this also improves safety. In mountain venues, terrain and obstacles change quickly. If you are chasing too many visual elements at once, you are more likely to drift off your intended line and get uncomfortably close to branches, cables, or rock faces. A single-subject pass keeps the aircraft and the pilot mentally aligned.
Rule 2: Simplify before you move
The source article made a strong point that the tips do not require learning camera settings or jargon. That is a useful reminder for Avata operators who get distracted by profiles, bit depth, and flight modes before fixing the composition.
Before moving the aircraft, simplify the image.
Ask:
- What is the subject?
- What can I exclude?
- Does the background support the story or compete with it?
In mountain venue mapping, simplification often means changing altitude by just a few meters, or shifting laterally so a roofline separates from the forest behind it. It may mean lowering the camera angle so the path reads clearly against the hillside. It may mean waiting for a service cart to leave the frame.
Avata is particularly good at this because it can operate in tight visual spaces where larger platforms feel overcommitted. A slight reposition can turn a messy scene into a usable map shot.
Rule 3: Build sequences, not hero shots
A lot of pilots think mapping means one grand reveal. In practice, venue clients understand a site better through connected micro-sequences.
Think in three-shot sets:
- Context shot: where the venue sits in the landscape
- Approach shot: how a visitor reaches a key area
- Detail shot: what the area feels like on arrival
This is where Avata shines. A high ridge-facing establishing clip can be followed by a low glide along a stone path, then a close pass revealing seating, decking, or entry signage. Each individual shot stays clean because it has one job.
The photography article’s promise of “8 universal formulas” is relevant here. Formulas are useful when conditions are changing fast. Mountain weather, shifting sunlight, and intermittent visitor traffic all punish indecision. A repeatable sequence structure helps you return with a complete visual record, not just random attractive clips.
Rule 4: Use obstacle awareness as a framing tool, not just a safety feature
Obstacle avoidance gets discussed as a risk-control feature, and rightly so. But for mountain venue work, obstacle awareness also improves composition.
Why? Because the most cluttered frames usually happen in the same places where obstacles are densest: tree corridors, handrails, signposts, pavilions, and uneven edges. If you plan your route with obstacle-rich areas in mind, you naturally start choosing cleaner flight lanes.
That means:
- using paths and open edges as visual guides
- avoiding branches that cut across the foreground
- selecting passes where terrain layers separate clearly
- keeping architectural lines readable
If a shot requires squeezing through visual noise just because it “looks cinematic,” it may be the wrong mapping shot. A venue map should make movement through the site feel understandable. Clutter confuses wayfinding.
Rule 5: Subject tracking and ActiveTrack are only useful when the subject is obvious
The context hints mention subject tracking and ActiveTrack, and they can be helpful in mountain venue projects if you use them carefully. For example, tracking a staff guide walking from reception to the main lookout can demonstrate real route flow better than a static clip ever could.
But tracking only works when the subject is visually distinct.
This circles back to the source article’s warning about crowded compositions. If the frame is full of competing elements, the human figure or utility cart you want to track becomes less legible. The result may not just be an ugly shot. It can become a poor operational record of pedestrian movement.
A clean background, clear path, and isolated moving subject make tracking footage much more useful for:
- hospitality route planning
- event guest-flow previews
- venue accessibility reviews
- trail orientation content
If you need a practical setup idea for mountain jobs, I’ve had good results pairing Avata with a third-party ND filter set. The accessory is not glamorous, but it helps maintain more consistent motion rendering in bright alpine light, especially when you are creating smooth path-following sequences or Hyperlapse transitions. In mountain environments, where sun and reflective rock can push exposure around fast, that small upgrade has real downstream value in post.
Rule 6: QuickShots are better for reference than for spectacle
QuickShots can be useful, but they should serve the mapping objective. The temptation is to use them as visual fireworks. Resist that.
For venue documentation, a QuickShot works best when it clarifies spatial relationships:
- a pullback that shows how a deck sits above a valley
- an orbit that reveals access on multiple sides
- a rise that shows the vertical relationship between a lodge and parking area
Again, keep the frame disciplined. If the shot includes too many visual distractions, the movement adds confusion instead of insight. A well-chosen QuickShot can explain topography in seconds. A messy one becomes decorative noise.
This is where Avata differs from a generic camera platform conversation. On a mountain venue job, movement must reveal structure. If it doesn’t, it is not doing mapping work.
Rule 7: D-Log is only valuable if your composition already works
D-Log can preserve flexibility in color grading, especially in high-contrast mountain scenes where bright sky, dark pines, and shaded structures all coexist in the same frame. That matters. But it is still secondary.
A bad composition shot in D-Log remains a bad composition.
The chinahpsy piece is useful because it pushes attention back to fundamentals. You do not need to “learn parameters” first to improve your output. For Avata venue mapping, that translates into a simple priority stack:
- Clear subject
- Clean frame
- Understandable movement
- Then optimize color and dynamic range
If the venue manager cannot instantly tell what area a clip is showing, the grading latitude is irrelevant.
Rule 8: Hyperlapse should describe terrain change, not just passage of time
Hyperlapse can be excellent in mountain venue storytelling when used to show elevation transitions and route length. For example, a path from the base reception area to a ridge viewpoint can feel much more intuitive when compressed into a directional time-based sequence.
But the same rule still applies: don’t overload the frame.
For a mountain Hyperlapse to work in a mapping context, give the eye a stable idea to follow:
- a trail centerline
- a ridgeline edge
- a fence or railing
- the roofline of the destination structure
Without that anchor, the viewer just sees rushing scenery. With it, they understand progression through the venue.
A practical Avata tutorial workflow for mountain venue jobs
Here is the field method I recommend.
1. Walk the site first
Before flying, identify 5 to 8 key venue subjects. That number is not accidental. The source article was built around 8 photography techniques, and that same scale works well in practice because it forces prioritization without oversimplifying the site.
2. Assign one shot type to each subject
For each location, choose one:
- static hover reveal
- low approach
- orbit
- pullback
- rise
- path-follow
- tracked walkthrough
- Hyperlapse segment
3. Remove clutter by repositioning, not by hoping
If benches, parked vehicles, signboards, or tree branches muddy the shot, move the aircraft line. A two-meter shift can save the sequence.
4. Use ActiveTrack only on route-demonstration shots
Track a person only when the route itself is the story.
5. Capture one D-Log version of each critical shot
Especially if the venue has mixed sunlight and shadow across slopes.
6. Reserve QuickShots for topographic explanation
Use them to answer “where is this in relation to everything else?”
7. Add one accessory that solves a real problem
For many mountain operators, that will be ND filters. For others, a landing pad for uneven terrain or a signal-range accessory may be more relevant. The point is not to collect gear. It is to remove a bottleneck.
8. Review on-site for legibility
Do not just ask whether the shot looks nice. Ask whether an unfamiliar viewer could understand the venue layout from it.
The bigger lesson from a simple photography article
What I like about the chinahpsy piece is that it strips away false complexity. It claims these techniques work for both phones and cameras, and that you do not need to study settings or terminology to get better results. For Avata pilots mapping mountain venues, that message lands hard because many weak outputs are not caused by lack of technology. They come from lack of visual discipline.
The article also claimed a higher keeper rate after applying those formulas. Whether you quantify that as “3x” better output or simply far fewer wasted clips, the principle holds. Clean framing produces more usable footage. In commercial workflows, that means less reshooting, faster editing, clearer client communication, and better planning decisions.
If you are building a venue map with Avata, your job is not to prove the aircraft can fly. Your job is to make terrain, access, and spatial hierarchy easy to understand.
That starts by leaving things out.
If you want to compare ND filter options or route-planning ideas for a mountain venue setup, you can message me here: https://wa.me/85255379740
Ready for your own Avata? Contact our team for expert consultation.