Monitoring Forests with DJI Avata | Wind Tips
Monitoring Forests with DJI Avata | Wind Tips
META: Learn how to monitor forests in windy conditions using the DJI Avata. Expert tips on antenna positioning, obstacle avoidance, and D-Log settings for reliable canopy data.
TL;DR
- DJI Avata's compact ducted design handles gusty forest environments where larger drones struggle to maintain stable flight
- Proper antenna positioning on your motion controller dramatically extends range beneath dense canopy cover
- D-Log color profile captures critical shadow detail under tree cover, revealing forest health data invisible in standard color modes
- Obstacle avoidance sensors require manual calibration adjustments when flying near irregular branch patterns
Why Forest Monitoring in Wind Demands a Different Drone
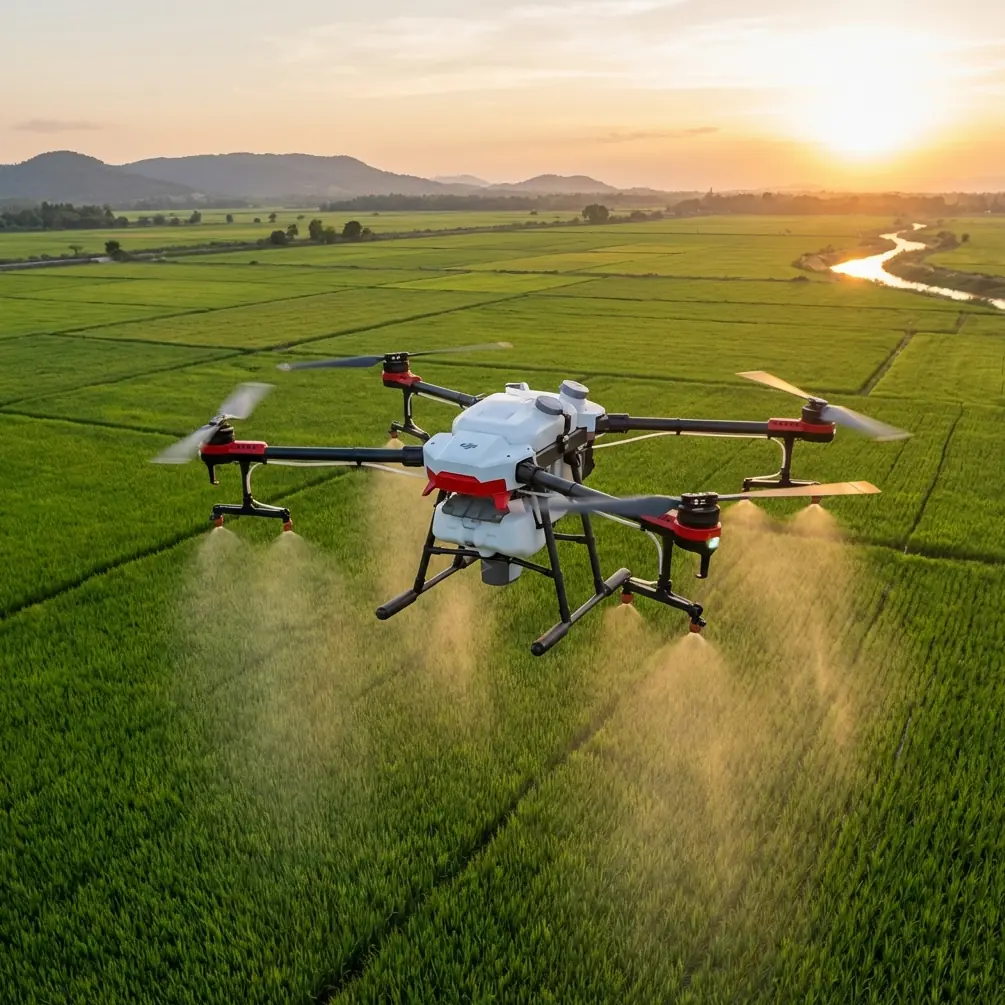
Forest monitoring fails when your drone can't hold position. Gusts funneling through tree corridors create turbulence that destabilizes conventional quadcopters, corrupts photogrammetry data, and risks costly crashes into canopy. The DJI Avata's ducted propeller design and propeller guards weighing just 410g total give it a decisive stability advantage in exactly these conditions—and this guide shows you how to maximize that advantage.
I'm Jessica Brown, a photographer who has spent three years documenting forest ecosystems across the Pacific Northwest. After losing two unprotected drones to wind-related canopy collisions, I switched to the Avata for sub-canopy monitoring work. The difference was immediate. Here's the complete methodology I've developed for reliable forest data collection in winds up to 38 kph.
Step 1: Pre-Flight Antenna Positioning for Maximum Range
This single adjustment determines whether you maintain signal lock beneath a forest canopy or lose your drone 200 meters into a flight.
The DJI Avata pairs with the DJI Goggles 2, which house the primary receiving antennas. Most pilots wear the goggles with antennas in the default upright position. Under tree cover, this is a mistake.
Optimal Antenna Configuration
- Angle both goggles antennas at 45 degrees outward from vertical—this creates a wider reception cone that compensates for signal scatter caused by trunks and foliage
- Face the direction of flight whenever possible; the goggles' antennas have a directional bias toward the front
- Elevate your ground position by standing on a ridge, vehicle roof, or elevated clearing to maintain line-of-sight above undergrowth
- Avoid standing directly under dense canopy yourself—your own overhead cover degrades the downlink signal by up to 30%
Pro Tip: Attach a ground station antenna extender to your goggles if you regularly fly beyond 1.5 km in forested terrain. The stock antennas perform well to approximately 800 meters under moderate canopy. Beyond that distance, signal dropouts become unpredictable, especially in wet conditions where water-laden leaves absorb radio frequency energy.
Signal Environment Factors
| Factor | Signal Impact | Mitigation |
|---|---|---|
| Wet foliage | -25% to -35% range reduction | Fly after canopy dries; morning dew clears by mid-morning |
| Dense conifer canopy | -40% to -50% range reduction | Use relay waypoints in clearings |
| Deciduous canopy (full leaf) | -20% to -30% range reduction | Plan flights during leaf-off season when possible |
| Bamboo/dense undergrowth | -15% to -20% range reduction | Elevate ground position above undergrowth line |
| Wind-driven canopy movement | Variable; creates intermittent gaps | Monitor signal strength in goggles OSD continuously |
Step 2: Configure Obstacle Avoidance for Forest Environments
The Avata's downward-facing vision sensors and infrared sensing system provide obstacle detection, but forests present unique challenges that require configuration changes.
Key Adjustments
- Set obstacle avoidance to "Brake" mode rather than "Bypass"—in dense timber, autonomous rerouting often sends the drone into adjacent branches
- Reduce maximum flight speed to 6 m/s in areas with branch density above 60% canopy closure
- Enable downward vision sensors even when flying above canopy to ensure the Avata detects sudden canopy emergents—dead snags and crown spikes that project above the main canopy layer
- Manually increase hover altitude buffer to 3 meters above the tallest detected obstacle when using altitude hold
Standard obstacle avoidance algorithms are optimized for solid, uniform surfaces like walls and buildings. Tree branches present irregular, thin geometries that infrared sensors sometimes fail to register. Assume the sensors will miss approximately 15-20% of small-diameter branches (under 3 cm).
Expert Insight: I fly a systematic grid pattern starting at the canopy top and descending in 5-meter increments per pass. This approach lets me map obstacle locations on the first high pass, then reference that mental map as I descend into denser zones. The Avata's 12-minute flight time accommodates roughly three altitude layers per battery in a 100m x 100m survey plot.
Step 3: Optimize Camera Settings with D-Log for Canopy Data
Forest canopies create extreme dynamic range challenges. Sunlit crown surfaces can be 10+ stops brighter than the understory floor. Standard color profiles clip highlights and crush shadows, destroying the very data you need for health assessments.
D-Log Configuration for Forest Work
- Enable D-Log M in the camera settings to capture a flat, high-dynamic-range image that preserves detail across the full brightness spectrum
- Set ISO to 100-200 to minimize noise in shadow regions
- Use manual white balance at 5600K to maintain color consistency across flights—auto white balance shifts dramatically as the drone moves between sunlit gaps and shaded understory
- Record at 4K/50fps to allow both real-time playback analysis and slow-motion review of canopy movement patterns in wind
- Overexpose by +0.7 EV from the meter reading; D-Log footage benefits from slight overexposure to reduce shadow noise during post-processing
Post-Processing Workflow
D-Log footage looks flat and desaturated straight from the card. Apply a LUT (Look-Up Table) designed for DJI D-Log in your editing software. For scientific forest monitoring, I recommend keeping saturation adjustments minimal and instead using the expanded tonal data to:
- Identify discolored foliage indicating disease or pest infestation
- Measure canopy gap fraction by analyzing brightness distribution
- Detect early-stage dieback in individual crowns before it's visible to the naked eye
Step 4: Use Subject Tracking and Hyperlapse for Documentation
While ActiveTrack is primarily associated with DJI's Mavic and Air lines, the Avata's head-tracking mode through the Goggles 2 provides an analogous function for forest monitoring. By locking your gaze on a specific tree or canopy section, the drone maintains a consistent heading toward your focal point as you maneuver laterally.
Practical Tracking Applications
- Individual tree assessment: Circle a target tree at a fixed radius while the camera maintains lock—this produces a 360-degree crown profile useful for volume estimation
- Transect documentation: Fly a linear transect while using head tracking to keep the camera oriented perpendicular to the flight path, capturing consistent side-profile canopy data
- QuickShots Dronie mode: Useful for establishing spatial context at the start of a monitoring video—the Avata pulls backward and upward from your ground position, revealing the surrounding forest structure in a single automated movement
For long-term monitoring projects, the Hyperlapse function creates time-compressed sequences showing seasonal canopy changes. Set the Avata on a repeatable GPS waypoint and capture a 10-second Hyperlapse monthly. Over a year, the compiled footage reveals phenological patterns, storm damage progression, and recovery trajectories.
Technical Comparison: Avata vs. Common Forest Monitoring Alternatives
| Specification | DJI Avata | DJI Mini 3 Pro | DJI FPV | Skydio 2+ |
|---|---|---|---|---|
| Weight | 410g | 249g | 795g | 800g |
| Prop Guards | Integrated ducted | Optional, add-on | Optional, fragile | None |
| Max Wind Resistance | 38 kph | 38 kph | 44 kph | 40 kph |
| Obstacle Avoidance | Downward + infrared | Tri-directional | None | Full 360° |
| Flight Time | 18 min | 34 min | 20 min | 27 min |
| D-Log Support | Yes | Yes | Yes | No |
| FPV Goggles Control | Native | Optional | Native | No |
| Crash Survivability in Canopy | High (ducted) | Low | Low | Medium |
| Best Use Case | Sub-canopy FPV | Open canopy mapping | Speed transects | Autonomous tracking |
The Avata's advantage is clear in the crash survivability and sub-canopy maneuverability categories. While the Skydio 2+ offers superior autonomous obstacle avoidance, it lacks FPV goggle integration and D-Log support—two features essential for detailed forest health documentation.
Common Mistakes to Avoid
Flying too fast near the canopy edge. The transition zone between open air and canopy is where wind accelerates and becomes turbulent. Reduce speed to 3 m/s within 5 meters of canopy edges.
Ignoring battery temperature. Cold forest mornings drop battery voltage faster than warm conditions. The Avata's battery performs optimally between 20°C and 40°C. If ambient temperature is below 15°C, warm the battery in your jacket pocket for 10 minutes before flight.
Relying solely on obstacle avoidance sensors. As noted above, thin branches evade detection. Always maintain manual override readiness. Keep your thumbs near the brake input on the motion controller.
Skipping compass calibration in new forest locations. Mineral-rich soils, buried ore deposits, and even old logging cables can distort the magnetometer. Calibrate at every new launch site.
Neglecting to log GPS coordinates per flight. Forest monitoring depends on repeatable data. Record the exact launch point, flight altitude, and heading for every session. Without this, comparing footage across months becomes unreliable.
Using auto exposure under variable canopy. Sunflecks and shade patches cause the auto exposure to oscillate wildly, producing unusable footage with constant brightness flickering. Lock exposure manually before entering canopy cover.
Frequently Asked Questions
Can the DJI Avata fly safely under dense forest canopy in wind?
Yes, within limits. The Avata's ducted propeller design protects against minor branch strikes, and its 410g mass means low-speed contact with foliage causes minimal damage to both the drone and the trees. In winds up to 38 kph above canopy, sub-canopy turbulence remains manageable if you reduce speed and maintain manual control authority. Avoid flying under canopy when sustained winds exceed 45 kph above the tree line.
What video settings produce the best data for forest health analysis?
Shoot in D-Log M at 4K/50fps with manual white balance set to 5600K, ISO between 100 and 200, and exposure compensation at +0.7 EV. This configuration captures the maximum dynamic range between sunlit canopy and shaded understory. In post-processing, analyze the flat footage for subtle color shifts that indicate chlorophyll stress, fungal infection, or water deficiency before applying any creative color grading.
How many batteries do I need for a typical forest monitoring session?
Plan for 4-6 fully charged batteries per monitoring session. Each battery delivers approximately 12-15 minutes of usable flight time in forest conditions (reduced from the rated 18 minutes due to frequent speed changes, hovering, and wind resistance). A 100m x 100m survey plot at three altitude layers consumes one battery. A typical morning session covering 4-6 plots requires the full battery complement plus a portable charging hub for mid-session recharging.
Forest monitoring demands reliability in conditions that punish fragile equipment. The DJI Avata's ducted design, D-Log capability, and FPV goggle control make it a purpose-fit tool for sub-canopy data collection—especially when wind keeps other drones grounded.
Ready for your own Avata? Contact our team for expert consultation.